How to Draw Headphones Step by Step
This tutorial show how to draw a simple pair of headphones with beginner friendly examples and instructions.
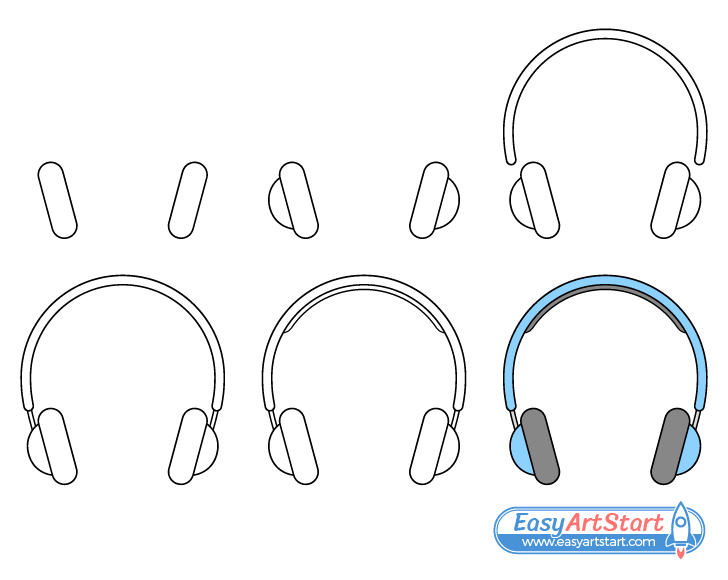
The headphones in the example are drawn with the common components of such an item and a basic overall design. As such, the tutorial is fairly simple yet can help you create art that is easily recognizable. The guide is also fairly flexible. Because the different parts of the headphones are added one at a time you can easily modify part of the design (if you wish to do so) without needing to alter the drawing approach.
Begin the tutorial in pencil and make light and easy to erase lines in case you make a mistake. You can then trace over them with a black marker (or darken them with the pencil) once you have all parts of the headphones outlined.
Step 1 – Draw the Ear Pads
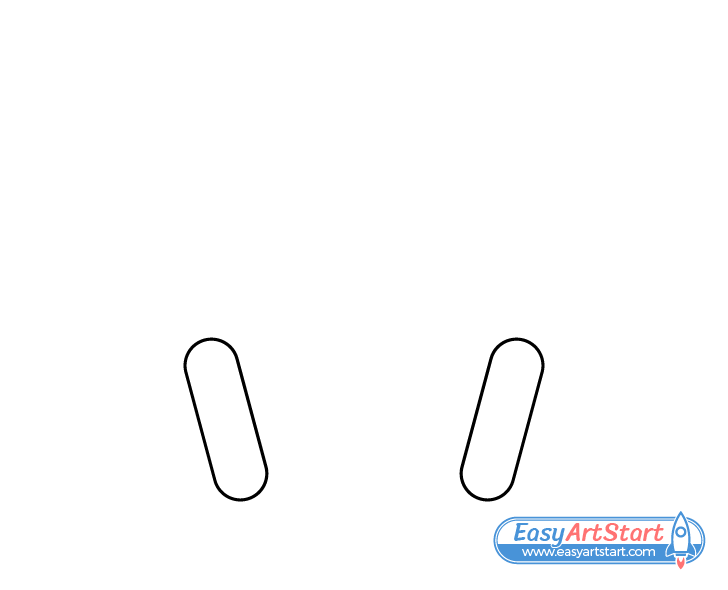
Draw each ear pad on an angle in a way where the two are mirroring one another. Make their shapes even in width throughout most of their length with rounded ends.
Overall you want the drawing to be fairly symmetrical. If you need a little more help in accomplishing this draw a straight vertical line through the middle the headphones to use as a guide for this and the following steps. The guide line can make it easier to see if both halves of the headphones are even in width and similar in shape. You can erase it once you’ve added all of their parts.
Step 2 – Draw the Ear Cups
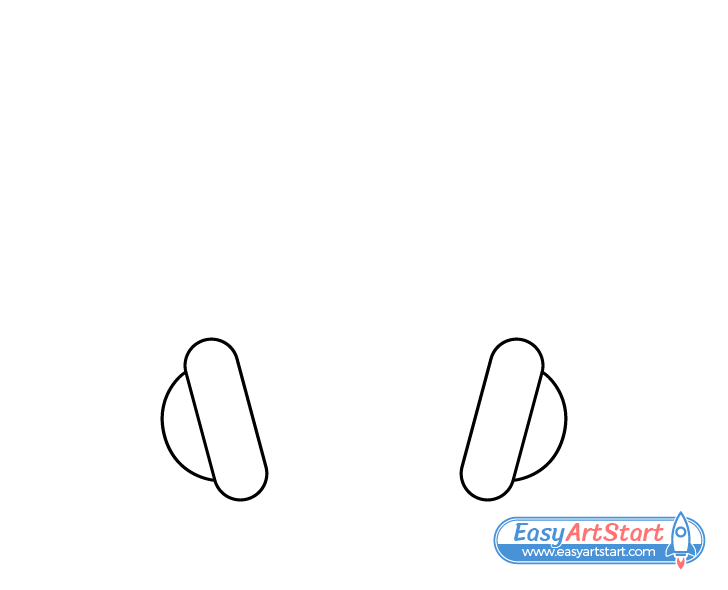
To the outer ends of the ear pads add the rounded shapes of the ear cups. Try and position them so that they are centered.
Step 3 – Draw the Headband
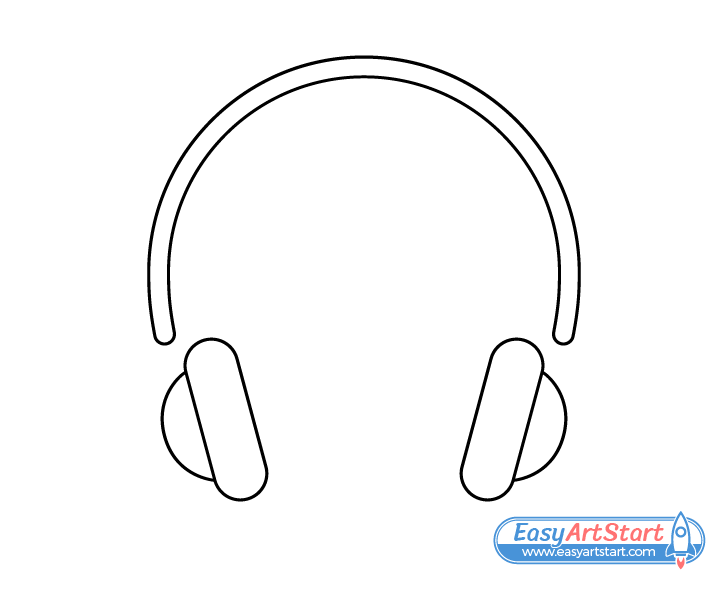
Going from one ear cup to the other (but not touching them) draw the headband. Make it’s shape one big continuous curve.
Step 4 – Draw the Sliders
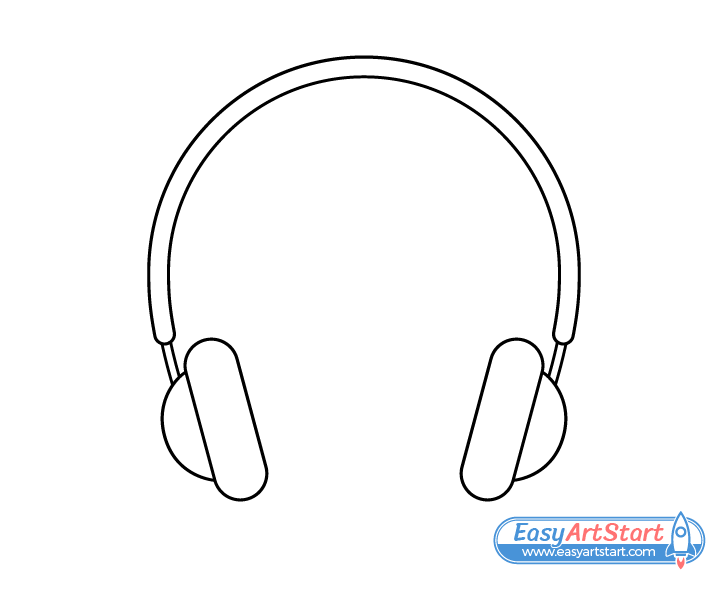
Add the sliders (the part used to adjust the size of the headphones). Draw these connecting the headband to the ear cups and make then much thinner than the headband itself.
Step 5 – Draw the Padding
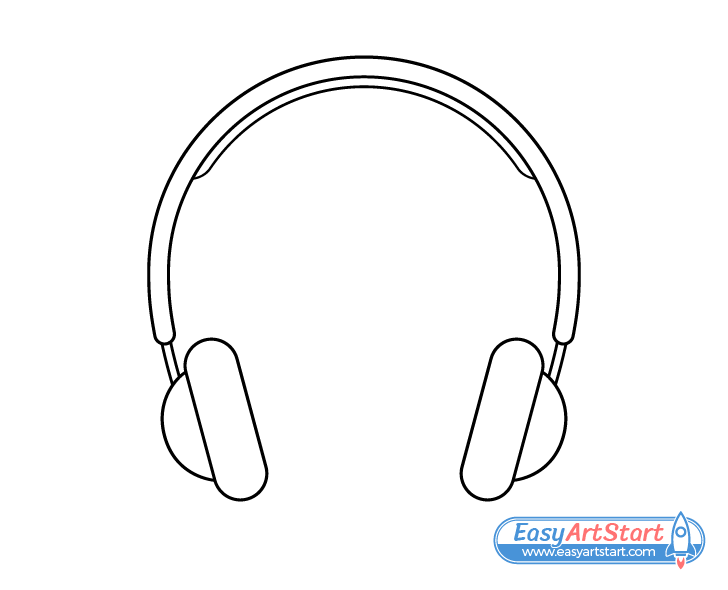
For the last part of the headphones add the head padding running along the upper bottom end of the headband. Draw this as a fairly thin strip that follows the band’s shape but does not go all the way to it’s ends.
Once you have the padding outlined you can trace over your drawing with darker lines (pencil or black marker) as was mentioned at the start of the tutorial. You can also erase the guide line if you chose to draw one.
Step 6 – Color the Headphones
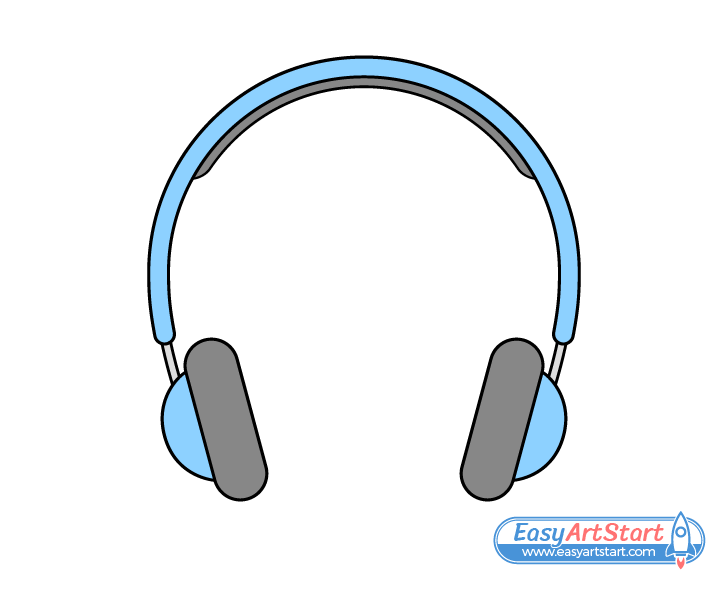
To color the headphones you can use any medium you like or have available such as paints, markers, colored pencils, etc…).
Color as follows:
- Ear Pads & Head Padding – black or dark grey (for a leather look)
- Slides – light grey (for a metallic look)
- Ear Cups & Head Band – blue or any color you prefer
Conclusion
To keep the tutorial beginner friend the headphones are shown with just the bare minimum parts such items tend to have. Each one is also given a very simple shape. However, because the headphones are drawn a part at a time the guide is very flexible and it’s easy to change things up. If you want to get creative you can easily modify the design of any of their components without needing to change the drawing approach.
If you like these kind’s of simple step by step tutorials also be sure to have a look at the following:

