How to Draw Earrings With a Nice & Simple Design
This tutorial shows how to draw a pair of earrings with a beautiful but simple design. It consists of six illustrated steps.
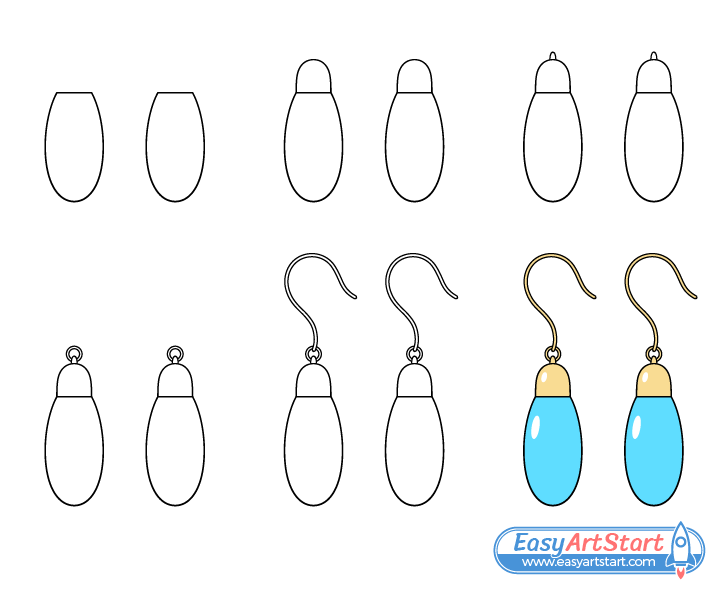
The earrings shown in the example are hook earrings, a popular variety of piercing earrings. As you can see in the preview image, they are drawn one part at a time to make it easy to follow along with the steps and to keep the tutorial beginner friendly.
The guide is put together in a way where you don’t need to do much erasing. However, you should still start in pencil and make light and easy to erase lines in case of a mistake. You can darken them once you have all parts of the earrings outlined.
Step 1 – Draw the Stone’s of the Earrings
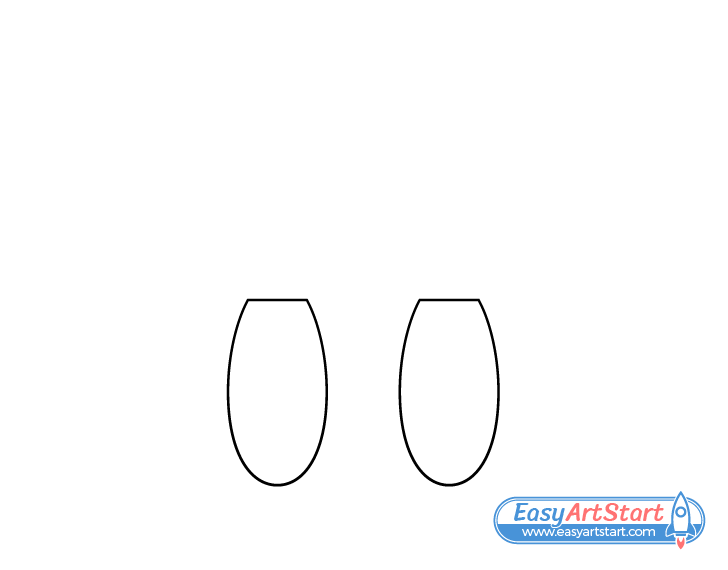
First, draw the stones at the bottom of the earrings. Make their shapes close to ovals but with flat tops that look like they’ve been cut off. Try and make the two as close in shape as you can.
Step 2 – Draw the Settings
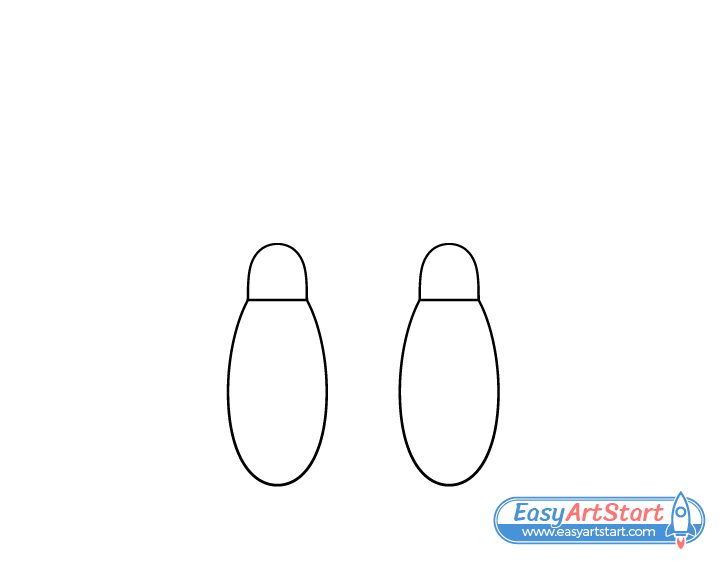
On top each stone draw a setting. Make their shapes smooth continuous curves similar to an upside down letter “U”.
Step 3 – Draw the Loops
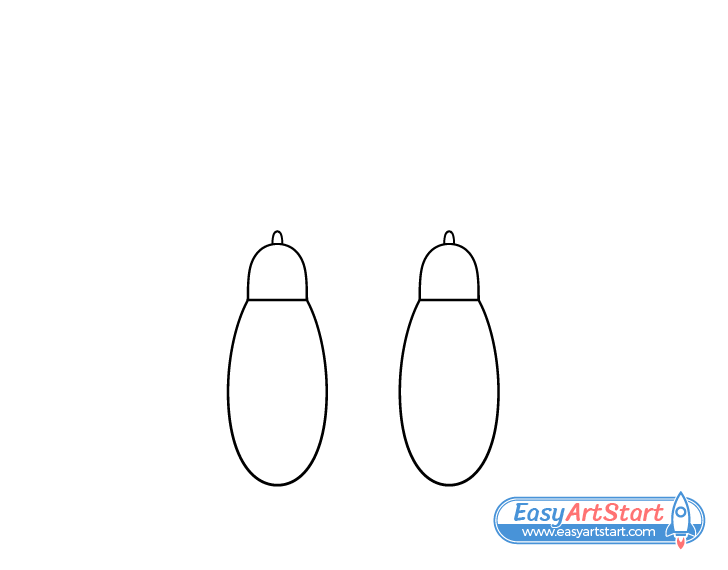
On top of the settings add the little loops that the jump rings go through (drawn in the next step). Make these tiny in relation to the other parts.
Please note that in this example the loops are being viewed from the side so the holes that the rings go through are not visible.
Step 4 – Draw the Jump Rings
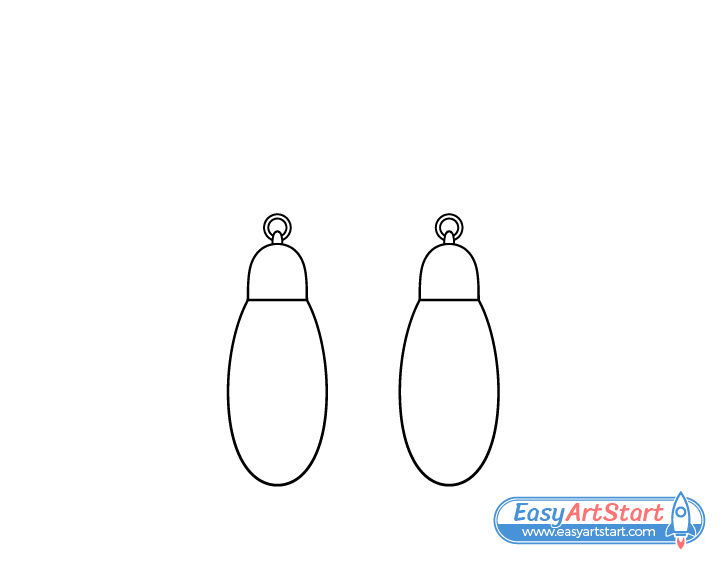
Draw a jump ring going through each of the loops. Make them fairly thin and circular in shape as shown in the example.
Step 5 – Draw the Hooks
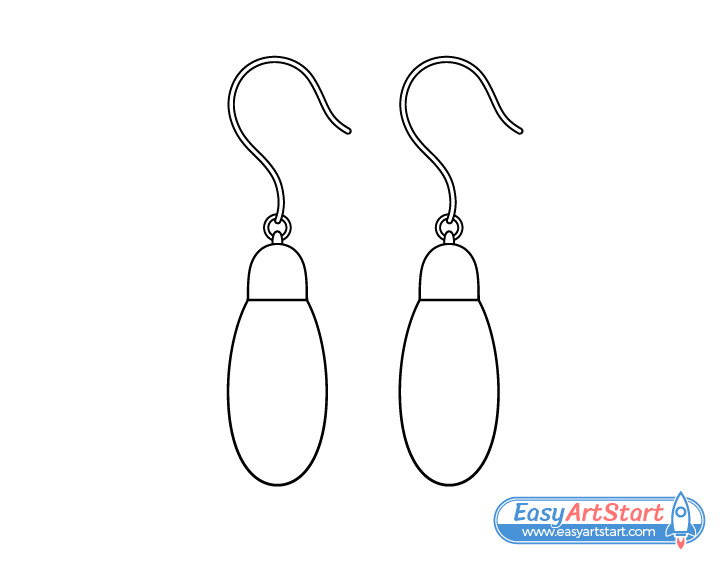
Draw the hooks shaped a bit like question marks (?) . You can erase little bits of the jump rings when adding them.
Once you have all parts of the earrings outlined trace over your drawing with darker pencil lines or a thin black marker.
Step 6 – Color the Earrings
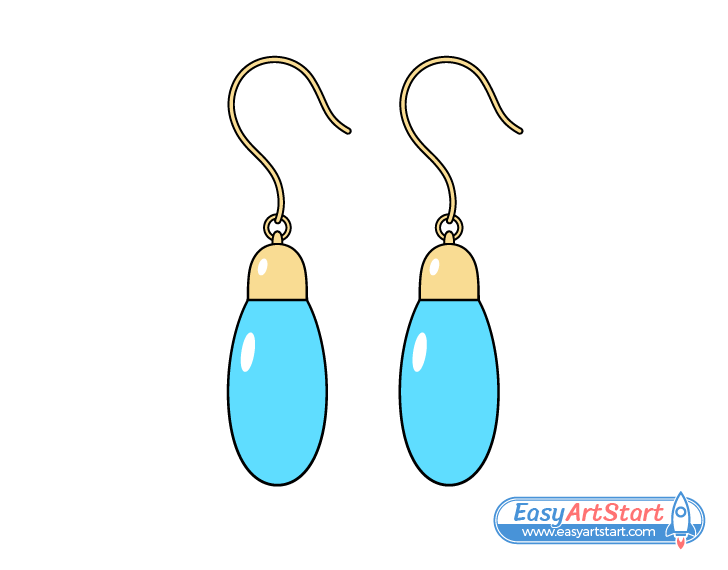
To color the earrings you can make the metallic parts a yellow/brown (so that they look like gold) and the stones a bright blue (goes well with yellow). Although, you can also go with a different color combination if you prefer. For example you can use grey instead of the yellow to show silver and red instead of the blue.
You can use whatever medium you have available to apply the color (paints, markers, colored pencils, etc…). If you don’t have brown just use yellow for the gold or make it grey using a regular pencil to show silver.
Also, before coloring outline a pair of oval shaped reflections in each earring, a larger one inside the stone and a smaller one inside the setting. Do this either very lightly in regular pencil or in the same color you wish to use for each of those parts. The reflections will help make the stones and metal look shiny.
When adding the reflections also be sure to place them on the same side for both earrings (on the left in this case). Beginners sometimes make the mistake of having the reflections on opposite sides (mirroring one another) which is not how they appear.
Conclusion
This tutorial show to draw a beautiful pair of earrings with a simple design. If you are a beginner to drawing it can be good to start with objects that are not very complicated. However, as is shown with the earrings in this example, just because something is simple doesn’t mean it can’t also look nice.
If you’ve enjoyed this tutorial and would like to try more similar guides (with easy to follow step by step instructions) see the following:

