How to Draw Bread in 4 Easy Steps
This tutorial shows a simple way to draw a loaf of french bread (also known as a baguette) with easy to follow step by step examples.
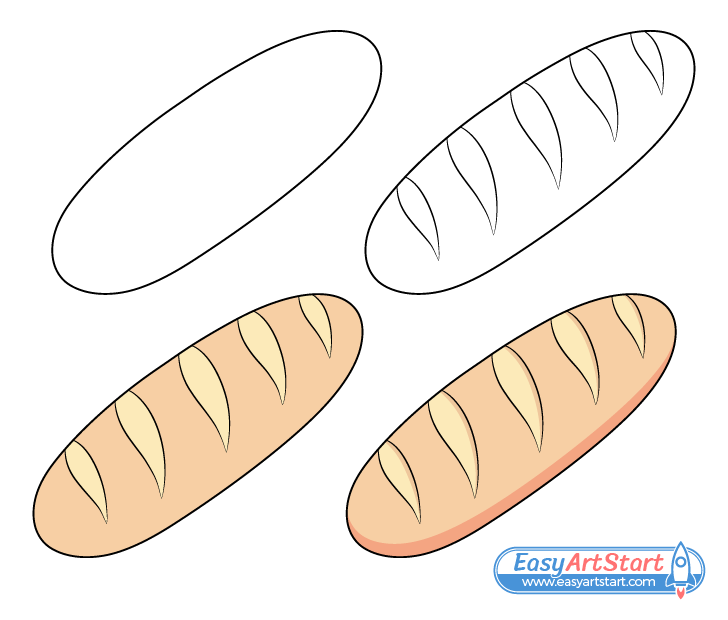
The tutorial is very straightforward and beginner friendly. As you can see in the preview image above it consists of four steps in total with two for it’s line drawing portion and two for coloring.
It’s recommended that you start in pencil and make light and easy to erase lines just in case you happen to make a mistake. You can darken them once you have all parts of the bread drawn out (before coloring)
Step 1 – Outline the Shape of the Bread
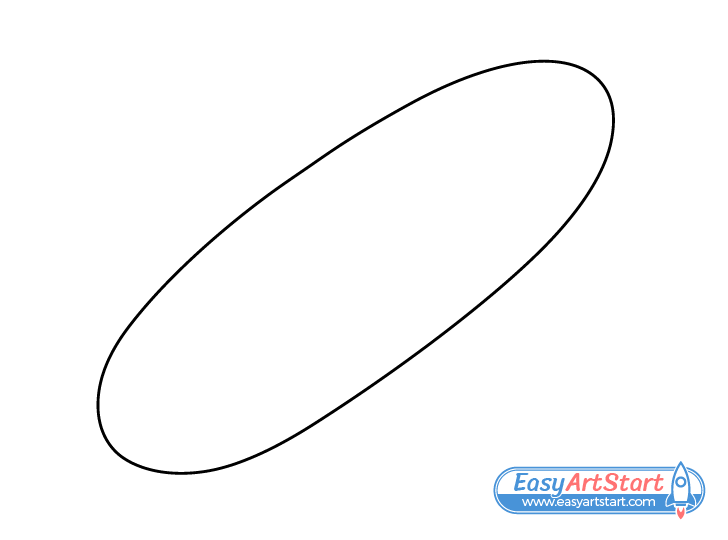
First, outline the overall shape of the bread. Some french bread loafs can be fairly long but in this case the baguette is a fairly small one.
Draw it to be a little wider in the middle and getting a little narrower towards each of it’s rounded ends.
Step 2 – Draw the Slashes
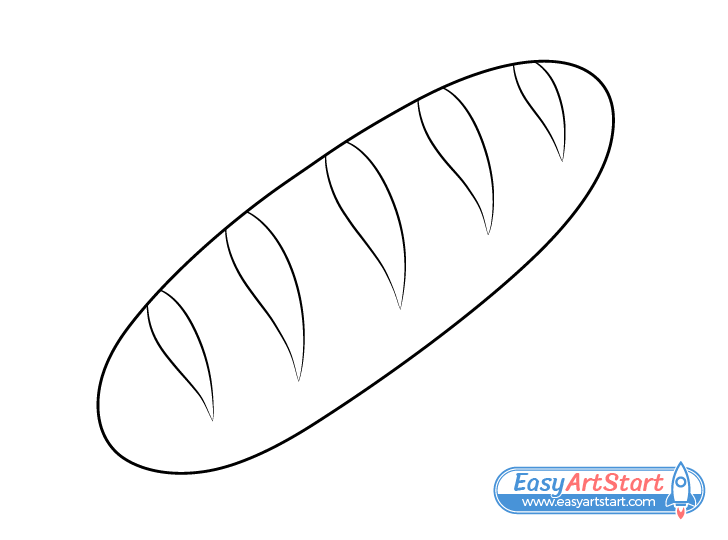
Along the top of the baguette draw a series of slashes that are so characteristic of this type of bread.
To make it easy to space these out, first, draw the slash in the middle, followed by the two on the ends and finally the one in between them.
Draw each slash curved to show the curvature of the bread loaf. Make the slashes wider int he middle and pointy on their visible ends.
Once you’ve added the slashes you can brace over your drawing with darker pencil lines or a thin black marker.
Step 3 – Add Color
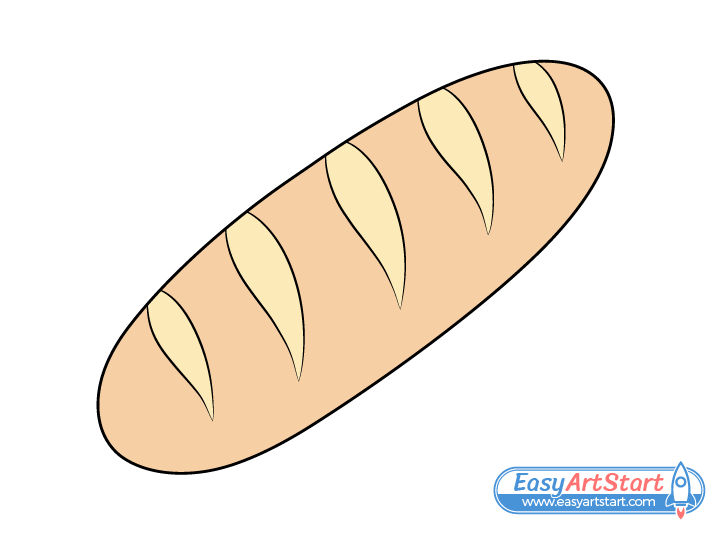
Paints or colored pencils can both bee good options for coloring this particular drawing. Make the main area of the bread yellow/brown and make the slashes a light yellow.
To get the yellow/brown either mix the appropriate color paints or apply the colors over top one another with a yellow and a brown pencil.
Step 4 – Add Shading
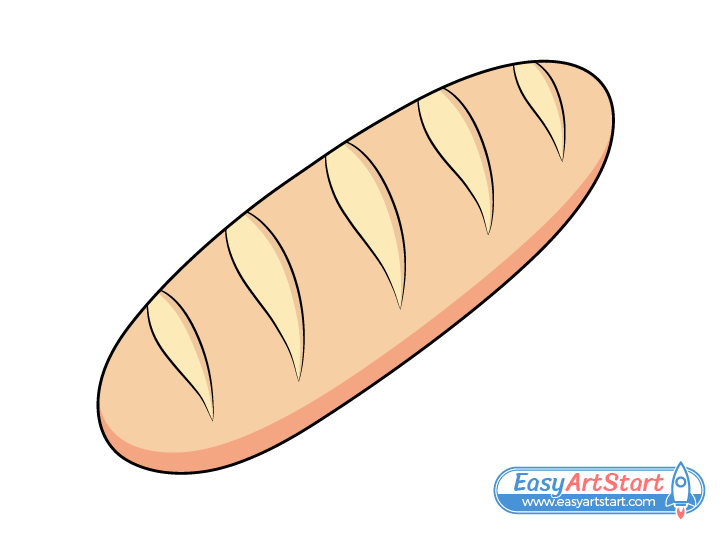
You may notice that in the previous step the drawing looks a little plain. You can fix this by adding some shading/color variation as in the example above.
In this case the light will be coming from somewhere above the bread so you can give it a darker (in shadow) area along the bottom. Make this orange/brown in color.
Also add some thin strips of darker color (the same yellow/brown used for the bread) along the upper edges of the slashes. This can both show shadows and the dough getting darker in those areas as it bakes.
Conclusion
This tutorial show to make a simple drawing of a loaf of french bread but also one that looks nice. By giving the baguette it’s characteristic shape and applying some very basic shading you can create nice looking artwork that does not require too much effort.
If you enjoy these kinds of simple step by step drawing guides also be sure to try the following:

