How to Draw an Orange Step by Step
This guide shows how to draw an orange in six simple steps. It provides easy to follow examples with a couple of time saving tricks.
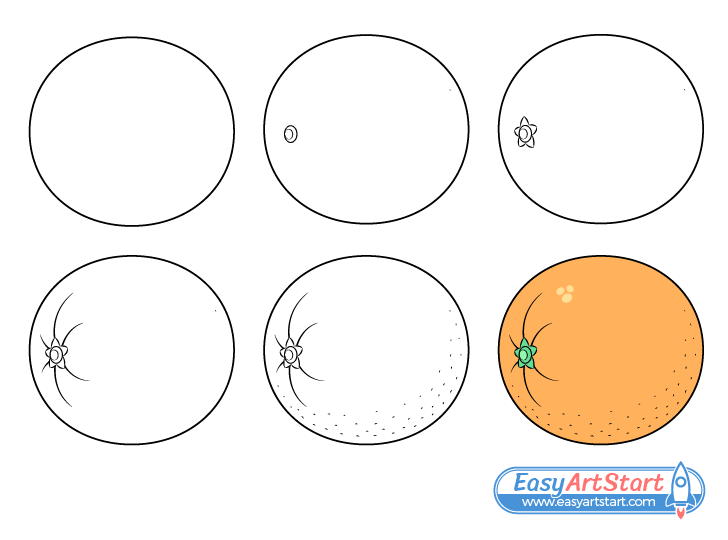
Orange is a very popular citrus fruit. It’s also one that is not too difficult to draw, especially with the step by step approach and tips provided in this tutorial.
While the steps are fairly simple, it’s still recommended that you start the tutorial in pencil and make light and easy to erase lines just in case you have to make a correction. You can darken your lines before coloring.
For drawing another kind of popular citrus fruit see:
How to Draw a Lemon (Easy Step by Step)
Step 1 – Outline the Shape of the Orange

Begin with a simple outline of the oranges main shape. Make this an oval as shown in the example.
Step 2 – Draw the Stalk Center
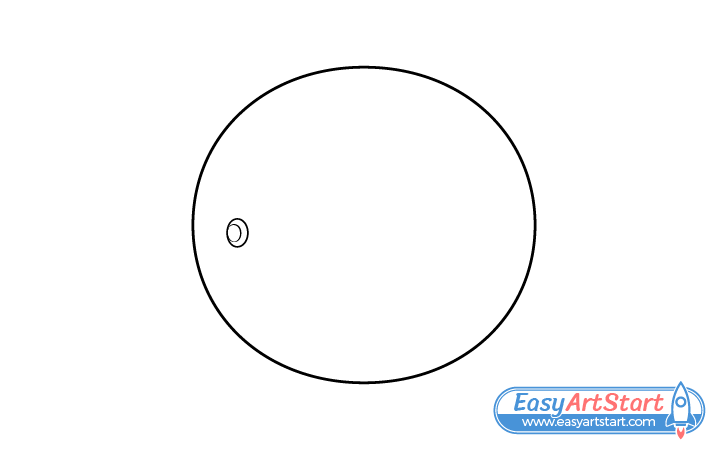
Draw the little bump of the stalk to one side of the orange’s outline. You can create it’s shape by drawing a pair of ovals, a larger one with a smaller one inside it.
Step 3 – Draw the Stalk “Leaves”
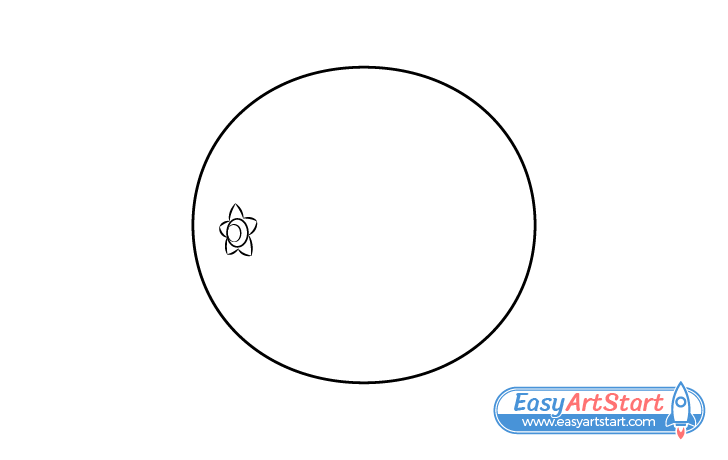
Around the “bump” draw the five little “leaves” that form a star-like shape as shown in the example.
Step 4 – Draw the Wrinkles
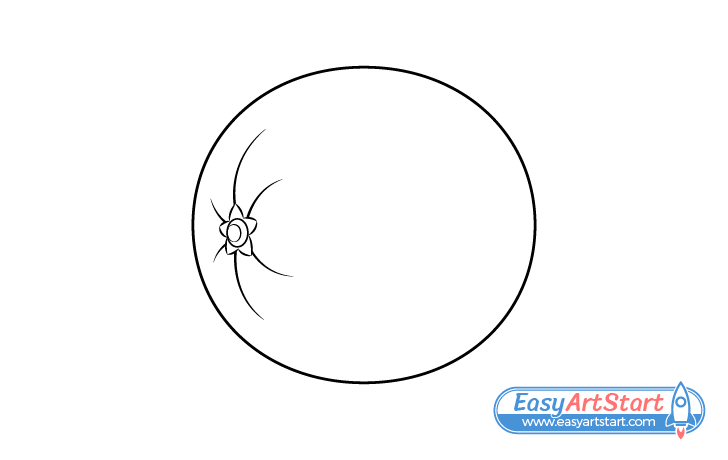
Going out from the stalk add the wrinkles that the skin of an orange tends to have in that area. You can show these as curves of varying length as in the example.
Step 5 – Draw the Bumps
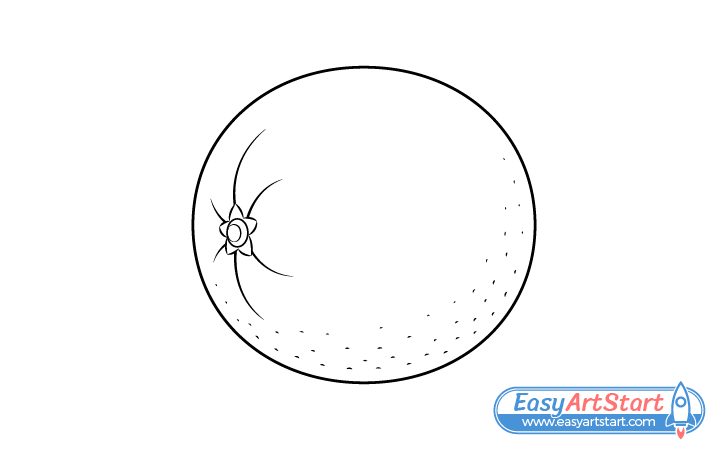
For the last set of details draw the little bumps that orange have along their skin. However, there is a little trick you can use for this step. Instead of drawing out the bumps throughout the entire surface you can just add them along the outline of the lower part of the orange. Make the bumps more visible (larger) around the edges and less visible (smaller) as they get closer to the center.
This will create a sense of the orange having an uneven texture without the need to draw the bumps throughout it’s entire surface.
Step 6 – Color the Orange Drawing
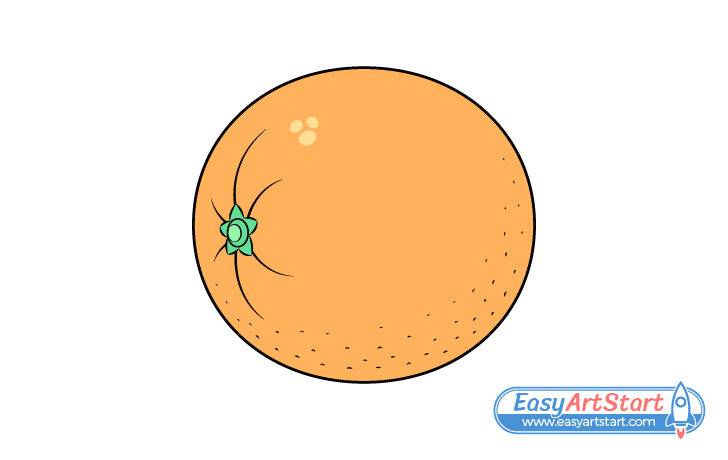
To color this particular drawing a marker can be great for getting the bright orange of the orange’s skin. You can use a green pencil for the stalk. Make it’s tip (the smaller oval from step two) a slightly lighter green. Also, leave a little cluster of lighter spots along the upper part of the orange (opposite the bumps) to show light reflecting from it’s skin. The reason you want to do this instead of outlining one big reflection is to again show that the orange has a bumpy texture that breaks up the light. You can color the reflections a lighter variant of the orange or just make them yellow.
Conclusion
This tutorial shows an easy way to draw an orange fruit with a simple step by step approach. Using the tricks shown in the examples you can simplify your artwork by creating only hints of certain details. This can save you a lot of time and effort while still creating a nice looking end result.
If you like these kinds of easy to follow step by step drawing guides with helpful tips and simple examples also be sure to try the following:

