How to Draw an Ice Cube (8 Steps)
This tutorial shows how to draw an ice cube, the kind that you might find in your freezer (generally used to cool drinks).
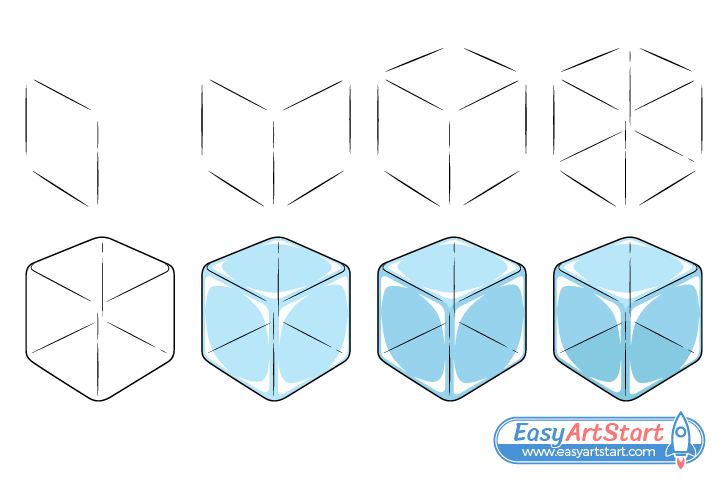
The ice cube in the example is draw in a slightly stylized way. However, it’s still fairly detailed and not overly simplistic. As such, the tutorial is beginner friendly but also provides enough of a challenge to be interesting.
It’s recommended that you start the drawing in pencil and use light lines that wont leave marks when erased (in case you need to make a correction). You can darken them once you’ve got the entire ice cube outlined.
For drawing a glass of water see:
How to Draw a Glass of Water (6 Steps)
Step 1 – Draw the First Side of the Ice Cube
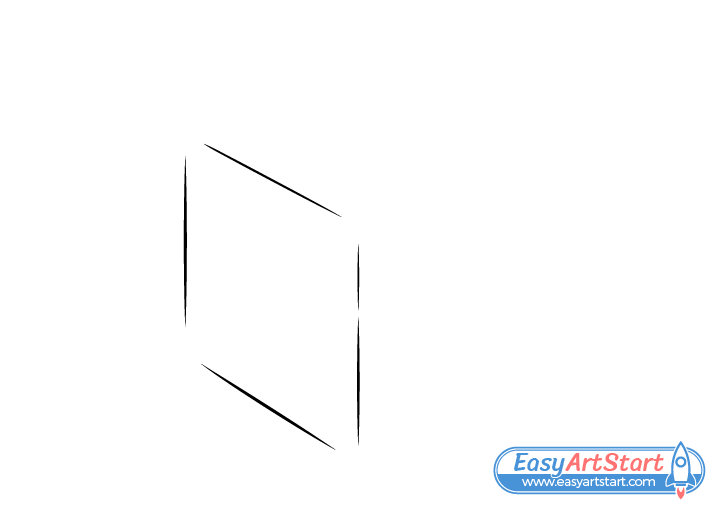
Begin the drawing with the first side of the ice cube. Start by making a pair of vertical lines to define it’s forward facing and side edges. Next, add a pair of angled lines to define it’s top and bottom. Try and not join any of the lines to one another so that the corners are open.
One important thing to note is that you want the side to get slightly narrower as it goes into the background.
Do this by drawing the lines that define it’s top and bottom to be very slightly angled towards one another as they go up (so that they join together if you were to extend them far enough). This will add a bit of perspective to the drawing (objects appearing smaller the further they are in the distance).
You can also add little gaps into a few of the lines to make the drawing look less like a wireframe.
Step 2 – Draw the Second Side
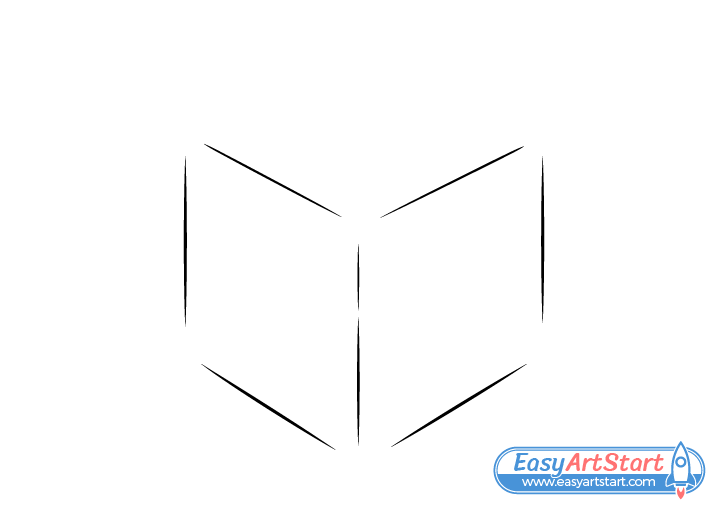
Draw the second side in pretty much the same way as the first one but make it just a tiny bit wider. This will make it look like it’s turned slightly more towards the viewer.
Step 3 – Draw the Top
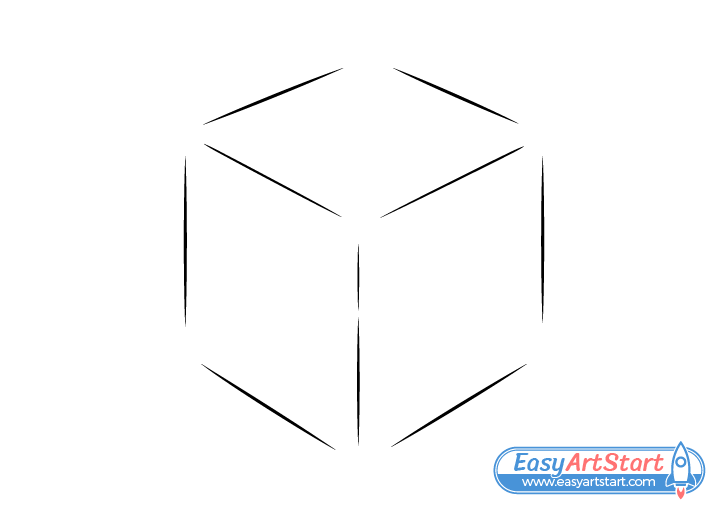
Define the top of the ice cube with another pair of lines (as in the example). Again, draw these in a way where they are slightly angled towards the upper edges of the sides as they go up.
Step 4 – Draw the Bottom & Background Sides
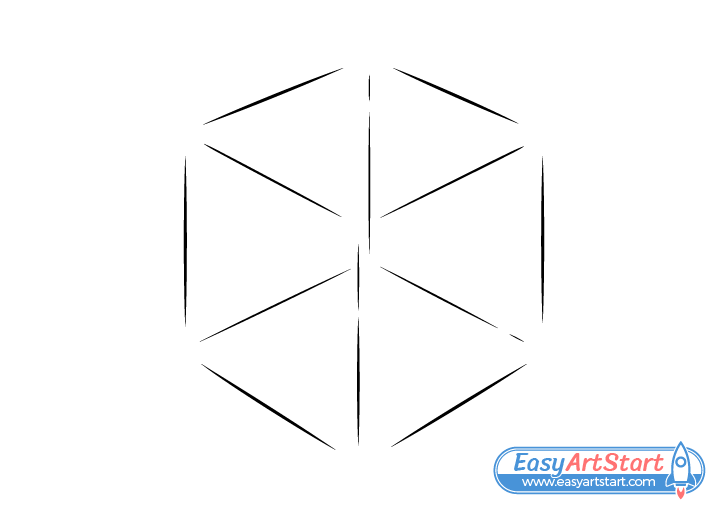
To make ice cube look transparent define it’s background edges as shown in the example. When drawing those along the bottom be careful not to angle them too much in one direction. You want it to be in between the angles of the lines below and above them.
Step 5 – Round Off the Corners
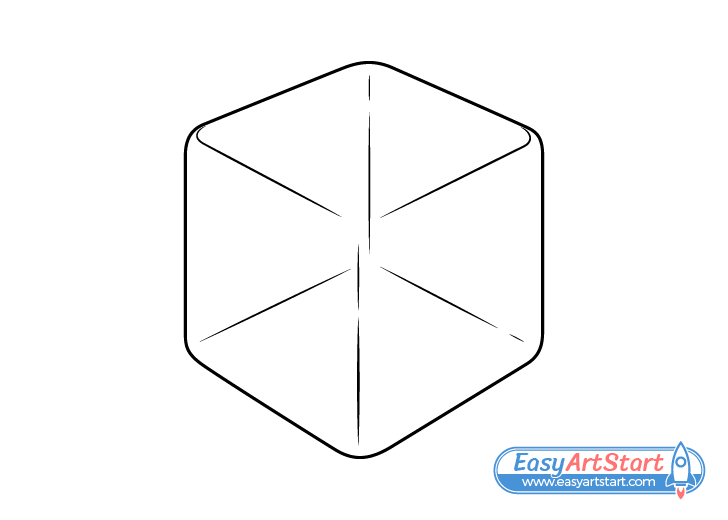
Once you’ve added of the ice cube’s sides, round off it’s outer corners as shown in the example.
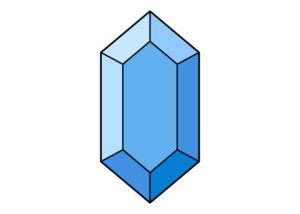
For drawing another item somewhat similar to an ice cube see:
How to Draw a Gemstone With a Nice & Simple Shape
Step 6 – Color the Ice Cube
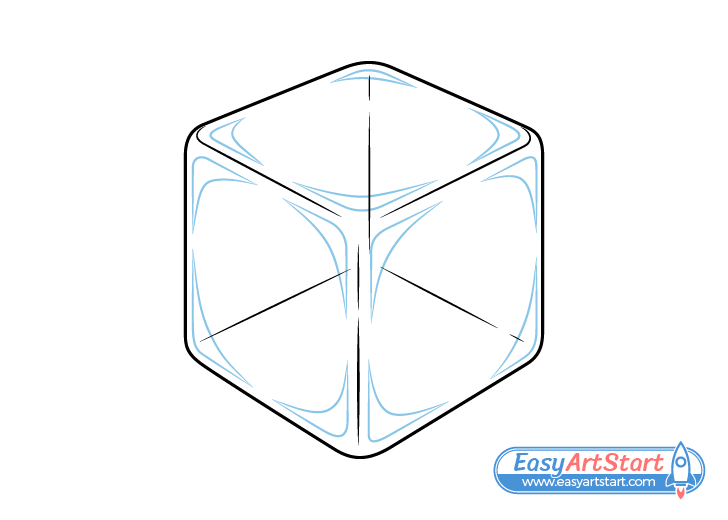
An easy way to color the ice cube is with colored pencils but you can use other mediums if you prefer. Before you color outline reflections along it’s corners (as shown in the example).
The reflections are very important in creating a sense of a smooth surface and making the ice cube look like actual ice. You can define them with either blue or very light regular pencil lines.
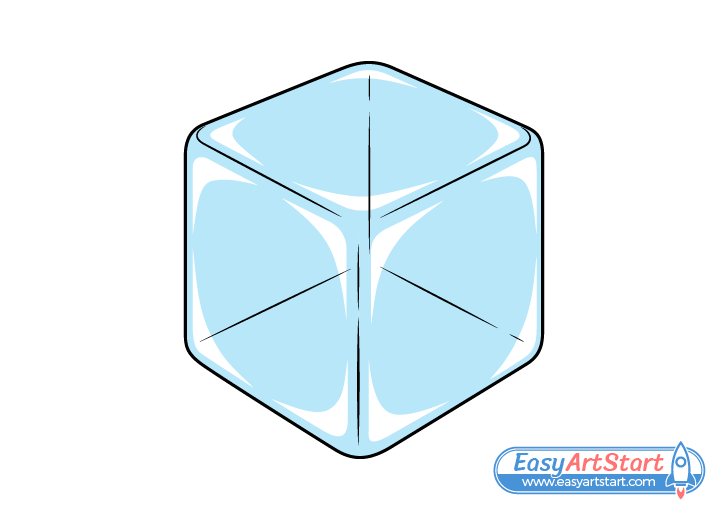
Once you have the reflections outlined color the ice cube a light blue and leave the reflections white.
For another tutorial that uses a similar approach see:
How to Draw a Water Drop in 4 Easy Step
Step 7 – Shade the Sides
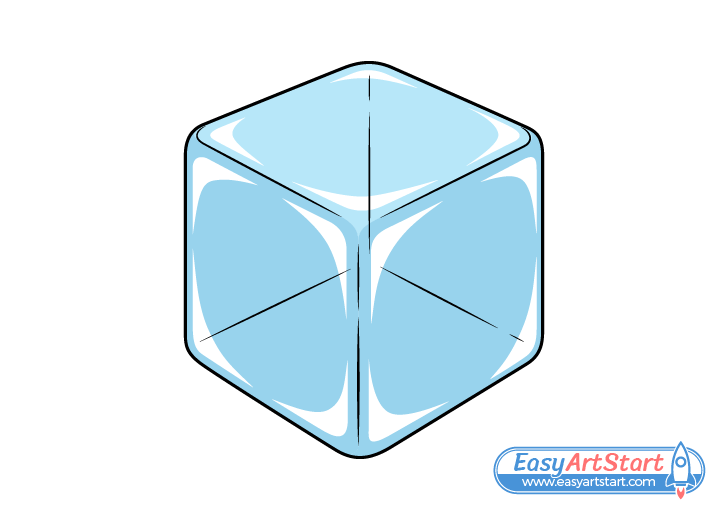
Lightly shade the sides of the ice cube so that they are a little darker than the the top. You can do this by either going over them with a darker blue (just press slightly harder on a blue pencil) or regular pencil shading.
Step 8 – Shade the Bottom
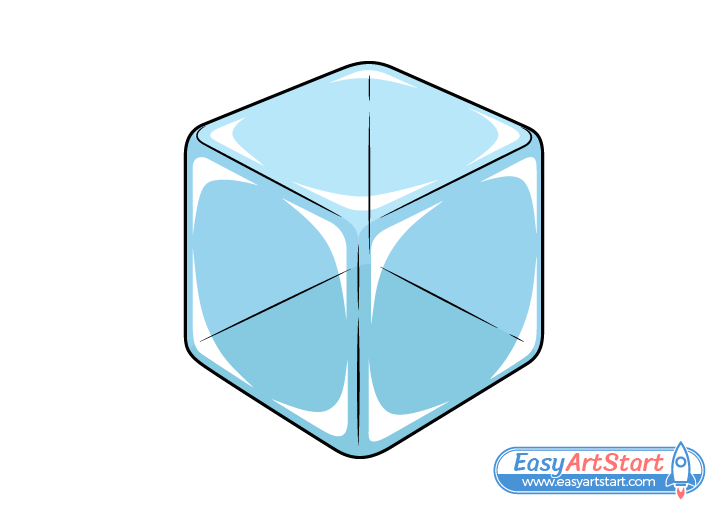
To finish the drawing make the ice cube’s bottom slightly darker than the sides. You can yet again do it with a blue or a regular pencil.
Conclusion
This tutorial shows how to draw a slightly stylized cube of ice. As was done in the examples, a good approach to doing so is to first define it’s forward facing sides followed by the top and background. You can then outline the reflections and apply some basic color and shading.
If you’ve found this tutorial interesting and helpful you might also like the following drawing guides:

