How to Draw an Ice Cream Step by Step
This tutorial shows how to draw an ice cream cone with a single scoop of ice cream on top in six illustrated steps.
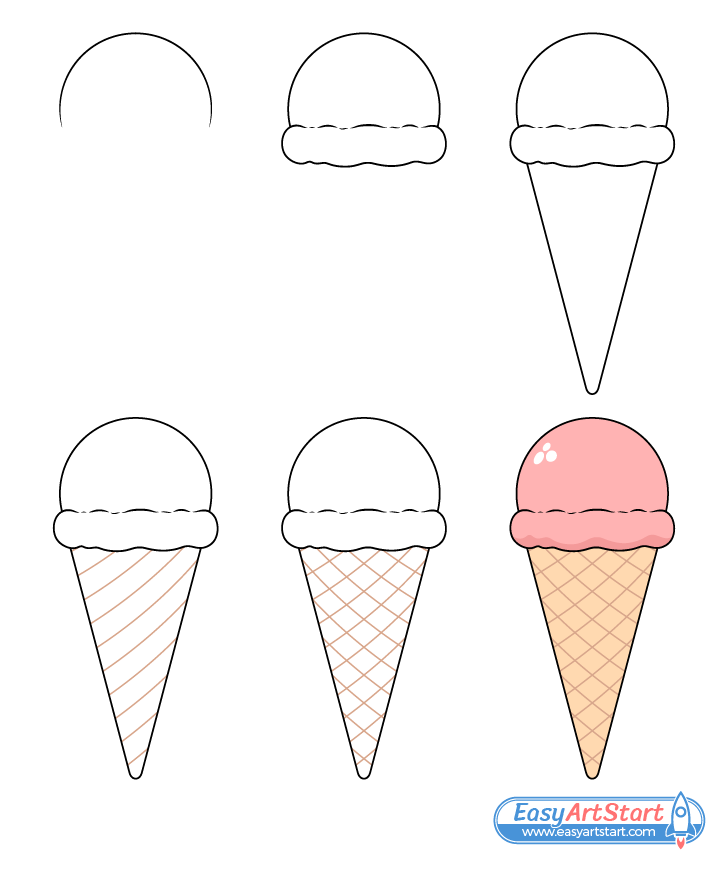
The ice cream cone in the example is slightly stylized/simplified to make it easier to draw. Although, even a stylized art can be made to look very much like the object it’s intended to represent (in this case an ice cream) if done in the right way. This tutorial shows how you can use a fairly basic line drawing with simple color and a little bit of light and shadow to achieve this.
This guide is slightly unusual compared to other tutorials here on EasyArtStart as part of the line drawing is traced over in color. However, you should still initially make all of your lines in regular pencil and keep them light so that they can be easily erased in case of a mistake.
For drawing an ice cube see:
How to Draw an Ice Cube (8 Steps)
Step 1 – Outline the Top of the Ice Cream Scoop
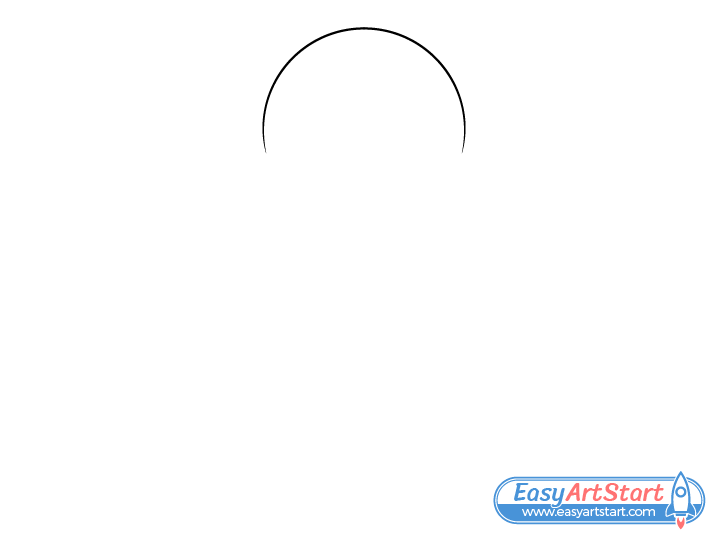
First outline the upper part of the ice cream. Draw it’s shape as a little more than a half circle leaving the bottom part open.
Step 2 – Draw the Bottom of the Scoop
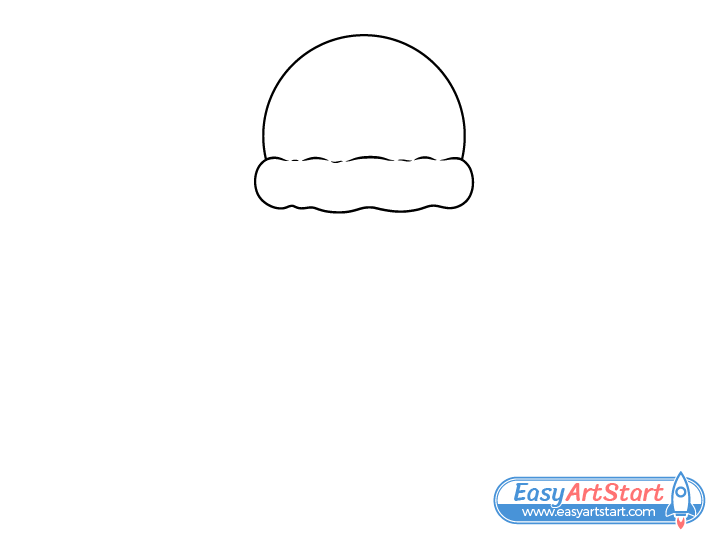
Ice cream tend to get a rim along it’s bottom when pressed into the cone by the scoop. Unlike the rounded top this part tend to have a somewhat uneven shape. Draw the rim with a series of broke up curves/waves at the top, curved sides, and a wavy bottom (as shown in the example).
Step 3 – Draw the Cone
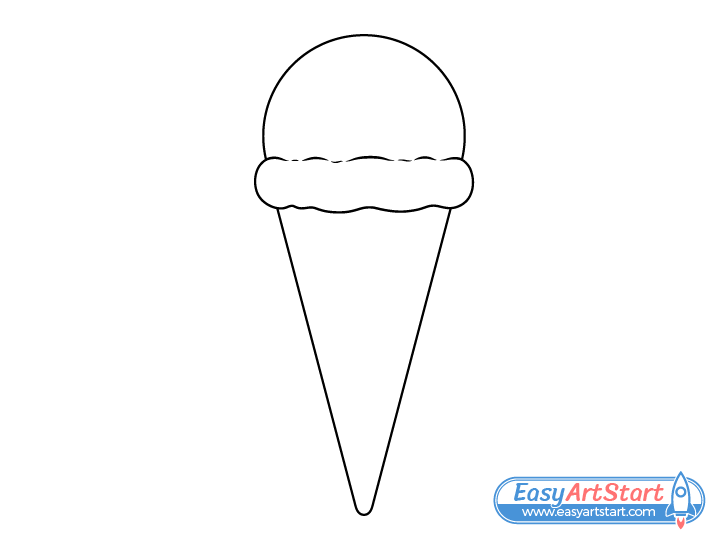
Going down from the rim add the cone. Make it thinner as it goes down with a rounded bottom end. If you want to make sure the cone lines up well with ice cream and is not crooked you can draw a straight vertical line running through the middle of the scoop all the way down where you wish to have the bottom of the cone (to use as a guide). You can then erase it once you have the cone outlined.
Step 4 – Draw Stripes Along the Cone
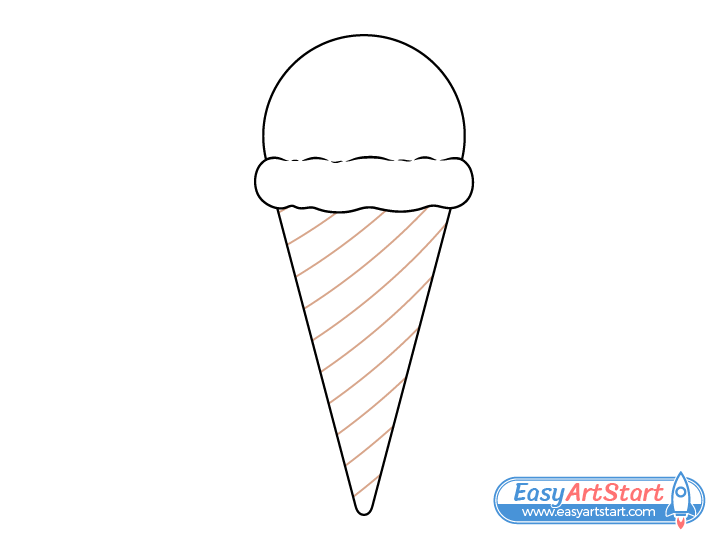
Once you have all the main parts of the ice cream outlined trace over your drawing with darker pencil lines or a black marker.
Next, start working on adding the grid pattern that is so characteristic of an ice cream cone. Do this by first making a series of curved angled lines running through it’s entire length. Try and space these out as evenly as you can.
You will eventually want to trace over the light lines with a brown pencil or marker. However, you can wait until after adding the second set of lines if you prefer.
Step 5 – Draw Overlapping Stripes to Make a Grid Pattern
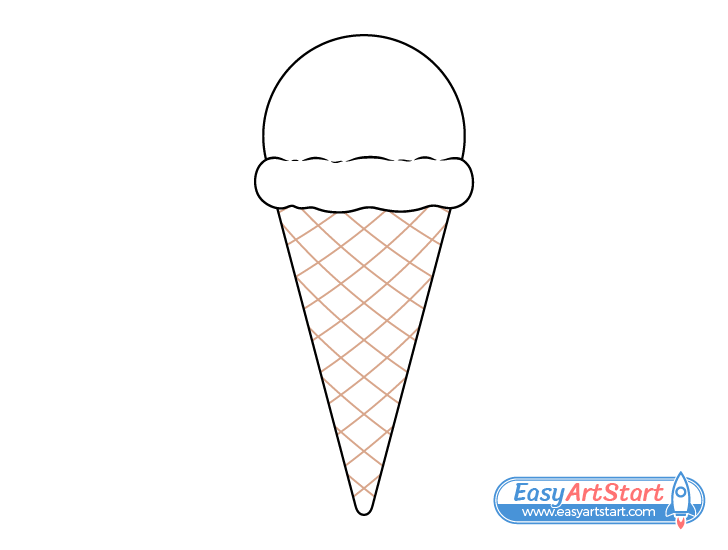
Draw a second overlapping set of curved lines to create the grid along the cone’s surface. Trace over all of these lines with a brown pencil/marker as well.
The reason you want to make these lines brown instead of black/regular pencil is so that they don’t stand out too much. If too dark the grid can appear more like a net pulled over the cone than as part of it’s texture.
Step 6 – Color the Ice Cream
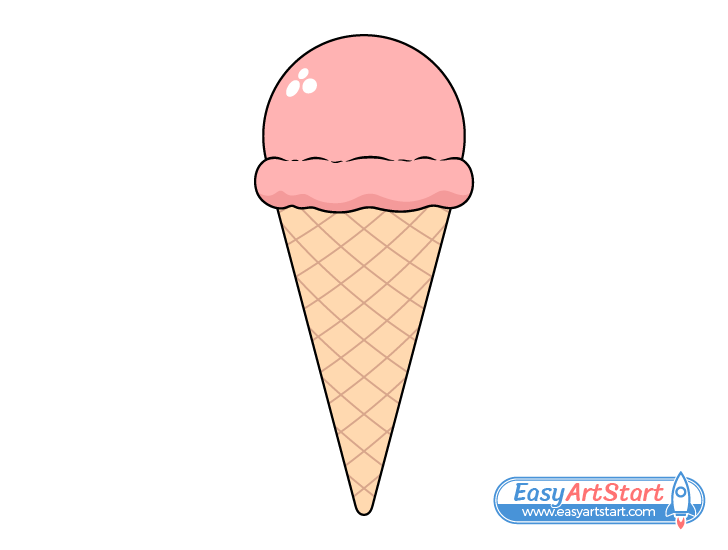
You can color the ice cream different colors depending on what flavor you with to show. For example the pink in this example can be good for strawberry, raspberry or cherry.
For tutorials on drawing those see:
- How to Draw a Strawberry Step by Step
- How to Draw a Raspberry in 8 Steps
- How to Draw Cherries in Six Steps
Brown can be good for a chocolate ice cream and just leaving it white can be good for vanilla.
Unless going with the white/vanilla you should leave a little cluster of white spots along the upper end of one of it’s sides. This will show light reflecting from the ice cream giving it a smoother look (kind of like when it just starts to melt).
Color the cone an orange/yellow/brown. You can either create this by applying the appropriate colors in several layers with colored pencils or by mixing the right paints.
You can use whatever medium you like to color the ice cream itself.
Once done coloring also add a shadow running along the bottom end of the “rim” (as shown in the example). Either create this with a darker version of the color you use for the ice cream or by lightly going over the color in regular pencil.
Conclusion
This tutorial shows a fairly easy way to draw an ice cream cone. By properly structuring the line drawing and by showing a little bit of light and shadow you can create art that clearly looks like an ice cream’s even when stylized.
I you enjoy these kinds of easy to follow step by step tutorial with simple but helpful tips also be sure to try the following:

