How to Draw an Apple Step by Step
This tutorial shows how to draw an apple in six simple steps. It includes easy to follow illustrated example and helpful instructions.
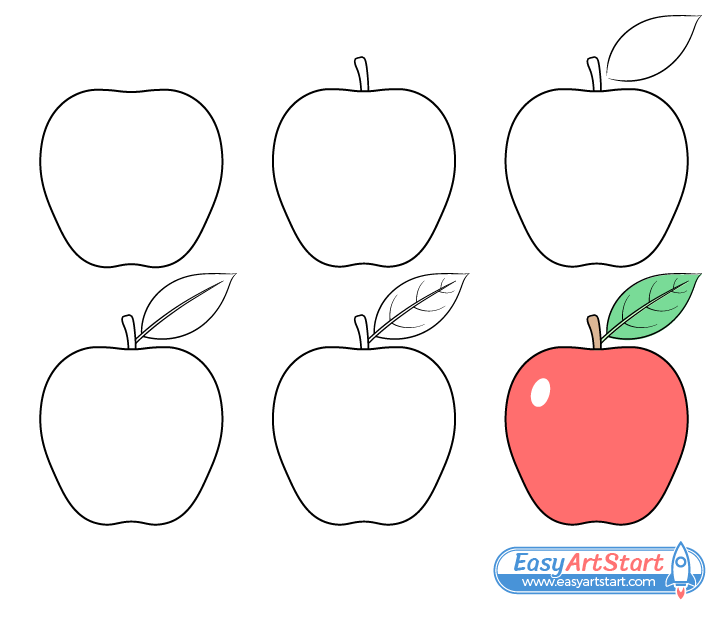
The apple in the example is drawn with shape that is very characteristic of such fruit and with a little green leaf to make the drawing more interesting.
Although this guide is quite simple it’s recommended that if you are going to be following along you should do so in pencil until you have all parts of the apple outlined. Also, be sure to make light and easy to erase lines so they they don’t leave marks if you have to make a correction.
You can darken your lines by tracing over them before coloring.
Step 1 – Draw an Outline of the Apple

Start by outlining the main shape of the apple. Make it narrower at the bottom and wider near the top. Also draw it’s outline with an upwards curve at the bottom and a downwards curve at at the top (both in the middle).
Try to make it so that one side of the apple mirrors the other. This will make for a nicer looking drawing.
You can optionally draw a straight line through the middle of the apple to help you see if both halves are symmetrical. If you do so you can erase it after completing this step.
Step 2 – Draw the Stem
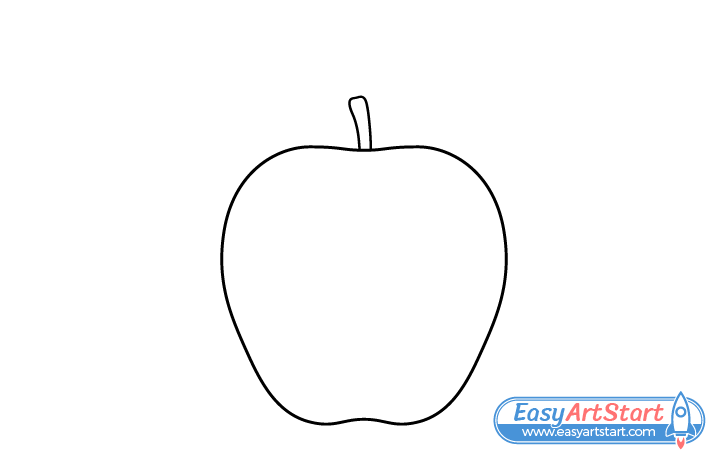
At the top of the apple draw a lightly curved stem that gets wider as it goes up.
Step 3 – Outline the Leaf
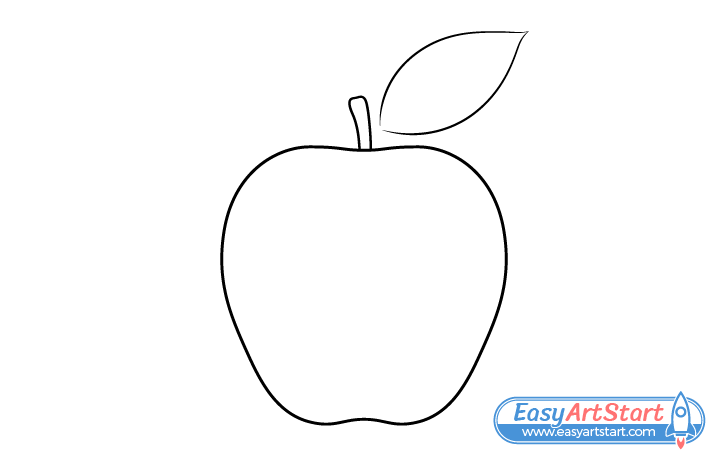
To one side of the stem draw an outline of the leaf. You can define it’s shape with a pair of curves and give it a pointy tip on it’s outer end.
Step 4 – Draw the Leaf’s Petiole/Midrib
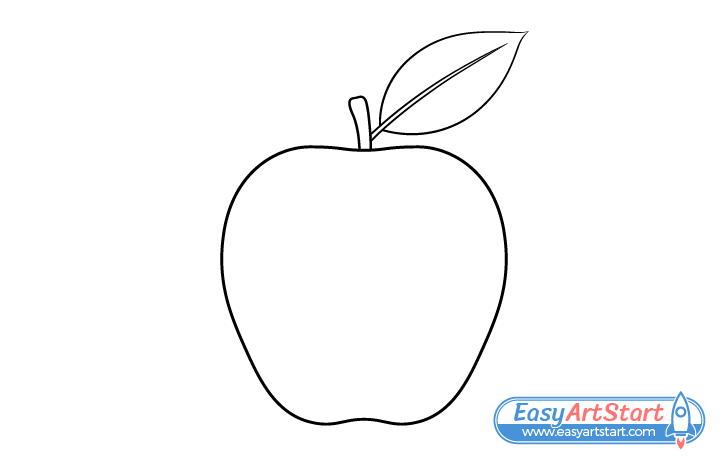
Going through the middle of the leaf add the petiole/midrib (as shown in the example).
For more on drawing a leaf and it’s various parts see:
How to Draw a Leaf Step by Step
Step 5 – Draw the Leaf’s Veins
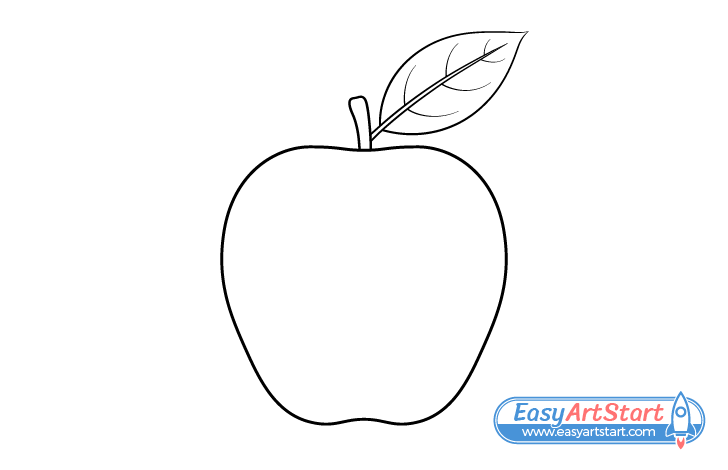
Going out from the midrib draw a few curved veins. Make these shorter the farther they are position up the leaf.
Step 6 – Color the Apple
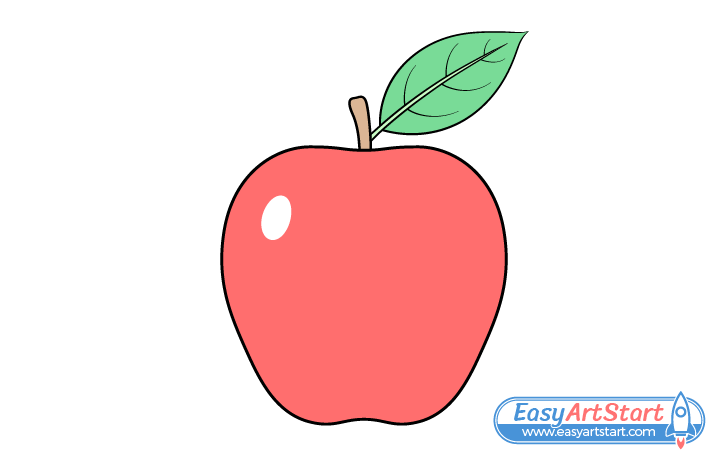
To color the apple you can use any medium you like (paints, colored pencils, markers, etc…).
Make the apple red, the stem brown and the leaf green (with a lighter green petiole/midrib). When coloring the apple be sure to leave a small white area to one of its sides. This is to show light reflecting from it’s the apple and help convey that it has a smooth surface.
Alternatively you can make the apple a different color such as yellow or green. You can also give a transition from one color to another as it done for this peach drawing tutorial:
How to Draw a Peach in Six Steps
Conclusion
Even a fairly simple drawing can look nice if it properly captures the important traits of a particular object. This guide shows how you can draw a nice looking apple by giving it a shape that is very characteristic of such a fruit.
For more similar step by step tutorials also try the following:


