How to Draw a Watermelon Slice (6 Steps)
This tutorial shows how to draw a watermelon slice with the skin, rind and seeds using step by step illustrated examples.
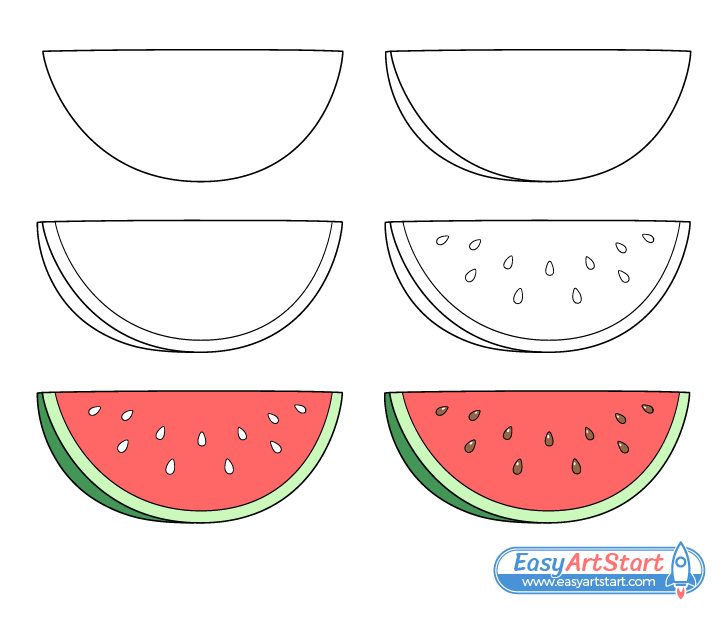
The watermelon in the example is done in a fairly simple beginner friendly style. However, it still looks good due to a few easy tricks that are explained in this guide.
It’s recommended that you start the tutorial in pencil and make light and easy to erase line just in case you happen to make a mistake. You can darken them once you’ve got all parts of the slice drawn out.
Step 1 – Outline the Main Shape of the Slice
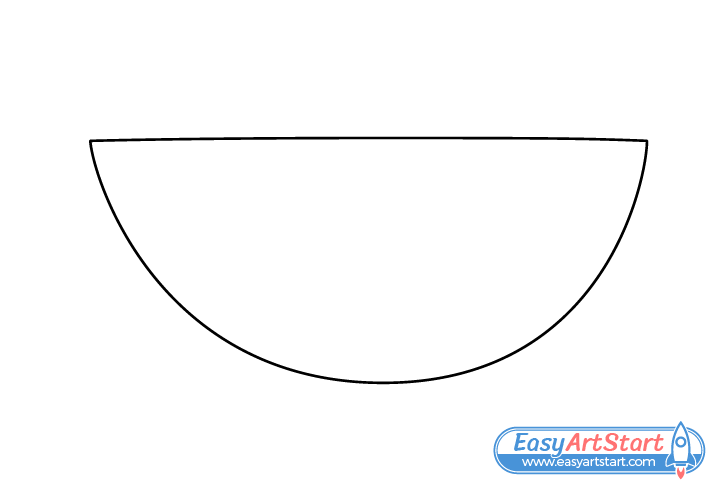
Begin by outlining the main shape of the watermelon slice. Draw it’s bottom as one continuous curve and draw it’s top fairly flat in comparison (though also a tiny bit curved).
Step 2 – Draw the Skin

To make the drawing much more interesting (with hardly any extra effort) turn it into a 3/4 view one. Do this by adding the area on the side that will make it look like the slice is slightly rotated (as in the example).
The above will help give the drawing a more 3d look and will also show a little bit of the watermelon’s outer skin. Coloring the skin a dark green (later on) can make things look even nicer as it goes quite well with the other colors (especially the red).
Step 3 – Draw the Rind
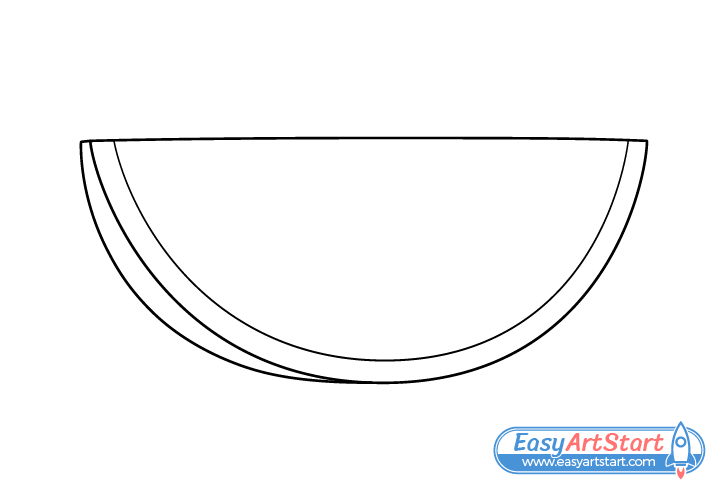
Outline the rind (the part between the skin and flesh of the watermelon) by drawing a second smaller curve following along the one that defines the bottom of the slice.
Step 4 – Draw the Seeds
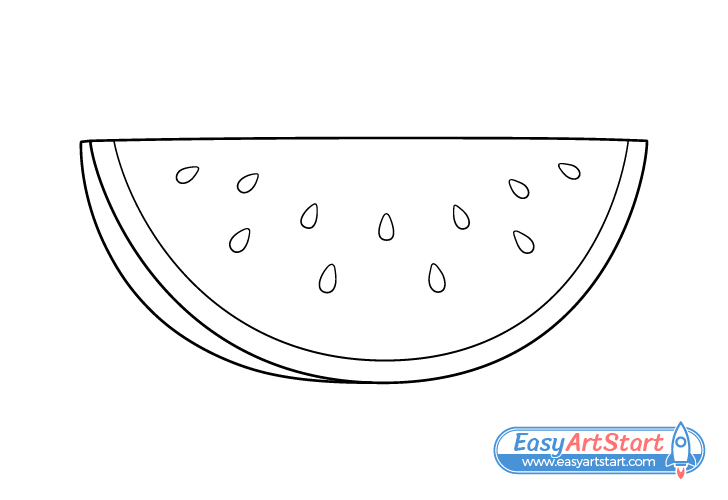
Draw the seeds with all of them pointing at the slice’s middle Add them in two curved rows starting with the one at the bottom. Add the top row with it’s seeds positioned in between those below them.
Once you’ve outlined all parts of the watermelon slice trace over your drawing with darker lines. Either press harder on the pencil or use a black marker.
Step 5 – Color the Flesh, Rind & Skin
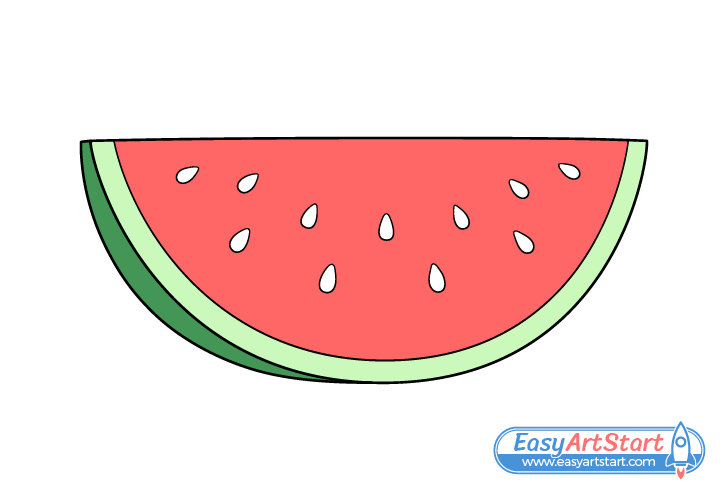
To color the watermelon make the flesh red, the rind a light yellow-green and the skin a dark green. Don’t yet color the seeds.
For bright colors like those in the example markers can be a good option but you can also mix and match different mediums (whatever you have available).
Step 6 – Color the Seeds
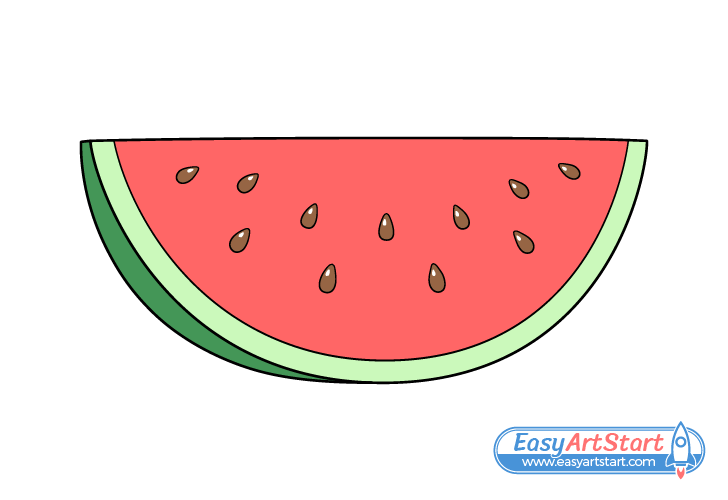
For this last step color the seeds brown but leave a little white reflection inside each of them. This is a small but important detail as it will help them look shiny an wet (like the seeds inside a watermelon generally are).
Conclusion
This tutorial shows how you can use some very basic tricks to create a nice looking drawing of a watermelon slice. Using a 3/4 view can give the slice a more three dimensional look. It also allows you to show some of it’s dark green outer skin. The dark green looks great when combined with the outer colors and can help the drawing stand out even further.
In addition to the above, adding the little reflections inside each of the seeds can help the slice look wet and juicy.
Hopefully you’ve enjoyed the tutorial and found the tips helpful. For more similar drawing guides also try the following:


