How to Draw a USB Stick (6 Easy Steps)
This tutorial show how to draw a USB stick (also known as a USB flash drive or USB key) using an easy step by step approach.
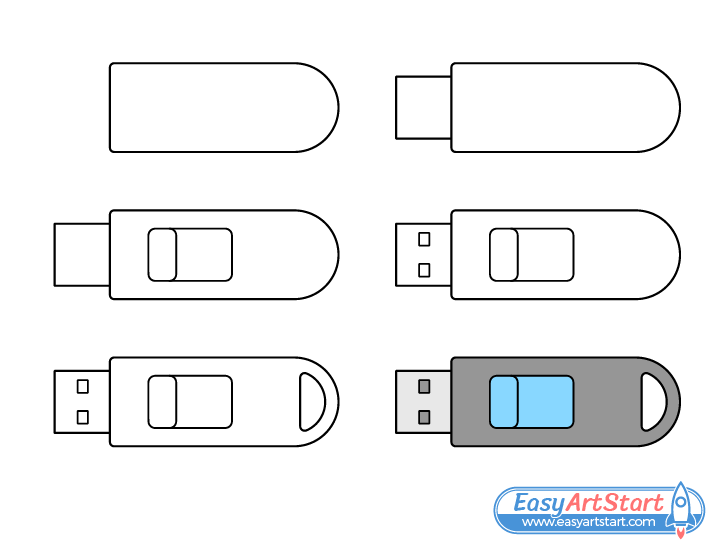
The USB stick in the example is one with a fairly standard design that features a simple sliding mechanism to retract the connector. The kind of connector shown is that of a USB Type A.
While the tutorial is quite easy it’s recommended that you start it in pencil and draw light line that won’t leave marks when erased (in case you need to correct a mistake). Darken them once you’ve got all parts of the USB stick outlined.
For drawing a different kind of key (the kind used to open locks) see:
How to Draw a Key Step by Step (Easy)
Step 1 – Draw the Main Body of the USB Stick
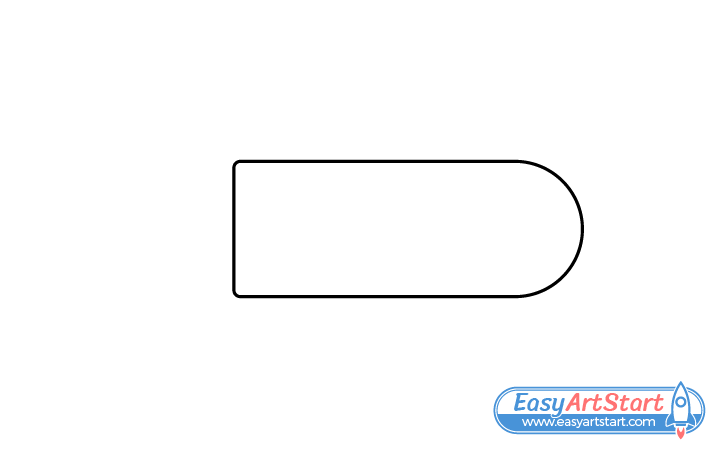
Start by drawing the main body of the USB stick as shown in the example above. Make it flat on it’s front end (with slightly rounded corners) and rounded on it’s back end.
Step 2 – Draw the Connector
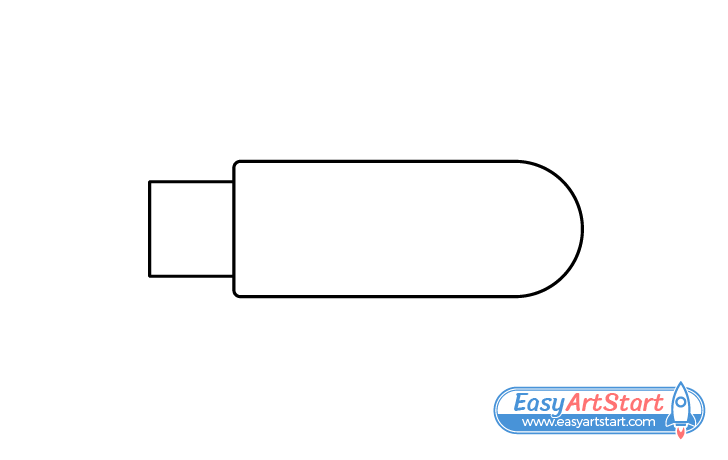
Onto the front of the body add the outline of the connector. Make it rectangular in shape.
Step 3 – Draw the Sliding Mechanism
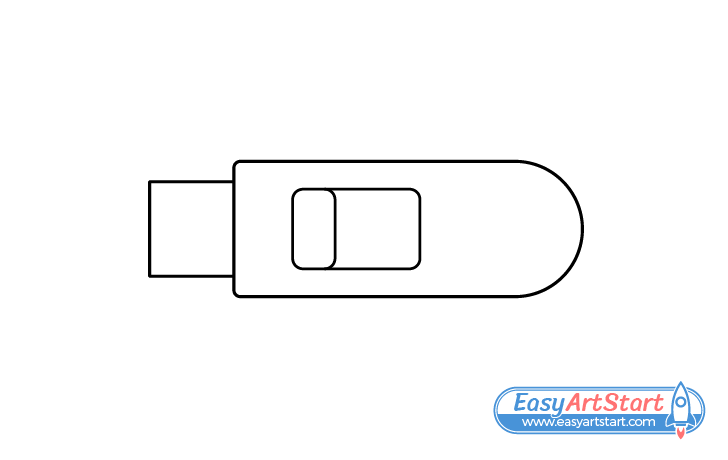
Inside the outline of the body draw the sliding mechanism. Do this by first outlining a rectangle with rounded corners. Next, draw the slider as a small rectangle positioned at the forward facing end of the larger one.
Step 4 – Draw the Connector Holes
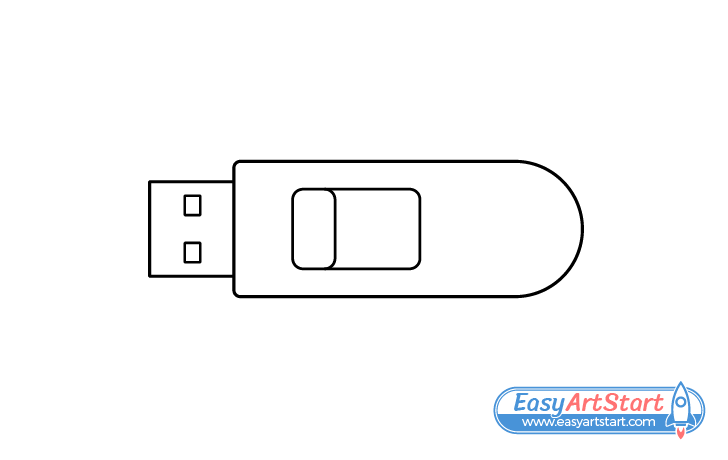
Add a pair of rectangular holes to the connector that are used to lock the flash drive in place when it’s plugged into a USB port.
Step 5 – Draw the Opening at the Back
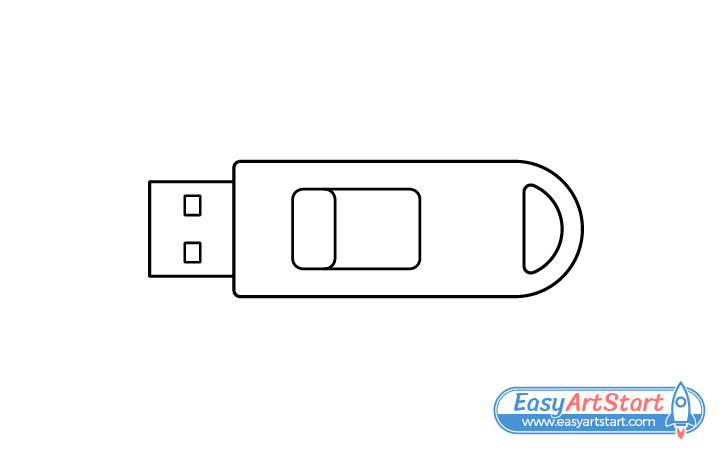
For this optional step you can draw an opening at the back of the main body of the USB stick (as shown in the example). Flash drives often have these so that you can hang them onto something if needed.
Once you’ve added all of the parts you can trace over your drawing with a thin black marker. If you don’t have one around simply darken your lines by pressing harder on the pencil.
Step 6 – Color the USB Stick
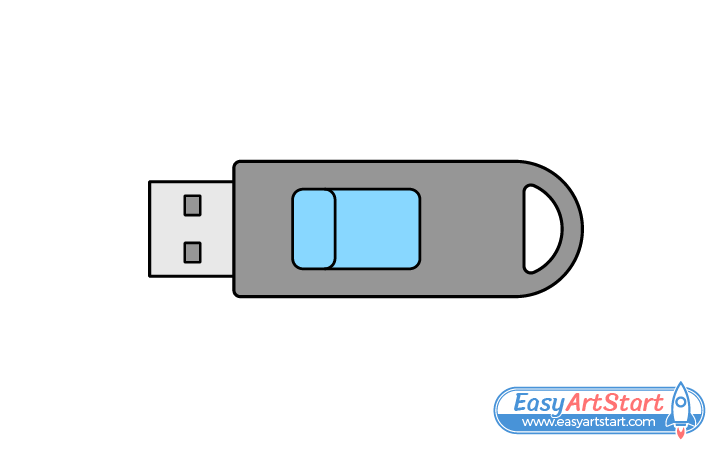
You can use whatever colors you like for the main body of the USB stick and the slider. In this case they are dark grey and blue.
Make the connector a light grey (for a metallic look) and make the holes in it a dark grey. You can use a regular pencil for both.
Conclusion
This tutorial shows how to draw a USB stick with a fairly common design. Due to it being so simple there is no particular trick to drawing one. Generally you just want to start with the largest and/or more important parts and work down to the smaller ones.
If you would like to have a bit more fun with the tutorial you can change up the look of some parts of the USB stick and see what kind of a design you come up with.
For more step by step drawing guides with various helpful tips and advice try the following:


