How to Draw a Tomato Step by Step
This tutorial shows how to draw a tomato with it’s stem. It provides simple illustrations (as examples) followed by quick instructions.
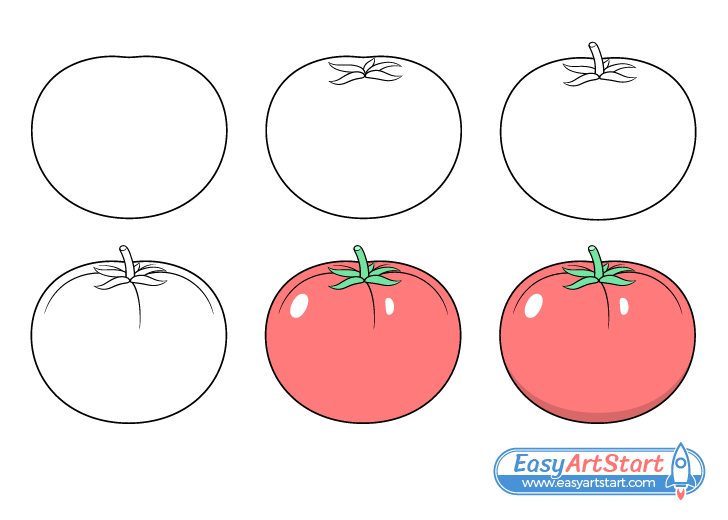
The guide is fairly straightforward where first the different parts of the tomato are added in different steps followed by a bit of color and shading. The focus of the tutorial is on creating a shape characteristic of a tomato and on applying the color an shading in an effective way.
Please note that if you are going to be following along with the steps you will need to erase a little bit of the drawing when adding the stem. For this reason be sure to start the tutorial in pencil and make light lines that won’t leave marks when erased. You can darken them once you have all parts of the tomato drawn out.
Step 1 – Draw an Outline of the Tomato
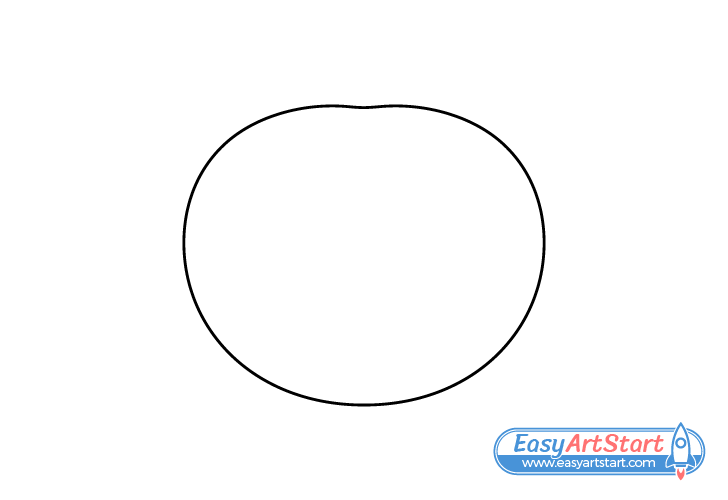
Begin by outlining the overall shape of the tomato. Draw this like an oval but with a small downwards curve at the top middle. Sort of like it’s been dented there.
Step 2 – Draw the Little “Leaf Crown” on Top
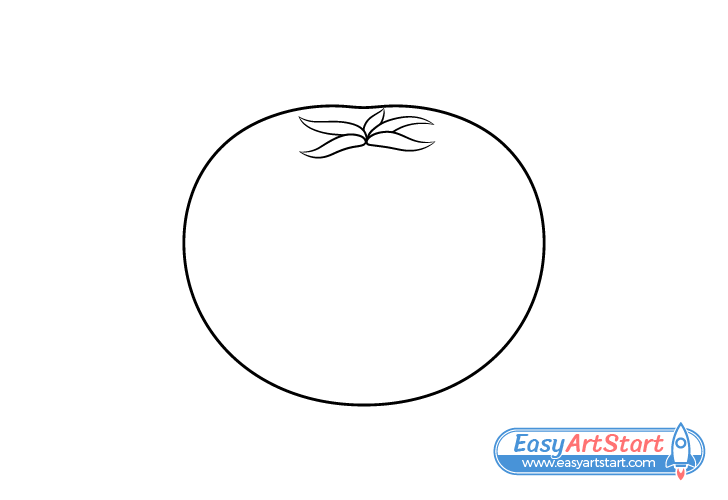
Draw a “crown” of little “leaves” (called sepals) towards the upper middle of the tomato’s outline. Generally tomatoes have at least five of these (as in the example).
Draw each “leaf” with a curve or a wave to it’s shape. Make them narrower at the base, wider towards the middle and with pointy tips on their outer ends.
For drawing an actual leaf see:
How to Draw a Leaf Step by Step
Step 3 – Draw the Stem
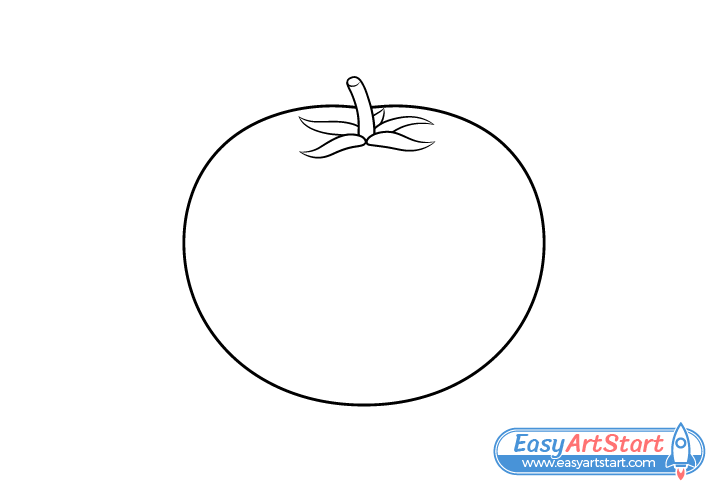
Growing out of the middle of the “leaf” cluster add the stem. Draw it slightly curved and make it a little narrower as it goes up.
As mentioned at the start of the tutorial, you will need to erase a bit of the drawing when adding this part of the tomato.
Step 4 – Draw the Wrinkles
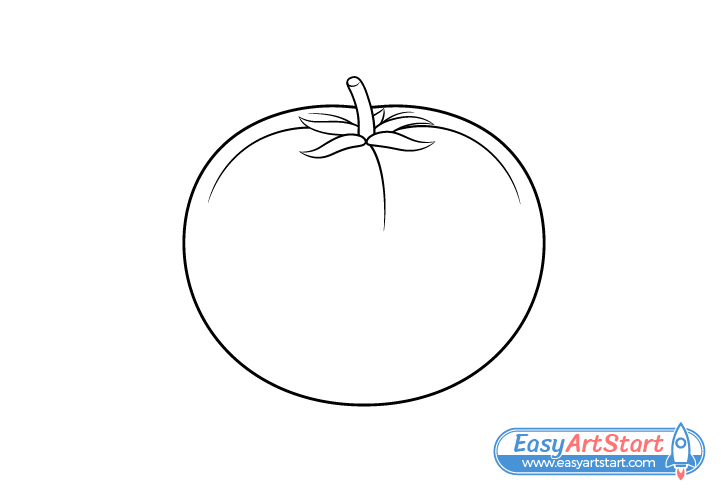
Tomatoes, especially large ones, tend to have wrinkles . Show a few of these going out from the stem using curved lines.
With the wrinkles drawn out you can darken your lines. Trace over them with the pencil or a black marker but make sure that you are happy with how things look before doing so.
Step 5 – Add Color
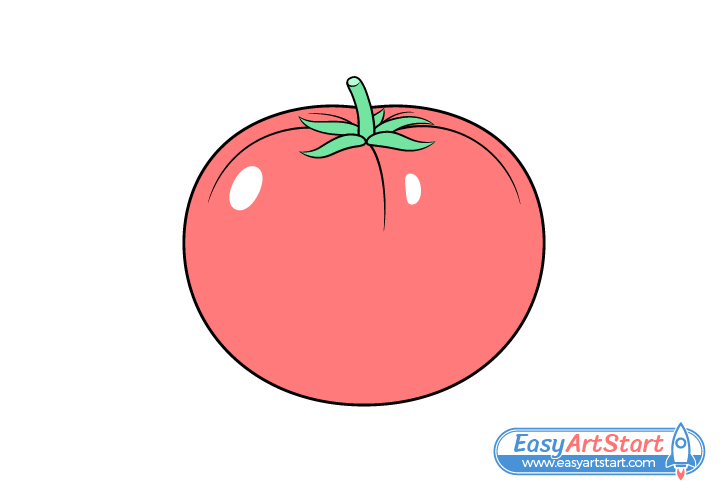
Markers can be a good option for coloring the tomato as they tend to create bright colors. However, if you don’t have any around just use whatever you have available.
Make the tomato red and the stem with the little “leaves” green. Also, leave a couple of white spots on the bumps created by the wrinkles. These will show reflections and help convey that the tomato has a smooth surface.
Step 6 – Add a Shadow
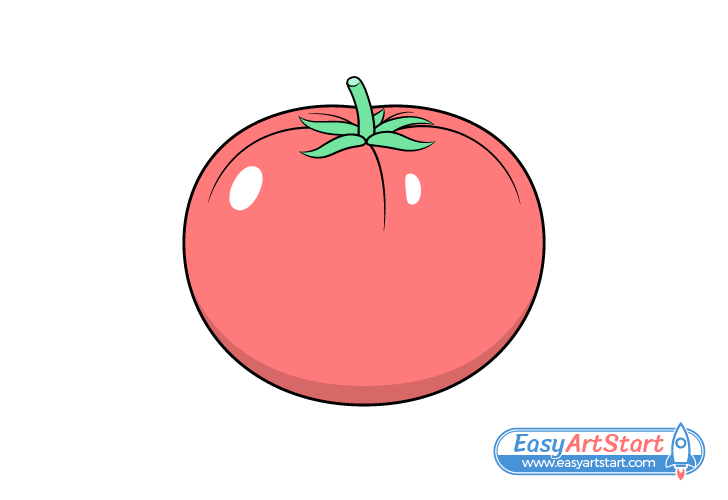
For this last step add a shadow curving along the bottom of the tomato. To do this simply darken the area with a regular pencil. Combined with the reflections the shadow can make the otherwise flat looking drawing appear to have more volume.
Conclusion
This tutorial shows how to draw a simple tomato one part at a time. It first shows how to create a shape that is characteristic of such a fruit (yes tomatoes are considered fruit) and then how to apply some very basic color and shading in an effective way. When combined, these tips can help you create a nice looking drawing that does not require too much effort.
If you like these kinds of guides with helpful and simple instructions also be sure to try the following:


