How to Draw a T-Shirt Step by Step
This tutorial shows how to draw a t-shirt in four easy steps with clean illustrated examples and straightforward instructions.
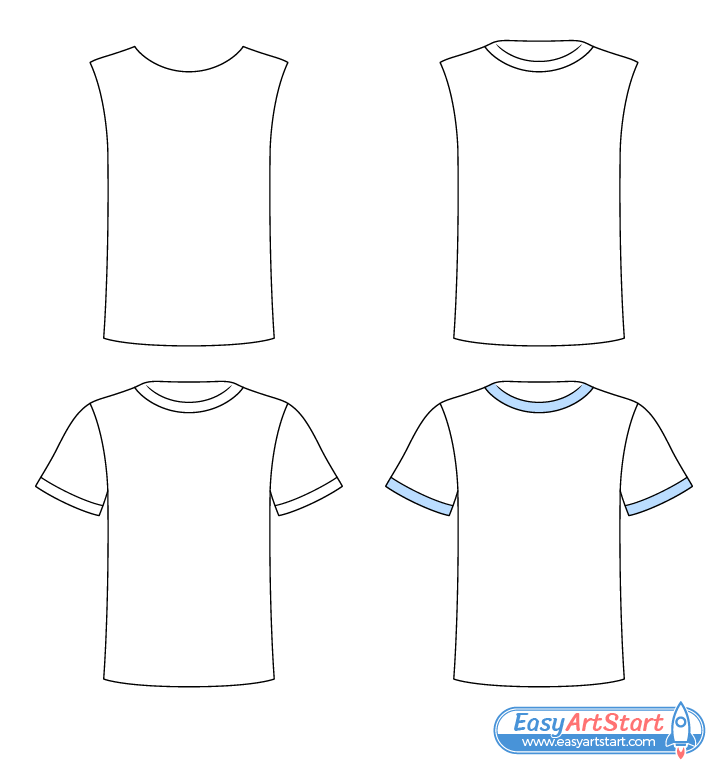
The example is of a common short sleeve t-shirt with a basic design (as you can see in the preview image above). As such, the tutorial is fairly simple and beginner friendly. If you wish to make things more interesting you can also improvise and add other elements such as a logo.
This guide is put together in a way where ideally you won’t need to do any erasing. However, to be safe it’s recommended that you start the drawing in pencil and make light lines until you have all parts of the t-shirt outlined. You can then trace over them with a thin black or darken them with the pencil.
For drawing a pair of jeans (commonly worn with a t-shirt) see:
Step 1 – Draw the Main Body of the T-Shirt
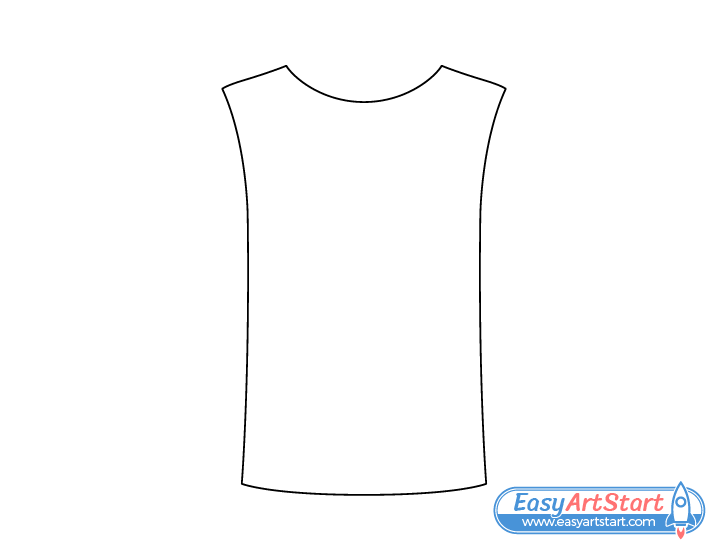
Begin by outlining the main part of the shirt that goes over the body. This should look like a vest when drawn out (as in the example above).
Start the drawing with the curve of the neck opening followed by the shoulders, sides and finally the the bottom. Ideally you want the drawing to be fairly symmetrical, although it does not need to be perfectly so.
If you need a little more help with the symmetry you can draw a straight vertical line through the middle of the t-shirt. This can make it easier to see if both of it’s sides are even. You can then erase it once done with step three of the tutorial.
Step 2 – Draw the Neckline
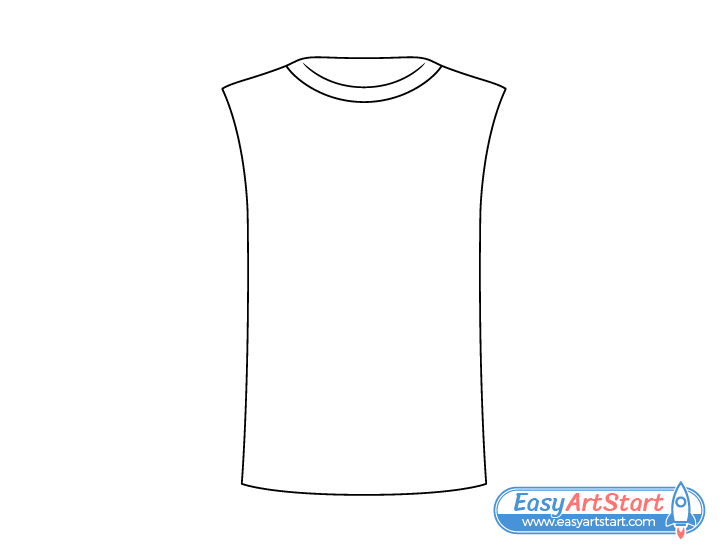
Around the neck opening add the neckline as shown in the example above. First, add the curve in the front that pretty much follows the curve of the opening and then add the area along the back connecting to the shoulders.
Step 3 – Draw the Sleeves
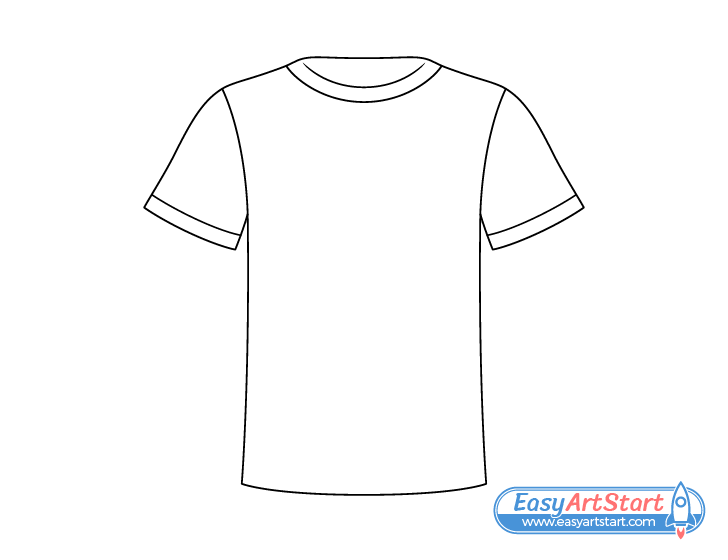
Draw the sleeves with a little bit of a curve near their upper/outer ends and make them slightly wider towards their openings. As was already mentioned, you want the drawing to be fairly symmetrical so try and make the sleeves close in shape (mirroring one another).
Once you have’ the main shape of each sleeve outlined show the cuffs by drawing a line along each of their openings.
After adding the sleeves, you can trace over your drawing with darker pencil lines (or a black marker). Just make sure everything looks good before doing so.
Step 4 – Color the T-Shirt
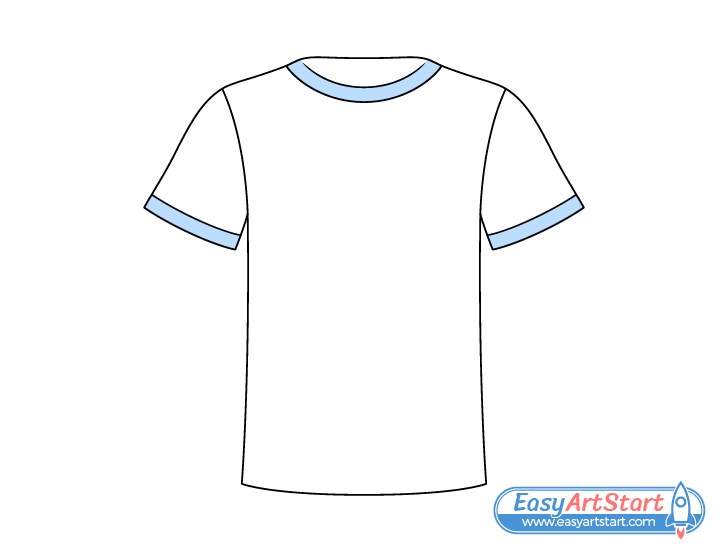
For the last step you can give the shirt a little bit of color. In you wish to follow the example, simply make the neckline and cuffs a light blue.
Alternatively, you can color the entire shirt, use a different color for the neckline/cuffs or just leave everything white.
If you would like to get more creative you can add other design elements to the t-shirt before coloring. You can for example add a picture, a logo or a pattern.
Conclusion
This guide shows how to draw a t-shirt with a fairly simple design. It also provides some suggestions on how to color it and ideas on how to add to/further develop the drawing.
Hopefully you’ve found the provided tips and examples helpful and easy to follow.
For more similar drawing guides also try:


