How to Draw a Strawberry Step by Step
This tutorial shows how to draw a beautiful strawberry in six simple steps with easy to follow examples for each of them.
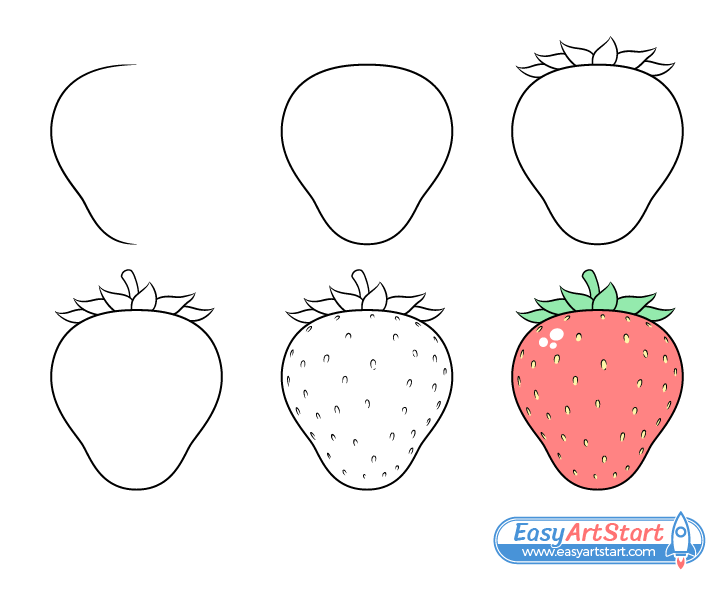
The most interesting part of this particular tutorial is that it explains how you can give the berry a more three dimensional appearance just by properly drawing the little seeds along it’s surface.
The guide also show how to draw the strawberry’s characteristic shape and as well as an easy way to add the crown and stem on top of it.
Although the tutorial is created in a way where in an ideal situation you won’t have to do any erasing, it’s still recommended that you start the drawing in pencil and make light and easy to erase lines until all parts of the strawberry are in place. You can then darken them with the pencil or a thin black marker.
For drawing a raspberry see:
How to Draw a Raspberry in 8 Steps
Step 1 – Draw the First Half of the Strawberry
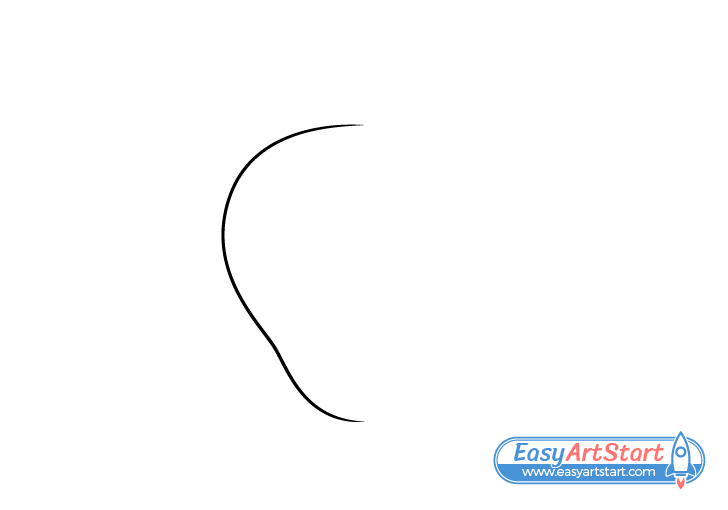
In this example the strawberry is drawn in vertical position which makes it easy to see if both of it’s half are fairly symmetrical (they don’t need to be perfectly so). Start by outlining the shape of it’s first half as shown in the example. Make it’s wider at the top and narrower at the bottom with a bit of an indent on the side.
Step 2 – Draw the Second Half
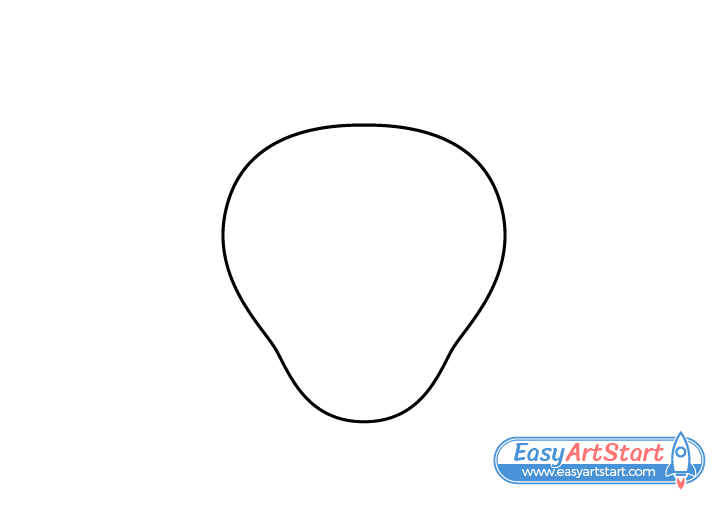
Add the second half as a reflection of the first one. For a nice looking strawberry you want the it to be fairly symmetrical but again, don’t worry if it’s not perfectly so.
Optionally, you can make a straight vertical line through the middle of the berry to help you see if both halves are even in width and erase it once you are done with this step of the drawing.
Step 3 – Draw the Crown
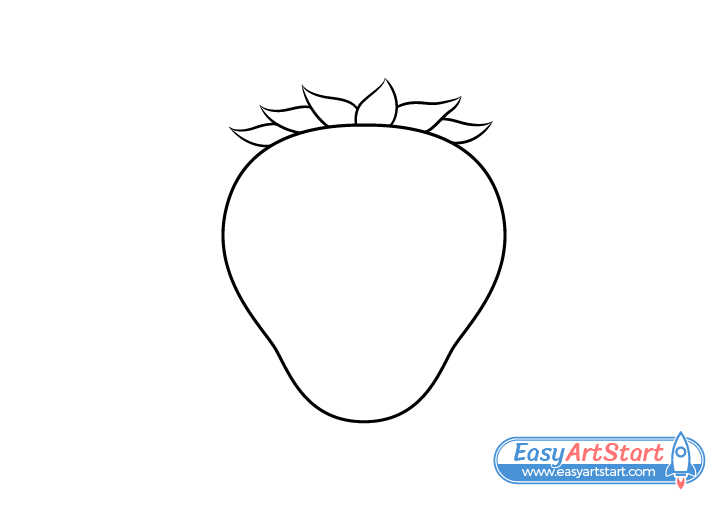
At the top of the berry add the crown. Show this as a set of little leaves of slightly varying shapes. Draw the first pair of leaves near the center pointing more upwards. Draw the next pair leaning more to their respective sides. Finally, draw the last pair with each one pointed sideways.
For a tutorial on drawing an actual leaf see:
How to Draw a Leaf Step by Step
Step 4 – Draw the Stem
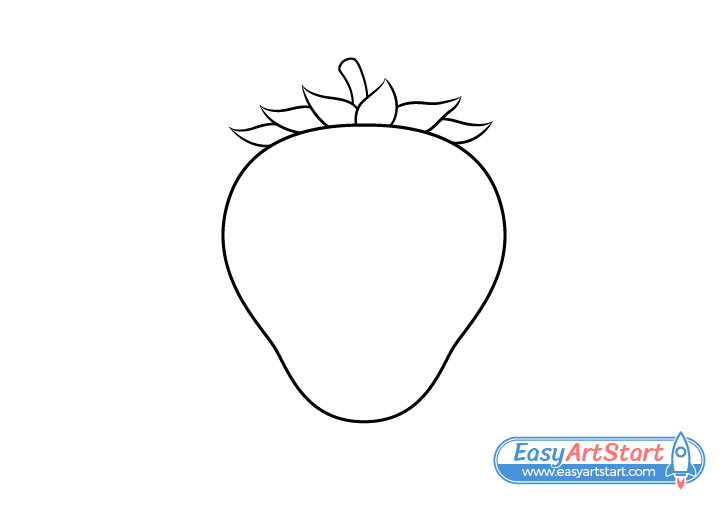
Coming up from the crown add the stem. Draw it with a curve in it’s overall shape and make it slightly wider as it goes up.
Define the upper side of the steps outline with a slight curve as well (where it’s been cut off). Doing so will help show the curvature of the stem’s shape and will help make the drawing appear less flat.
Step 5 – Draw the Seeds
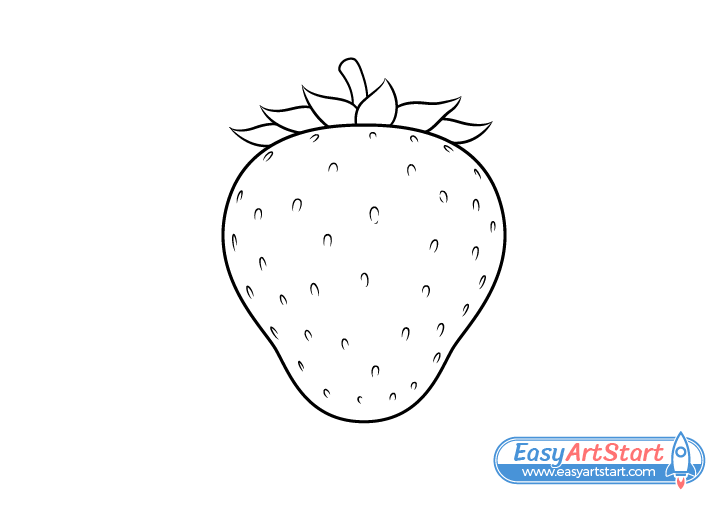
This last step is more complicated than the rest of the drawing. However, it’s also very important in giving the strawberry a more three dimensional appearance.
Draw the seeds in a way where those that are near the edges of the berry somewhat “flow” along it’s shape. Make them smaller and narrower the closer they are to the sides and smaller and shorter (vertically narrower) the closer they are to the top or bottom. At the same time draw the seeds farther apart near the center of the berry and closer together near its’ edges/outline.
Drawing in the way described above will help show the curvature of the strawberry and will make it appear more thee dimensional. If for example you were to draw the seeds to all be evenly spaced and of roughly the same size the berry would look flat like a piece of paper.
Step 6 – Color the Strawberry Drawing
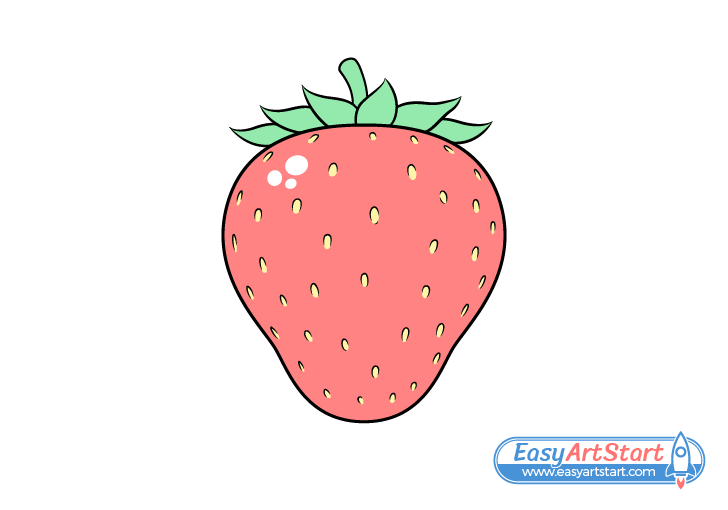
You can use whatever medium you like the add the drawing. Markers, paints and colored pencils can all be good options.
Make the strawberry red, it’s crown and stem green and the seeds a light yellow. Also, when coloring the berry leave a little cluster of white spots (as shown in the example). These will show light reflecting from it’s surface and help convey that it has a smooth texture. You can either outline the reflections before coloring (with red or very light pencil lines) or create them as you color.
Conclusion
This guides shows how you can make a beautiful drawing of a strawberry and give it a somewhat three dimensional and smooth appearance without adding any shading.
If you like these kinds of simple but effective drawing techniques and easy to follow step by step instructions also be sure to try the following tutorials:

