How to Draw a Raspberry in 8 Steps
This tutorial shows how to draw a raspberry using a very simple step by step method that even beginners can follow.
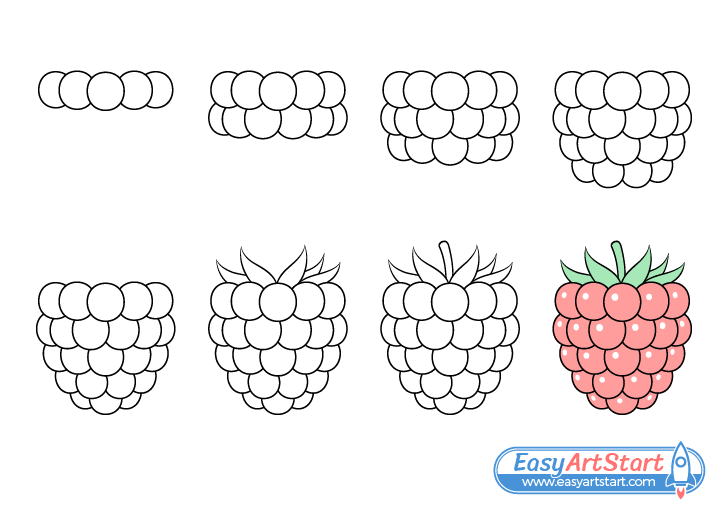
It can be confusing as to how you should go about drawing a raspberry due to the many small parts one is comprised of. To help this tutorial shows an easy to understand approach to doing so.
Although the tutorial is designed in a way as to not require erasing you should still start it in pencil and make light and easy to erase lines. Due to how many little bits the berry is comprised of it’s likely that you will want to make adjustments as you draw.
You can trace over your drawing with darker lines once you have all parts of the raspberry in place.
For drawing a strawberry see:
How to Draw a Strawberry Step by Step
Step 1 – Draw the First Row of Drupelets
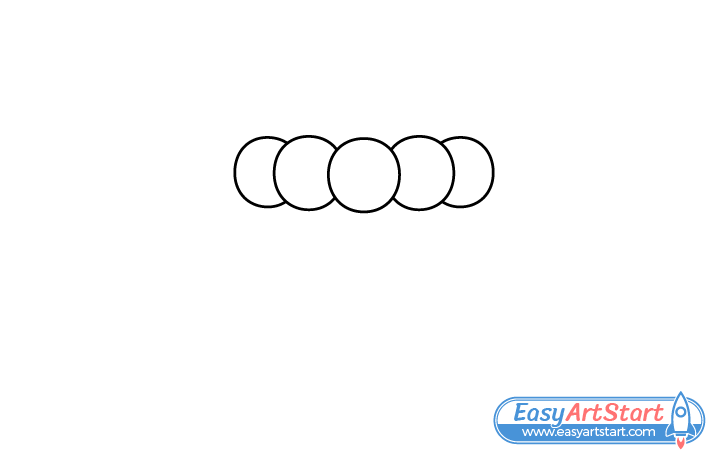
A raspberry is actually a collection of small berries called drupelets. An easy way to draw one is to outline these row by row as shown in the examples.
Draw the first row starting with the drupelet in the middle. Next, draw the two on its’ sides that are partially hidden behind it.
Afterwards draw the outer most drupelets of this row. Make them slightly narrower and with less of their shapes showing from behind the previous set. Drawing in such a way will help show the curve of the berry’s shape.
Step 2 – Draw the Second Row of Drupelets
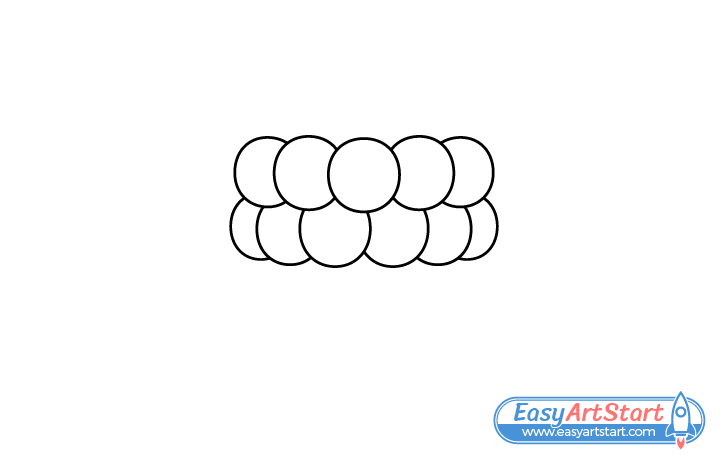
Draw the second row of drupelets in a similar way to the first one but try and position them so they go in between the those in the previous row. Their tops should also be hidden behind it.
You will also notice that in the example there are more drupelets in this row than in the previous one. This is done to make the berry a little wider near the middle as raspberries often are.
One final thing to note about this row is that you want to place the bits that comprise it in a way where they form a very light curve.
Step 3 – Draw the Second Third Row of Drupelets
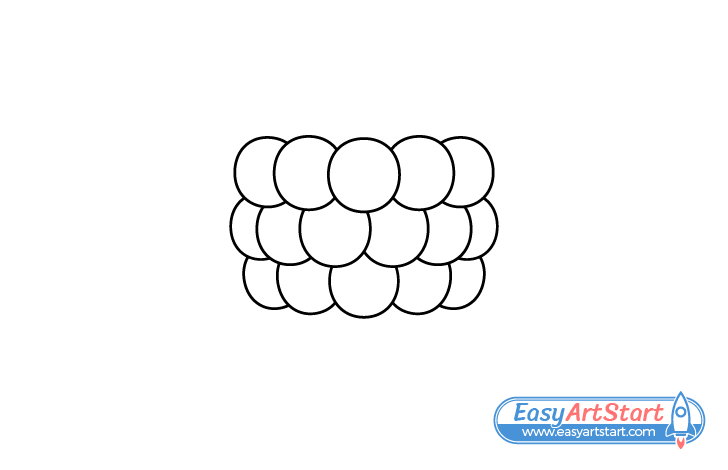
Draw this next row of dupelets pretty much the same as the first row but make it slightly narrower and again position the bits in a way where they form a light curve.
Step 4 – Draw the Fourth Row of Drupelets
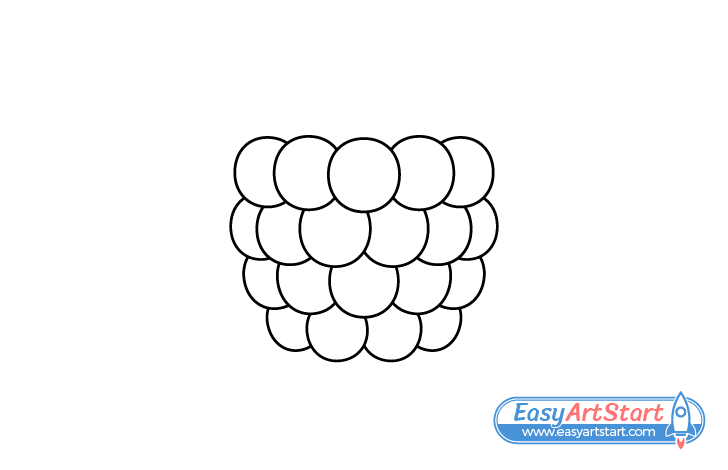
Draw yet another row with fewer bits in it than the previous and with more of a curve to it’s overall shape.
Step 5 – Finish the Berry Drawing
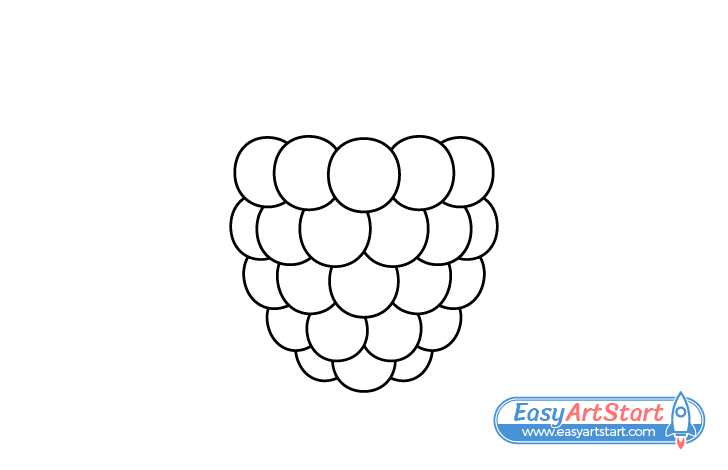
To finish the outline of the berry add it’s tip with one drupelet in the middle and two higher up coming out from behind it on each side.
For another tutorial that uses a similar drawing approach see:
How to Draw Grapes Step by Step Guide
Step 6 – Draw the Crown
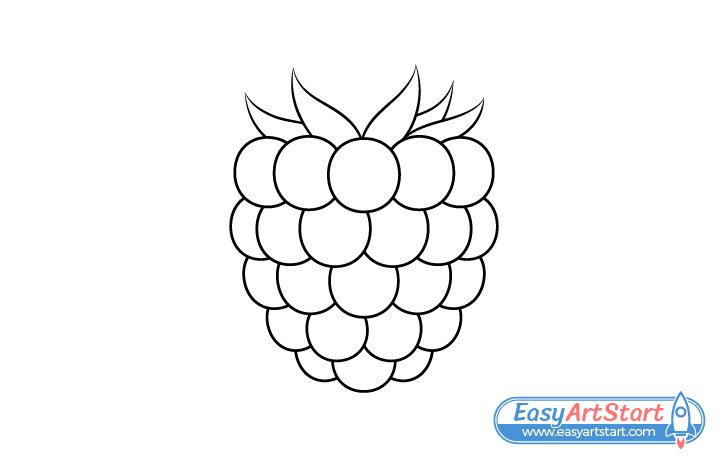
Once the berry is outlined draw the crown coming up from it’s top as a set of pointy little leaves.
Make each one slightly curved and position them in a way where they fan out as they go up.
For drawing an tree leaf see:
How to Draw a Leaf Step by Step
Step 7 – Draw the Stem
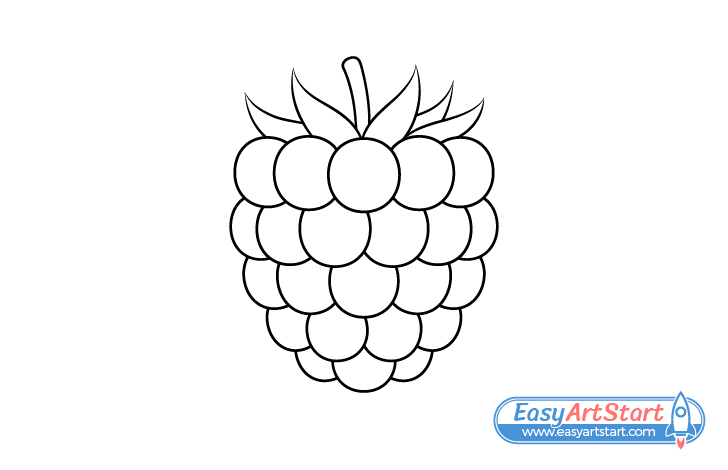
In the middle of the crown draw the stem. Draw it to be slightly curved and make it a tiny bit wider as it goes up.
Step 8 – Color the Raspberry
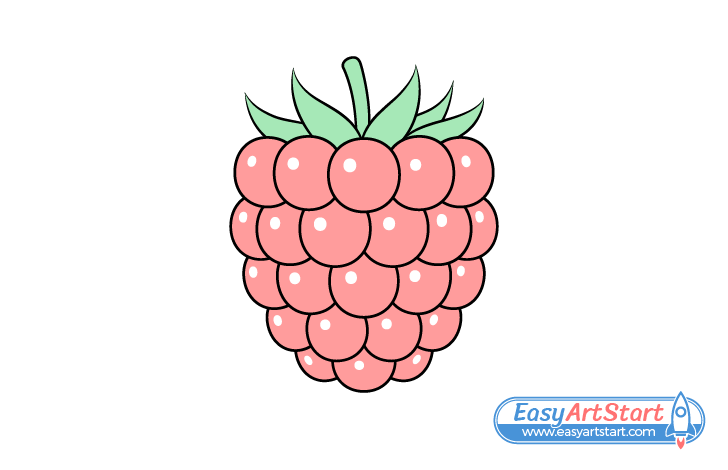
Color pencils can be a good option for color the raspberry. Make the berry itself red or pink and the leaves and stem green.
You will want to leave a small white spot in each of the drupelets when coloring the berry. Either lightly outline these beforehand or simply create them as you color. Alternatively you can also use a white correction pen or opaque white pain to create these.
The little white spots will show light reflecting from it’s surface and give the raspberry a more “shiny” look.
Conclusion
This tutorial shows an easy to follow method for drawing a somewhat complex berry. By adding the drupelets that comprise it in several rows you can gradually construct the shape of a raspberry in a well organized and easy to control way.
If you like this kind of helpful drawing advice and easy to follow step by step examples also try the following guides:

