How to Draw a Pillow in 4 Quick Steps
This quick tutorial shows how to draw a simple pillow in four easy steps. It provides straightforward examples and clear instructions.
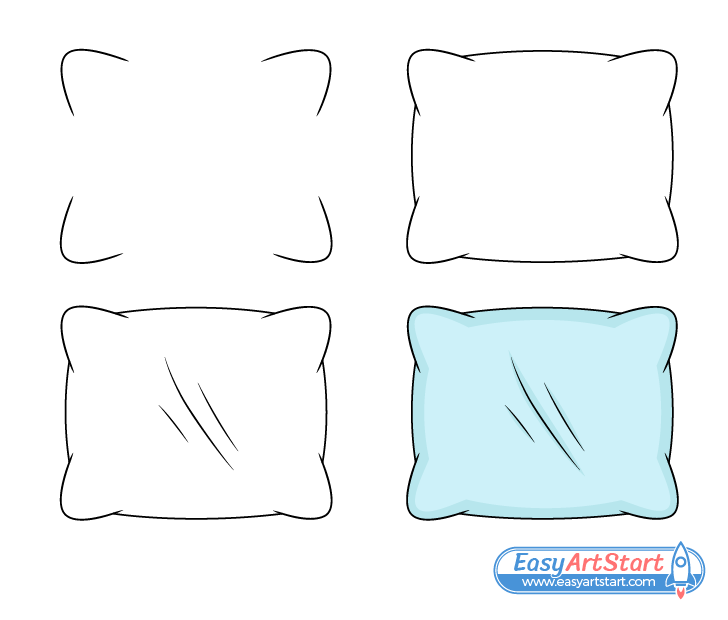
The pillow that is shown is slightly stylized to make it easier to draw. At the same time it still has a shape that is very characteristic of such an item (easily recognizable as a pillow). The tutorial can be great if you are looking for something uncomplicated to draw to relax or have a bit of fun.
Although the pillow is very simple it’s still recommended that you begin the drawing it in pencil to make it easy to correct any possible mistakes. For the same reason also try and use light lines until you have it’s entire shape outlined. You can then trace over them with a black marker or darker pencil lines.
Step 1 – Draw the Corners of the Pillow
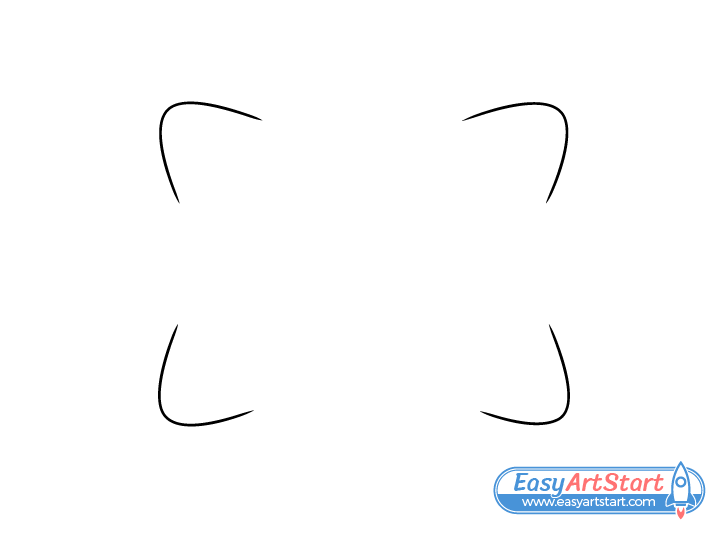
Begin by drawing the corners of the pillow. This is an easy way to set it’s overall width and height. Because the shapes of the corners are so simple you can erase and redraw them very quickly if you wish to make adjustments.
Draw each corner shaped a bit like the letter “V” but with a rounded tip. Try and make them relatively close in shape and size but not perfectly so.
Step 2 – Draw the Sides
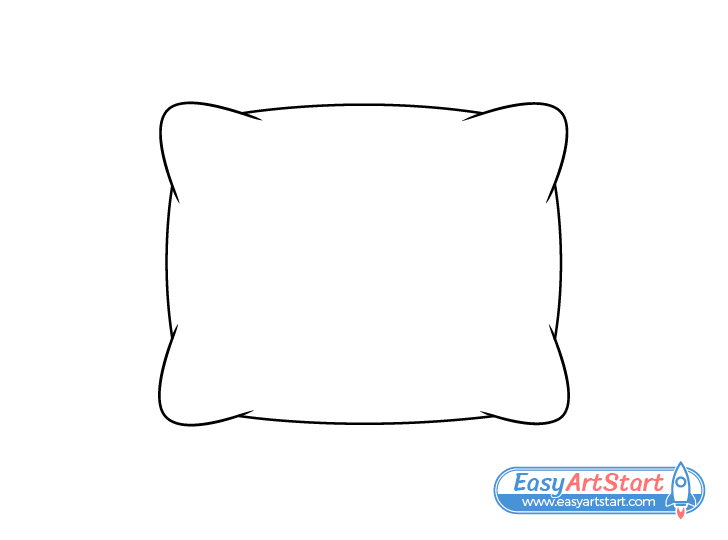
Running in between the corners from the previous step draw the sides of the pillow. Make each one slightly curved. Also, draw the sides in a way where the outlines of the corners slightly cut into the overall outline of the pillow. This will help make the drawing look a little more three dimensional and less like a wire frame.
Step 3 – Draw the the Folds
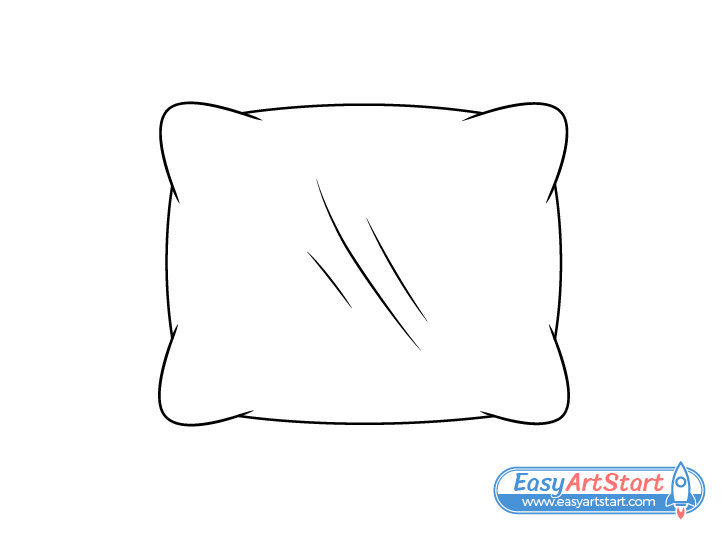
For the last step of the line drawing add some folds. You can define these with a few lightly curved lines bunched up near the center of the pillow. Try and slightly var the length and direction of the folds so that they look natural.
Once you’ve added these last details trace over your drawing with darker lines. As was mentioned at the start of the tutorial, either use a thin black marker or just press harder on the pencil.
When done with the above you should have a finished simple line drawing of a pillow. If there are any smudges or excess lines you can clean these up with an eraser before moving on to the next step.
Step 4 – Color the Pillow
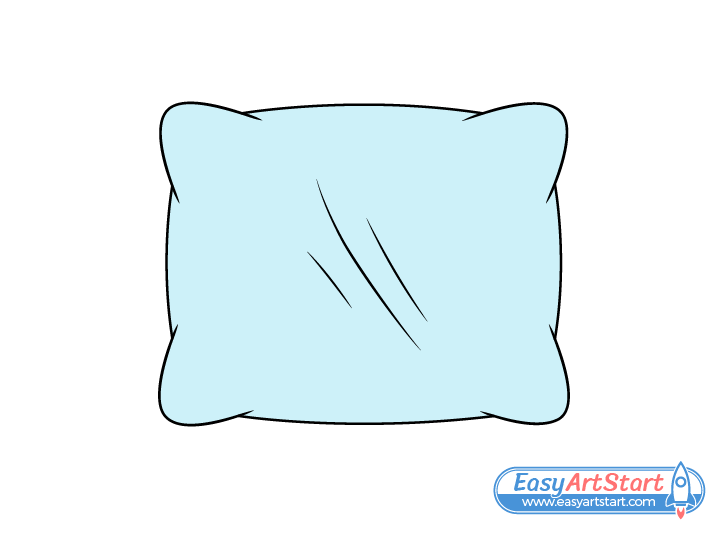
You can make the pillow any color you like. In this case it’s light blue which is a fairly common for pillowcases and bed sheets. First, fill in the entire outline with the color of your choice (or whatever you have on hand) as shown above. You can also simply leave the pillow white or make it a light grey by shading it in with a regular pencil.
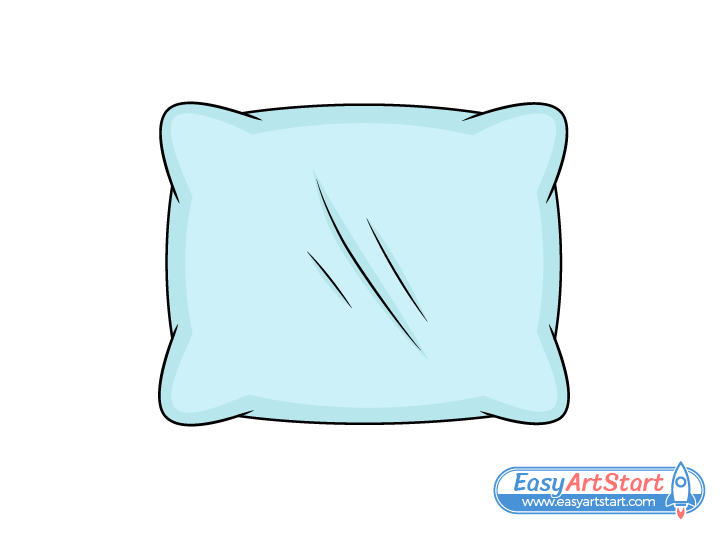
After coloring, add a few shadows by darkening the outer edges of the pillow as well as the areas around the folds. This will again help make the drawing appear a little more three dimensional. You can create the shadows by yet again using a regular pencil or a darker variant of whatever color you used for the pillow.
Conclusion
This tutorial shows how to create a nice and simple pillow by starting with a basic line drawing and then adding color and a bit of shading.
When drawing sometimes adding little details and a bit of shading can make a big difference on the overall appearance of your art. By creating the outline in the way that was described and by adding some very simple shadows you can make an otherwise flat looking pillow drawing appear to have a little bit of volume.
Even very simple artwork can look much better if done in the right way. If you like these kinds of tutorials with helpful tips and easy to follow step by step example also be sure to try the following:


