How to Draw a Mug Step by Step (Detailed Guide)
This tutorial shows how to draw a mug with coffee in it using a detailed six step breakdown of the drawing process.
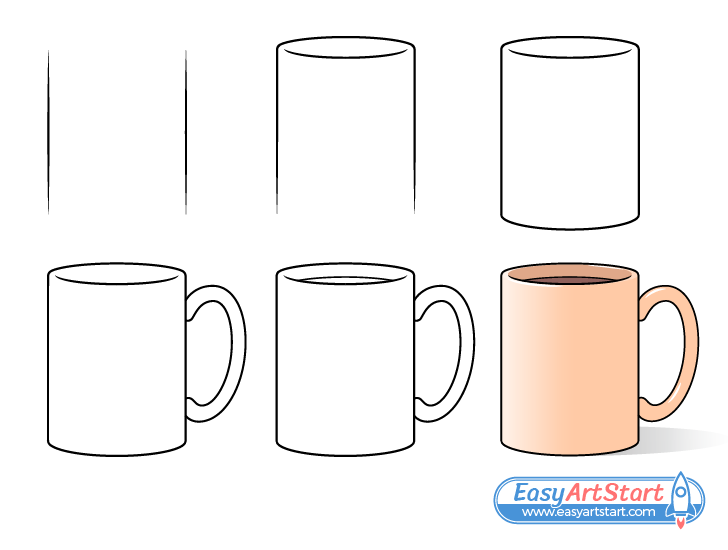
This “mug drawing tutorial” is a little more advanced than most other guides here on EasyArtStart. However, it’s still fairly easy and can be great for those who want to learn how to properly structure such an object and how to then color and shade it in a simple but effective way.
The main stages of the drawing are shown above but there are more examples (with detailed explanations) shown in the step below.
Start the tutorial pencil (unless drawing digitally) and make light lines so that you can easily make correction if required. Darken them later once you have the whole mug outlined.
Step 1 – Draw the Sides of the Mug
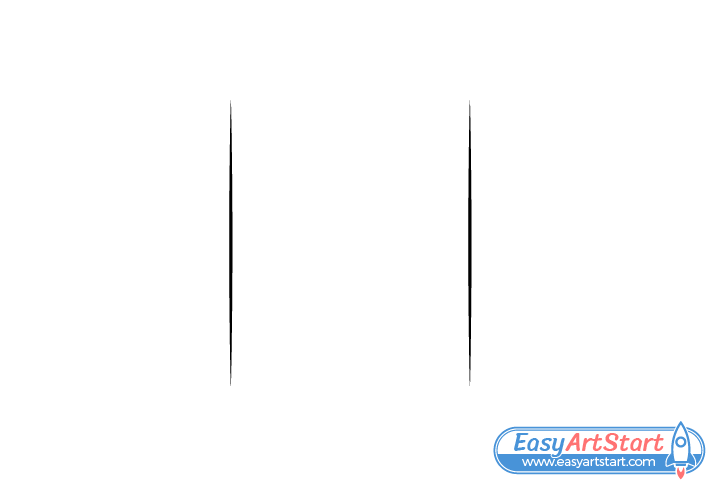
The first step is very simple. Begin by drawing the sides of the mug as two parallel lines. Use these to set it’s width and height.
Step 2 – Draw the Lip (Rim of the Mug)
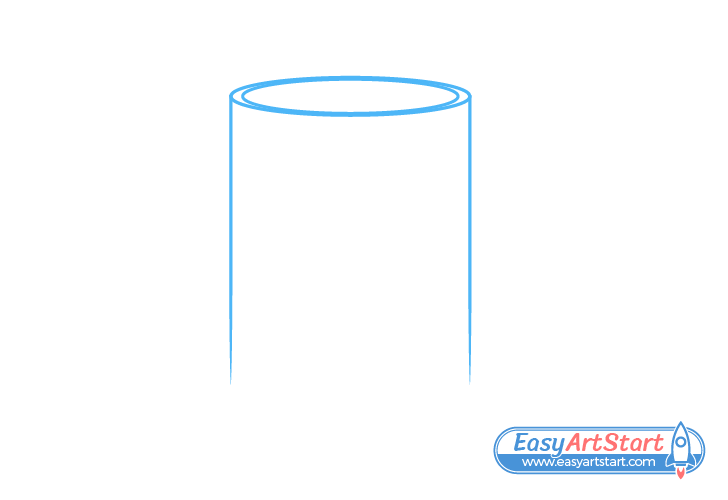
To draw the lip/rim of the mug you can first think of it’s shape as an opening of a pipe (like the one shown in the example above).
You also have to keep in mind that in this example the object is positioned slightly below the viewers eyes. This will make the otherwise round top look like an oval.
When in a vertical position and flat to the round (like in this example) the mug’s rim will appear more round the lower down it is placed in relation to the eyes of the person looking at it and less round the closer it is to them. When held directly in front of the eyes the top of the mug will appear flat (like a straight line).
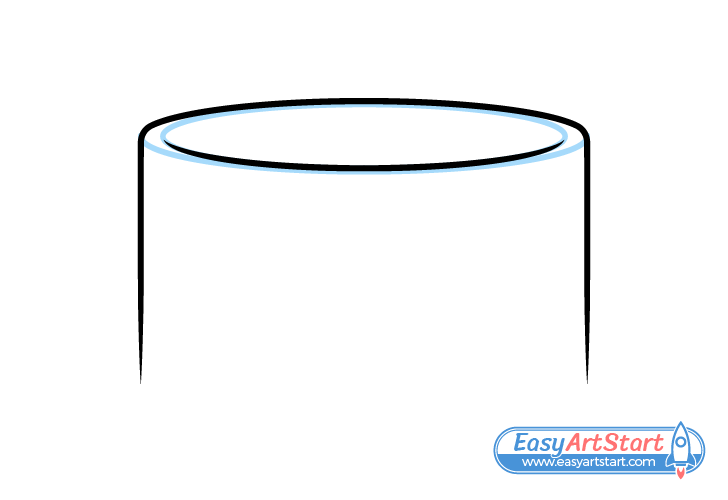
Unlike pipes mugs tend to have smooth rounded edges to make drinking from them more comfortable. To show this you can use the “pipe” as a basis but only define the viewer facing half of of the inner side of the rim and the background facing half of it’s outer side. Also, make the drawing more rounded on the sides.
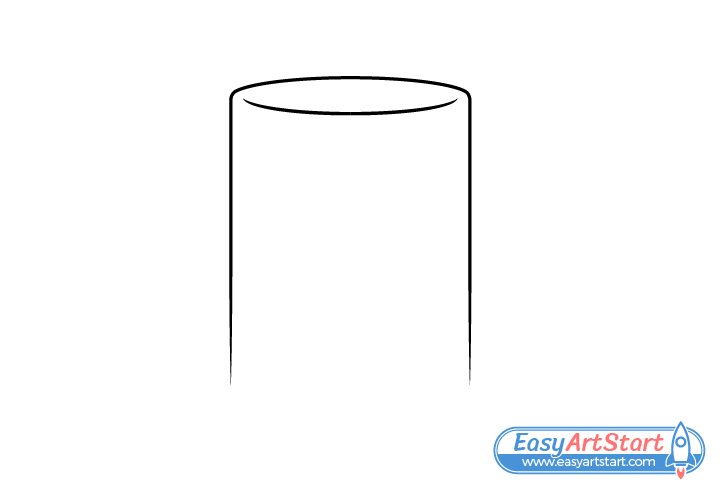
Drawing in the way described will crate the effect of smooth/rounded edges as shown above.
Step 3 – Draw the Bottom
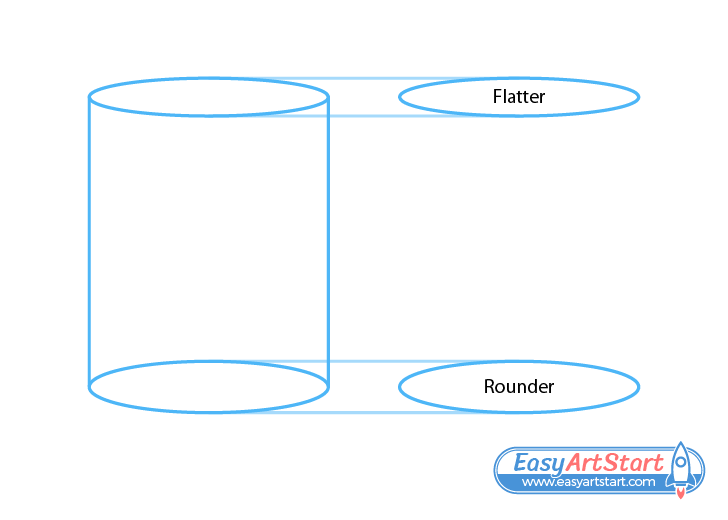
To properly draw the bottom of the mug it can be helpful to think of it’s body as a transparent cylinder. Like was already explained with the rim, when viewed on an angle round objects appear oval in shape. They appear more round the lower down they are in relation to the eyes and less round the closer they are to them.
As the bottom of the mug is lower down than the top it should be drawn rounder.
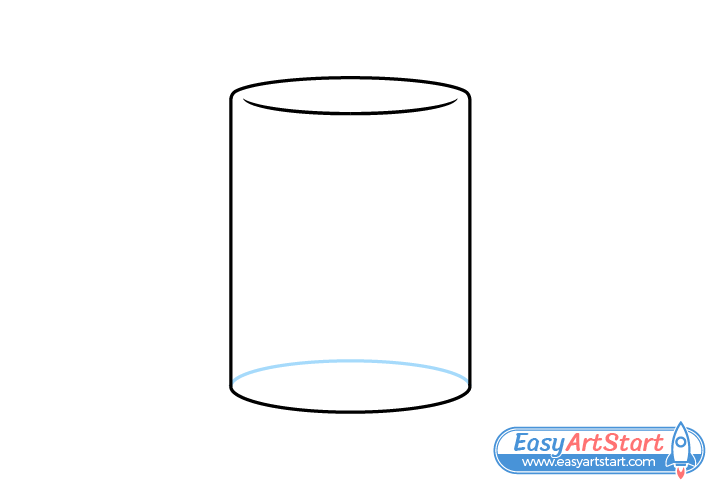
For the final drawing you only need the viewer facing half of the oval. However, it’s good to at least keep in mind the part that isn’t visible.
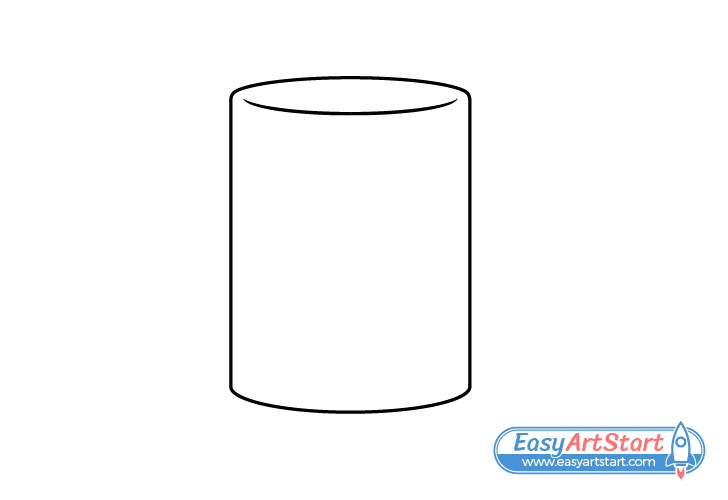
Once done with this step you should have the body of the mug outlined.
Step 4 – Draw the Handle
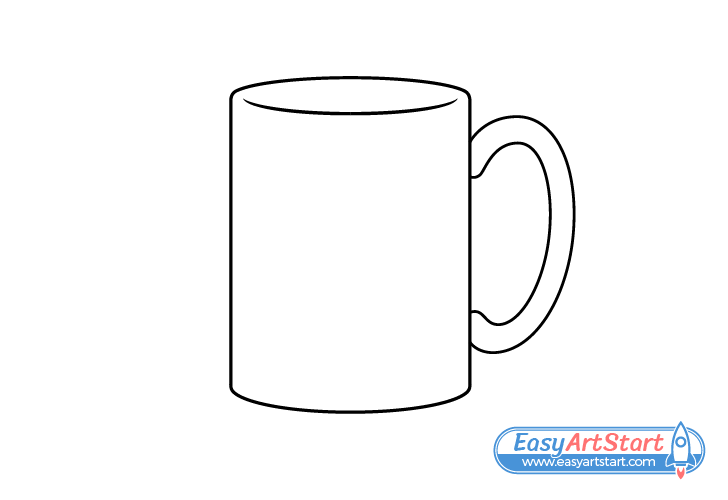
Onto one side of the body add the mug’s handle (shaped as shown in the example). In this case it’s draw as being viewed directly from the side (to make the tutorial easier).
Step 5 – Draw the Coffee
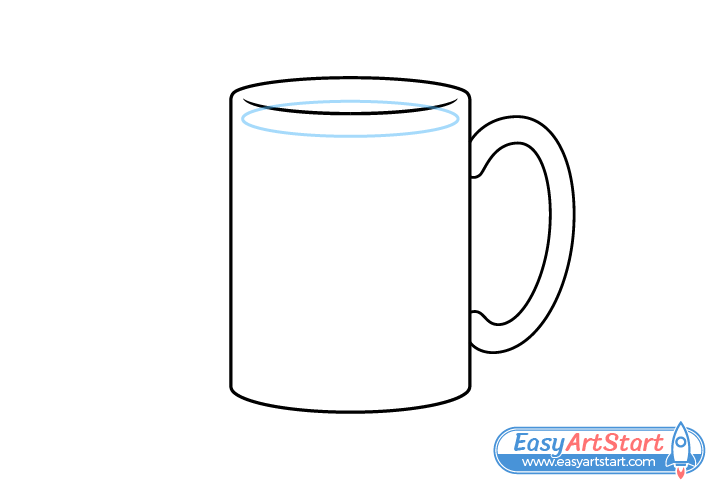
To add the coffee inside the mug you can again think of it’s surface as an oval of roughly the same size as the mug’s opening. Because it’s a lower down than the rim the coffee’s surface should appear slightly rounder. However, as it’s only a tiny bit lower down the difference is almost negligible.
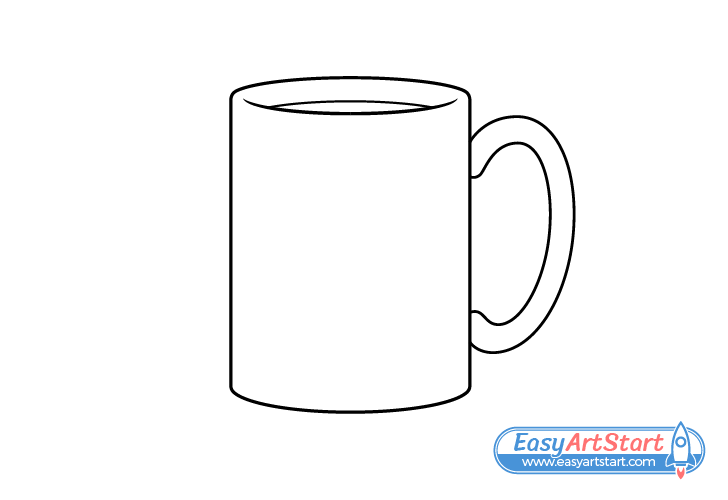
When viewed from the angle shown in the example most of the coffee’s surface is hidden by the mug’s body so you only need to define a portion of the oval’s upper half for the final line drawing.
Once you’ve added the coffee (and if everything looks good) you can darken your lines by tracing over them. Either do this by pressing harder on the pencil or use thin black marker.
Step 6 – Color & Shade the Mug Drawing

When shading an object it’s important to be aware of the lighting conditions it resides in. In this example the light is coming from the upper left of the mug. This means that it will be lighter on top and along it’s left side and darker on the right.
Also, please note that to keep the tutorial beginner friendly the shading is somewhat simplified.
Outline the Reflections on the Rim & Handle
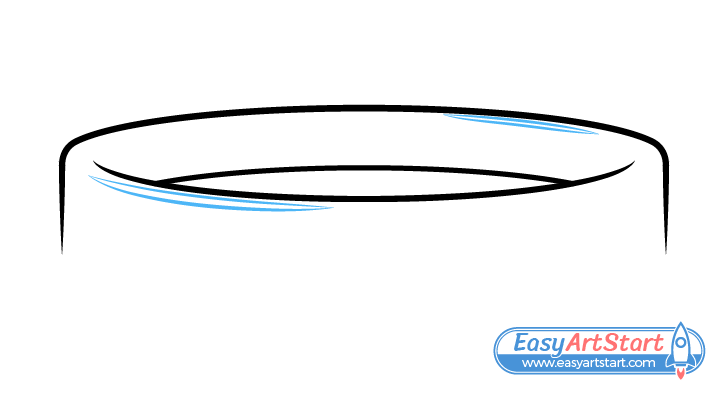
Before you being coloring an shading you may wish to very lightly outline the reflections so that you don’t accidentally go over them. Add a pair to the rim.
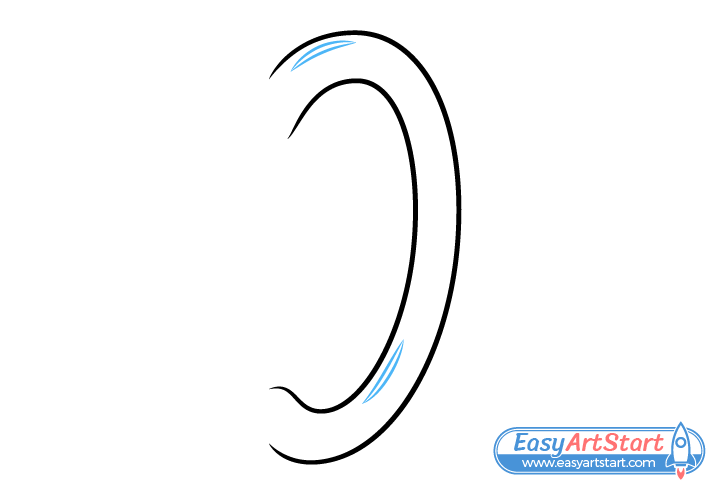
Also add a pair to the handle.
The reflections are the lightest parts of the mug that you will want to leave white. Although you can also add them in over top of the color with a white correction pen or opaque white paints (if you have those available). You can also add them over top of the color (usually in a new layer) if drawing digitally.
The reflections are a small but very important part of the drawing as they help convey that the mug has a smooth surface.
Add a Light to Dark Gradient Along the Mug’s Body
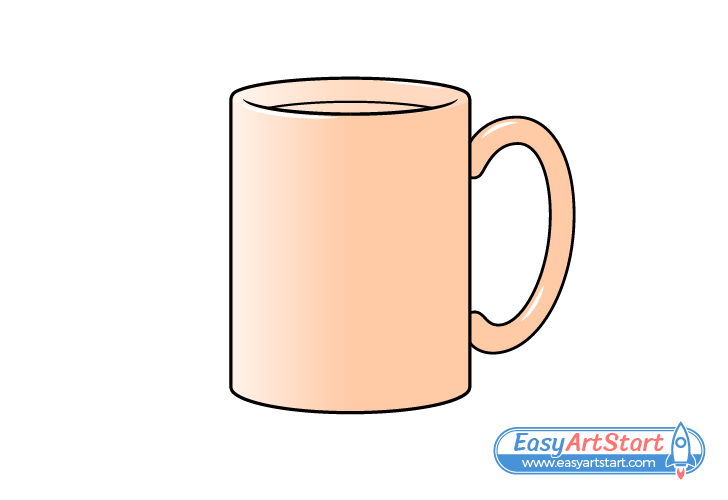
To color and shade the mug first create the light to dark gradient from the left to roughly the middle of the body. Afterwards fill most of the body and handle with a darker solid color but make the top (rim area) lighter. In this case the mug is an orange brown but you can use a different color or just a regular pencil (for a black and white drawing) if you prefer.
If you choose to go with a particular color using a colored pencil/pencils is recommended as this makes it quire easy to create different light and dark variations.
Color the Coffee
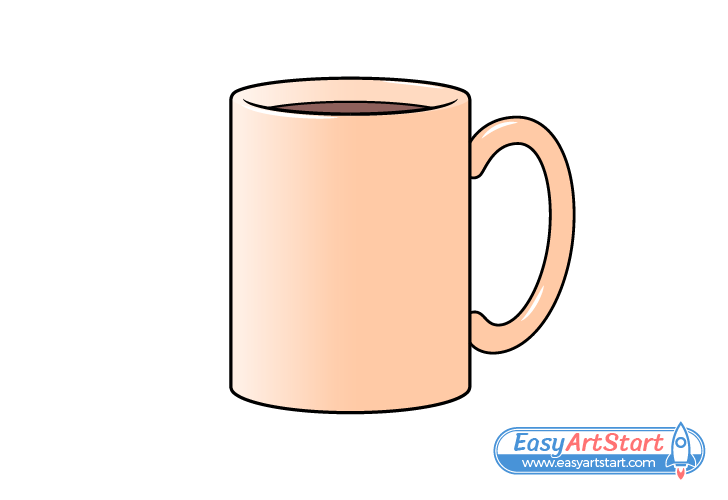
Fill in the coffee with a dark brown (or dark regular pencil shading).
Darken the Inner Side of the Mug
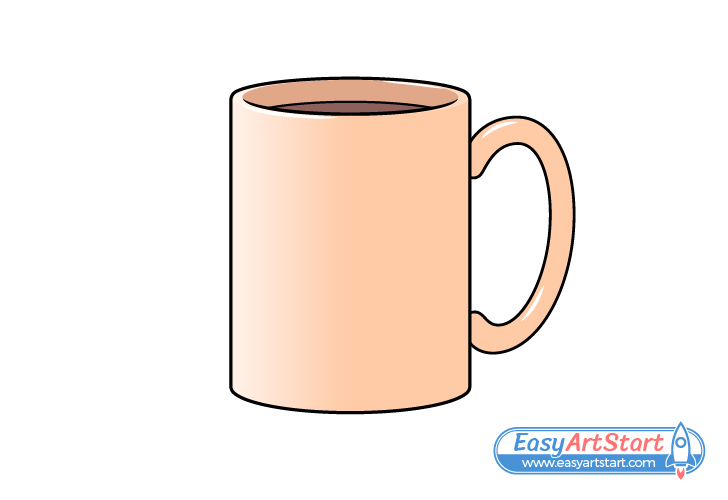
Darken the inner side of the mug. As this area is more closed off less light will tend to reach here.
Add a Shadow Cast by The Mug Opposite the Light Source
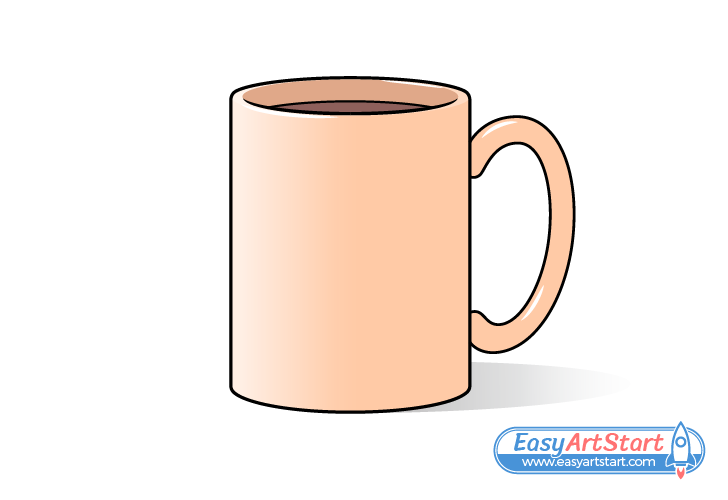
Finally, add as shadow cast by the mug opposite the light source (to the right). Make the shadow darker at the base an lighter as it goes out. You can create it using a regular pencil.
Again, the shadow in the examples is slightly simplified but it achieves the desired effect of making the mug appear as though it’s sitting on a surface.
Once you’ve add the shadow you should be done with the drawing.
Conclusion
As mentioned at the start, this tutorial is somewhat more in depth than most other guides here on EasyArtStart. It can be particularly helpful if you are considering taking learning to draw more seriously. However, even if you simply want to draw for fun knowing the guide goes over can still help make your art look better and more impressive.
For other kinds of simple drawing guides also check out the following tutorials:

