How to Draw a Lightning Bolt Step by Step
This tutorial shows how to draw a lightning bolt by starting with a simple outline and going to some basic color and shading.
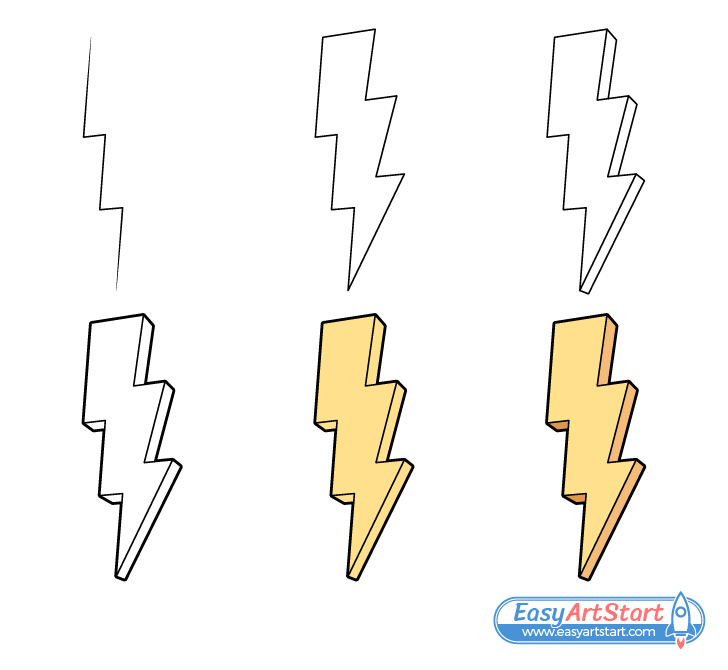
The lightning bolt in the example is drawn in a style that can often be used for something like a logo, a sign or a sticker. Meaning that it’s shape is fairly stylized. To make it look more interesting the lightning bolt is also drawn to look three dimensional.
Overall the tutorial is fairly easy and beginner friendly. It’s also created in a way where you don’t need to erase any part of the drawing unless you make a mistake. Although, it’s still recommended that you start it in pencil just in case you do need to make a correction. You should also make light lines until you have all parts of the lightning bolt outlined and darken them afterwards.
Step 1 – Draw a Zigzag to Get the Shape of the Lightning Bolt
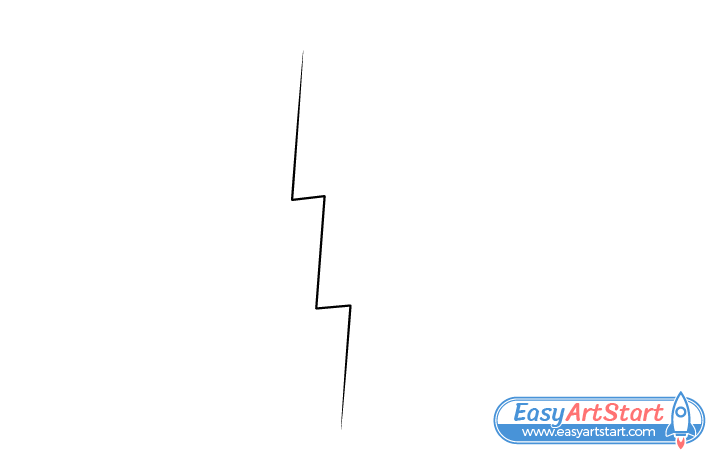
Begin by drawing a zigzag line to define one side of the lightning bolt as shown in the example.
Step 2 – Outline the Lightning Bolt
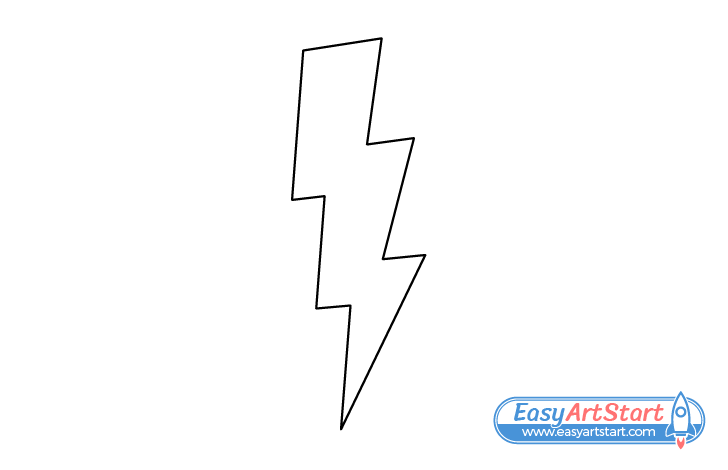
Add a second zigzag starting from the bottom of the first one and join the two at the top. Draw it in a way where the lightning bolt gets wider as it goes up.
Once done with the above, you should have a two dimensional shape of the lightning. If you want a very simple drawing you can leave it like this and just color it yellow. However, adding the extra details shown in the following steps can make it look much nicer.
Step 3 – Draw the Side
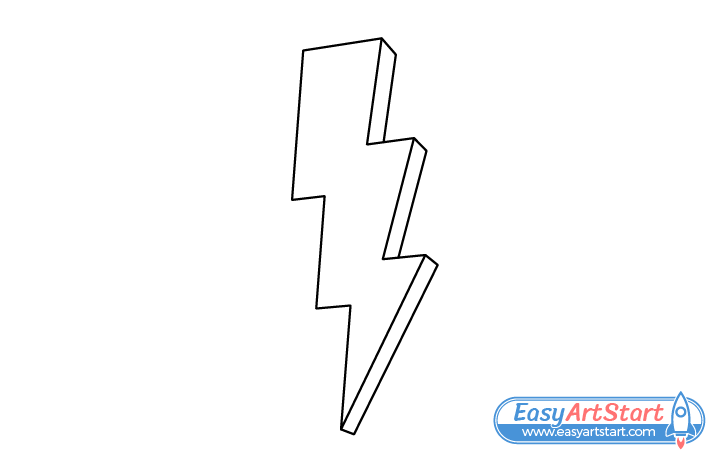
To give the drawing some depth define the side of the lightning bolt and thereby show it’s thickness. This and make this even throughout it’s length.
Step 4 – Draw the Bottom
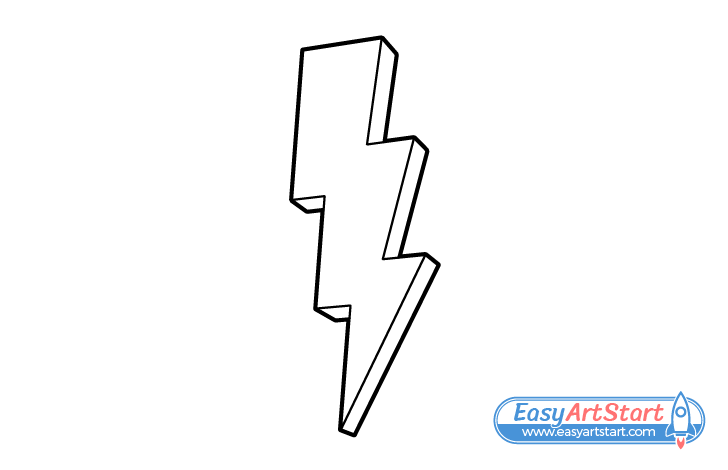
After adding the side of the lightning also draw the bottom (as shown in the example) to complete it’s three dimensional shape. Next, if you are happy with how things look, trace over your drawing with either darker pencil lines or a thin black marker (otherwise make adjustments first).
When darkening your lines you can (optionally) create a slightly thicker outline around the outer edges of the lightning. This will help the drawing stand out, especially when combined with the color and shading added in the next two steps.
Step 5 – Add Color
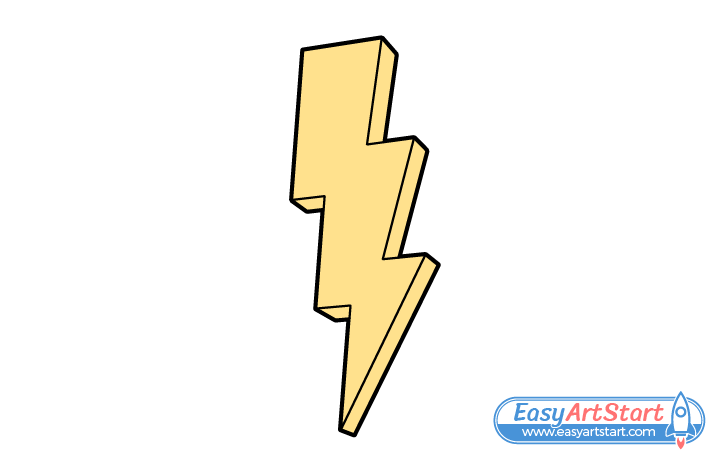
To color the drawing you can simply make the lightning bolt yellow using any medium you like or have on hand (a yellow marker, paint, pencil, etc…).
Step 6 – Add Shading
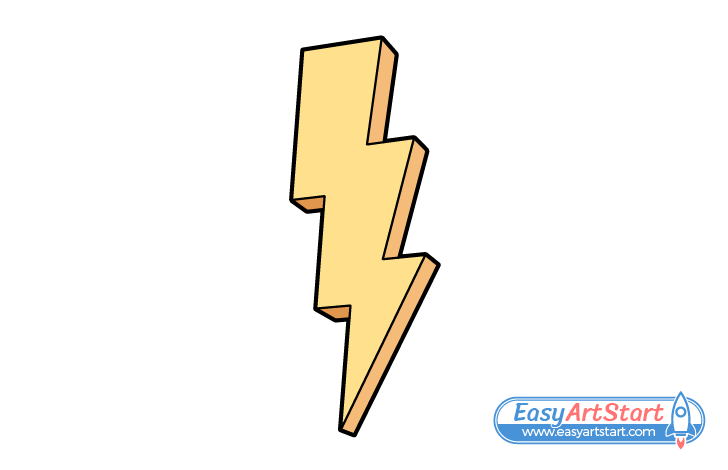
To further enhance the lightning bolt’s 3d look add some very simple shading. Do this by making it’s side orange and it’s bottom a slightly darker orange. An easy way to add the orange is with an orange pencil. You can create the darker orange by then lightly going over it with a regular one.
Conclusion
This tutorial show how to create a stylized three dimensional looking lightning bolt. You can accomplish this by first creating a 3d looking line drawing and then by applying some basic shading.
For more similar drawing guides with easy to follow step by step instructions also be sure to try the following:


