How to Draw a Lemon (Easy Step by Step)
This tutorial shows how to draw a lemon with it’s characteristic shape and texture in a beginner friendly style.
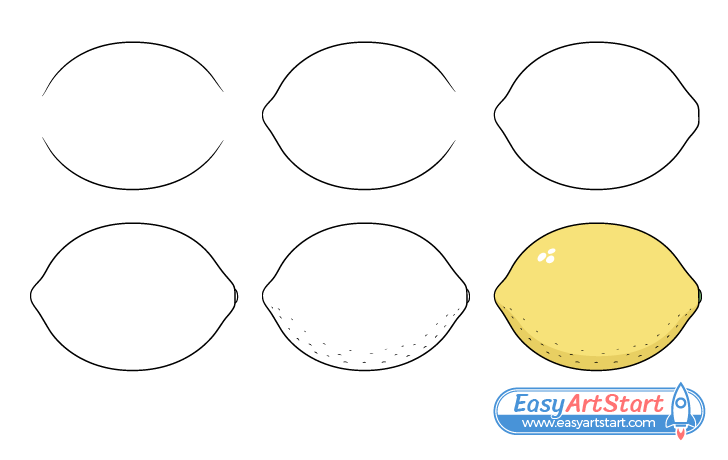
The lemon in the example is drawn from the side view. This is a good choice for highlighting the important elements of it’s shape. Particularly the two bumps on each of it’s ends.
Picking the right view that best highlights an objects important characteristics can be helpful in creating stylized artwork that is easily recognizable. If for example this same lemon was drawn from the front it might not be as easy to tell what is is.
It’s recommended that you start the tutorial in pencil and make light lines until you have the entire lemon drawn out. You can then darken them before coloring.
For drawing another kind of citrus fruit see:
How to Draw an Orange Step by Step
Step 1 – Draw an Outline of the Lemon

First, get the the overall shape of the lemon. Draw this like an oval but with openings on both of it’s ends (gaps in the outlined).
Step 2 – Draw the Front Bump
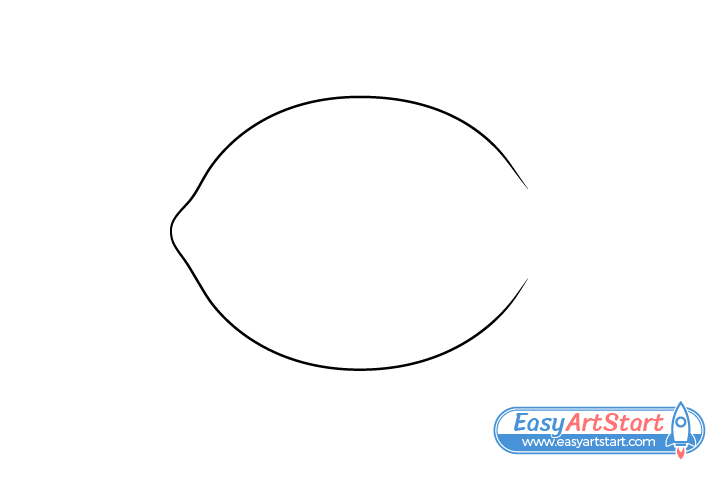
Into the first opening draw the front bump of the lemon (the part that hangs downwards when it grows). Make this fairly rounded as show in the example.
Step 3 – Draw the Back Bump
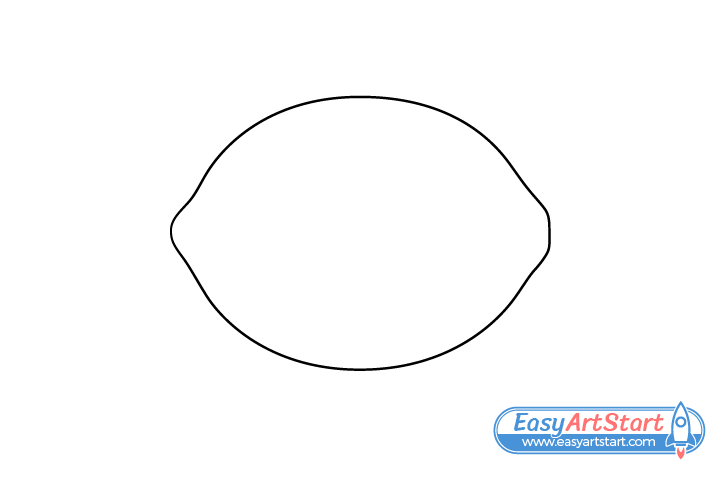
Into the second opening draw the bump at the back of the lemon (the end that’s attached to the tree). Make it’s tip somewhat flat.
Step 4 – Draw a Bit of the Stem
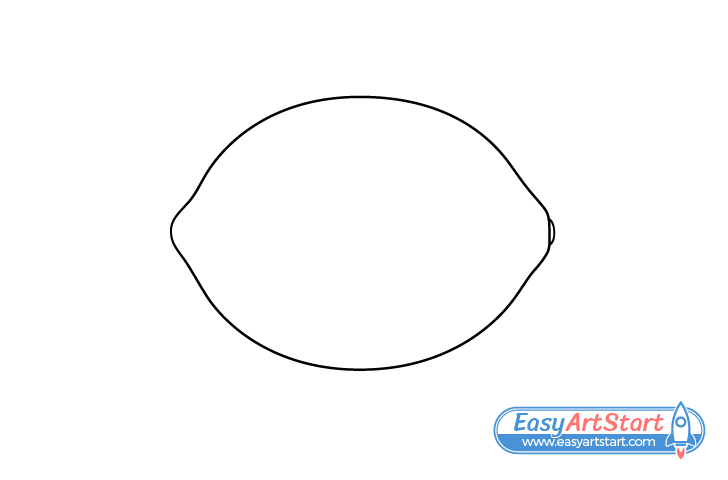
Onto the back bump of the lemon add another smaller bump to show a tiny bit of the stem (most of it is usually cut off).
Step 5 – Add the Texture of the Skin
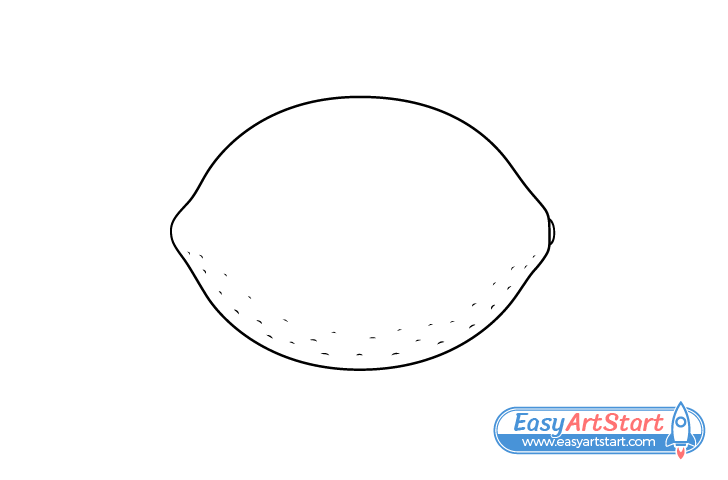
Show the texture of the lemon’s skin by drawing a series of little curves along it’s bottom. You just need to create a hint of this so there is so there is no need to add them throughout the entire lemon.
Once done with the above trace over your drawing with darker pencils lines or a thin black marker. Just be sure that everything looks right before doing so.
Step 6 – Color the Lemon
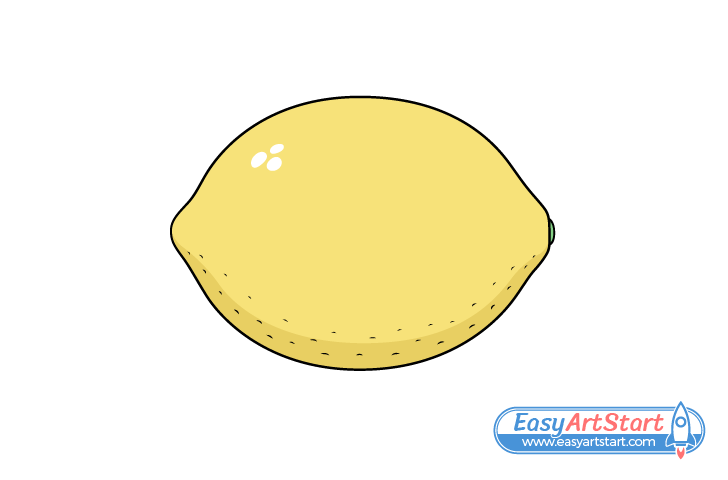
To color the drawing you will of course want to make the lemon yellow. Make the little bump of the stem green. You can use whatever medium you like or have available (markers, paints, colored pencils, etc…).
When coloring leave a little cluster of white spots towards the upper end of one of the sides. This will show light reflecting from the lemon. The reason you want several of these instead of just one is to further show that the lemon’s skin has a somewhat bumpy texture that break’s up the light.
You can either outline the reflections beforehand (very lightly in pencil) or simply create them as you color. You can also add them over top of the color with a white correction pen or opaque white paints.
Conclusion
This tutorial shows how to draw a simple and slightly stylized lemon. By picking the right view for a particular object you can more easily highlight the important parts of it’s shape. In this example it makes the two bumps that are so typical of a lemon clear visible.
This guide also show how to give a sense of the lemon’s texture by only hinting at it. Sometimes you can save yourself a lot of time and even get nicer looking when you don’t add unnecessary details.
If you like these kinds of tutorials with easy to follow examples and useful tips also be sure to try:


