How to Draw a Heart in 6 Steps (Nice & Simple)
This tutorial shows how to draw a nice looking heart with straightforward examples that go from a basic outline to a colored drawing.
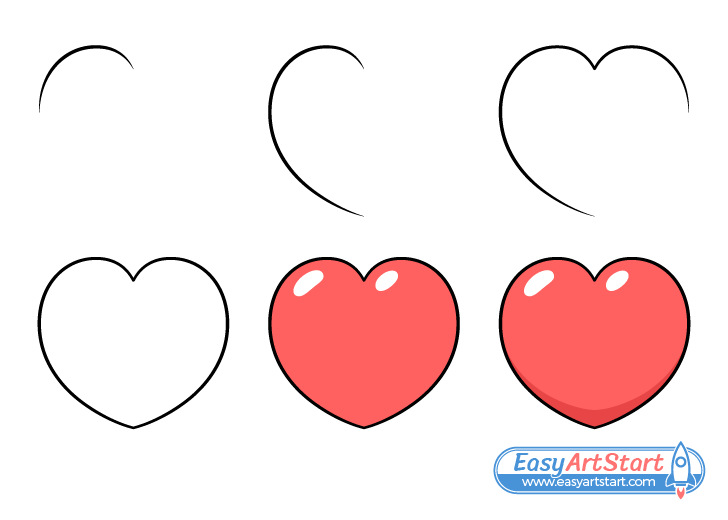
Drawings of a simple red heart are quite common. This example shows how to make such a drawing a little more interesting. Using very simple tricks you can give the heart a shiny and more three dimensional look. Doing so can make your artwork stand out from the rest. All you need to follow along is a pair of pencils (a regular and a red one) so definitely give this quick guide a try!
It’s recommended that you make light and easy to erase lines until you have the entire heart outlined so that you can make corrections (if required) without them leaving marks. You can trace over the drawing with a darker outline once you’re happy with the heart’s shape.
Step 1 – Draw the Upper Side of the Heart’s First Half
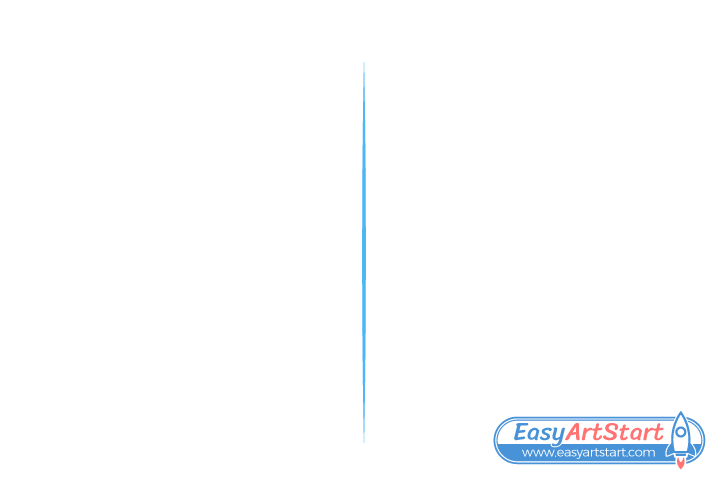
To start you can make a straight vertical line. Place this where you want to have the heart’s center. This line will act as a guide that can make it easier to see if both of it’s halves are symmetrical.
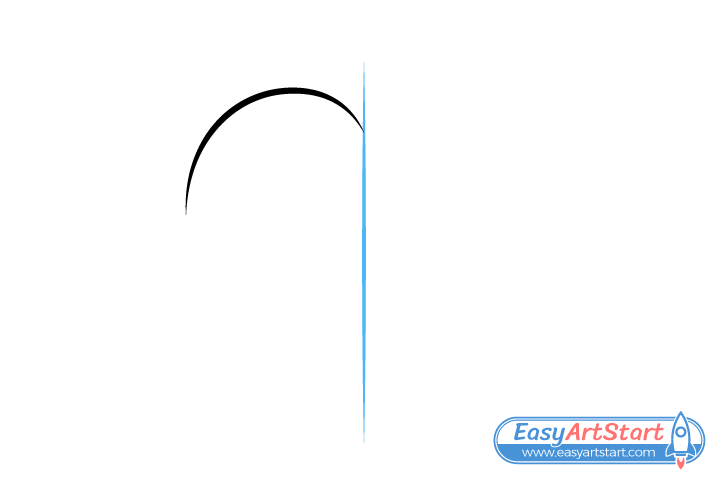
Next, begin drawing the actual heart by starting from what will be the split at it’s top and making a smooth curve that eventually turns downwards. This will define the upper area of the heart’s first half.
Step 2 – Draw the Lower Part of the First Half
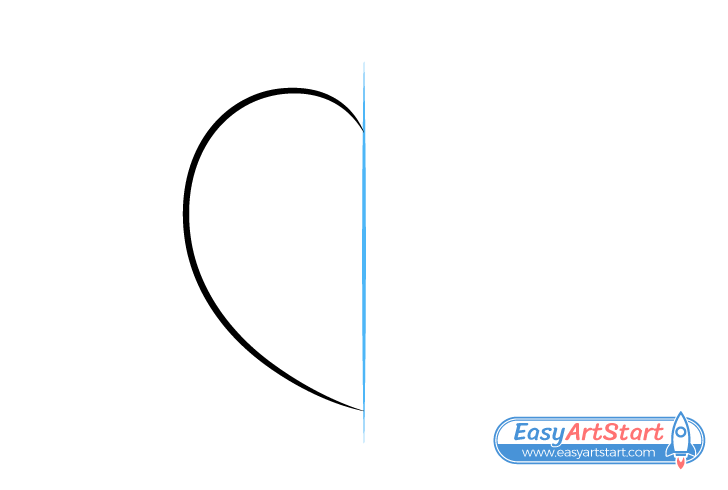
Continue the curve downwards towards what will be the heart’s bottom tip. Stop when you reach the center line.
Make this part fairly rounded to give the heart a bit of a “puffy” look. This will help create “cute” and slightly more unusual drawing.
Step 3 – Draw the Upper Part of the Second Half
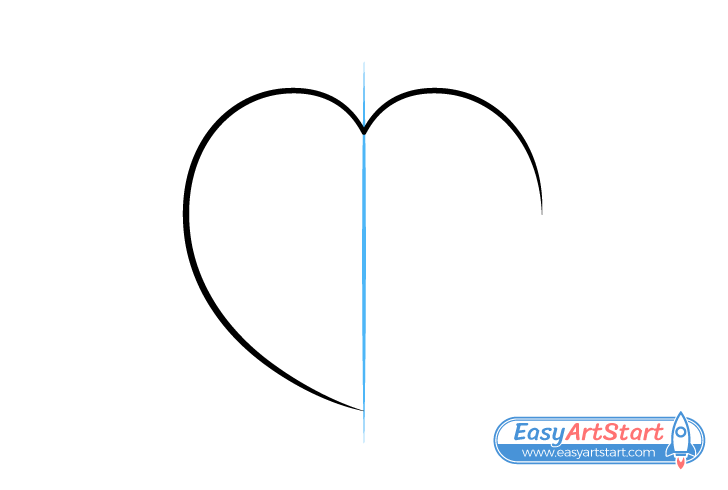
Draw another curve starting from the heart’s upper split and running in the opposite direction. Try and make it as close in shape to the first one as you can so that the drawing is mirrored along the vertical line.
Step 4 – Finish the Heart’s Outline
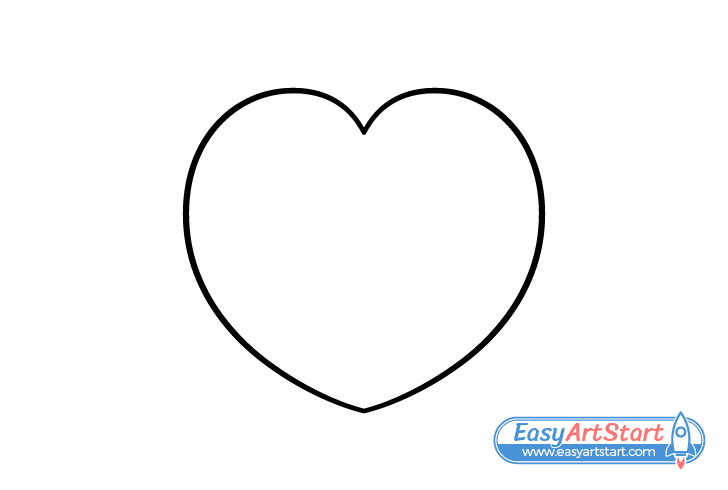
Finally, finish the heart’s outline by joining it’s two halves at the bottom. Again, remember to try and keep the drawing as symmetrical as you can. When done, you can erase the vertical guide line.
As was mentioned at the start of the tutorial, once you’re happy with the heart’s shape you can trace over it with darker lines (simply press harder on the pencil). Alternatively, you can use a black marker (if you happen to have one).
Step 5 – Color the Heart
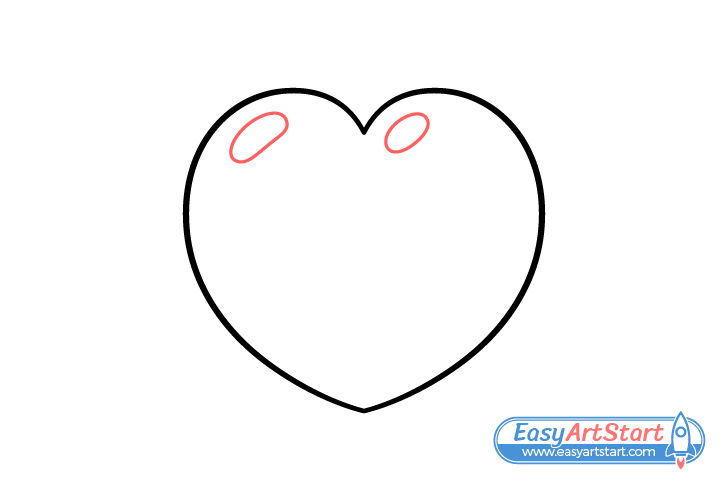
Before you start coloring outline a couple of reflections. While this drawing is highly stylized it’s good to still somewhat base it in reality for things to look believable. This means that as light generally comes from the top you will want to place the reflections along the heart’s upper area. Usually when objects have splits or bumps in their shape they break up the light and create separate reflections. In this case draw two (one for each bump).
Make the first reflection larger and longer and the second one smaller. You can either outline them with very light regular pencil lines (so that they blend into the color) or in red.
Showing bright reflections is a very simple way of making it look like the heart has a smooth surface (as though it’s made of glass). As shiny things generally tend to grab attention a drawing done in such a way can be more likely to as well.
For another example of using this method see:
How to Draw Beautiful Lips in 6 Easy Steps

After you’ve added the reflections fill in the heart’s outline with red leaving them white. As was already mentioned, an easy way to do this is with a red pencil, however you can use just about any other media.
Step 6 – Add a Shadow

Because the heart is drawn as though the light is coming from above it you can add a shadow along it’s bottom. The shadow will help give the heart a slightly more three dimensional look. In a more realistic drawing you could create a gradient where the shadow gradually gets darker towards the bottom. However, as the example is highly stylized you can just use a hard transition between the light and dark area.
Create the shadow by either pressing harder on the red pencil or by lightly going over the red with a regular one.
Conclusion
This guide shows some easy ways to make a simple heart drawing look more interesting. By slightly tweaking it’s shape to be a little more curvy you can give it a “puffy” look that is a bit like an inflated balloon. You can further build on this by adding a pair of reflections and a shadow to give the heart a shiny and more three dimensional appearance.
A great thing about the tips provided in this tutorial is that they hardly requires any additional effort to implement yet can greatly improve the look of your artwork.
If you enjoy these kinds of easy to follow step by step guides also be sure to check out the following:

