How to Draw a Gemstone With a Nice & Simple Shape
This tutorial shows how to draw a gemstone with step by step illustrations and easy to follow instructions.
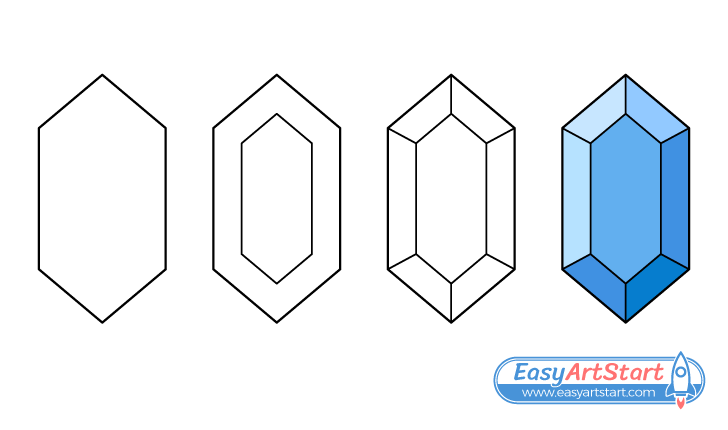
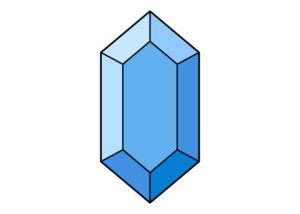
The gem show in the example is drawn with a fairly simple shape but also one that is easily recognizable for what it’s supposed to be.
The art style used for this guide is similar to one you can find in video games or comic books. Drawing in such a way can be good if you are a beginner looking to start with something simple or if you just want to try and draw something nice or cool looking for fun.
The tutorial first shows how to outline the gem’s shape and then how to color it to create a three dimensional appearance.
While this is a very straightforward guide it’s recommended that you start it in pencil just in case you need to make a correction. Because the gemstone is made up entirely of straight lines you can also use a ruler to help you. However, as recommended in many other guide’s here on EasyArtStart it’s better to try and make them freehand if you want to get better at drawing.
Step 1 – Outline the Outer Shape of the Gemstone
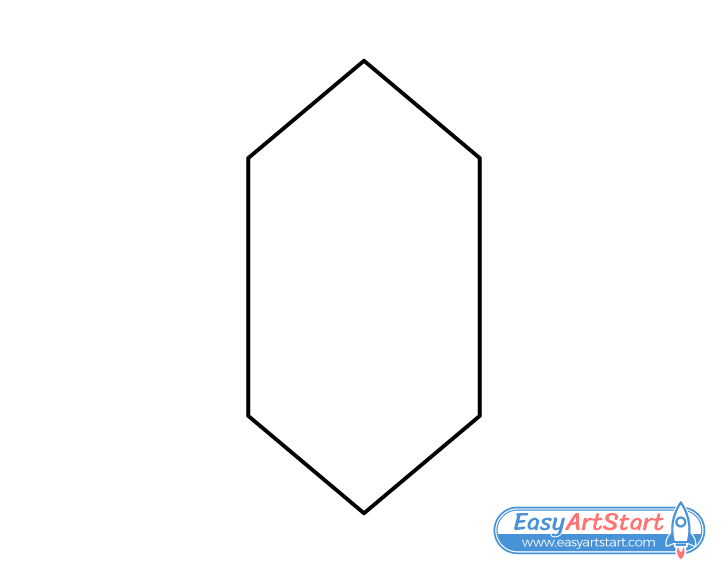
In this example the gem has a hexagon shape (six sides). You can outline it by starting with the longer side areas as two parallel lines. Next, draw a pair of angled lines to define the top and then another pair to define the bottom (these should mirror one another).
For drawing gemstones with a different shape see:
How to Draw Earrings With a Nice & Simple Design
Step 2 – Outline Gemstone’s Table Facet
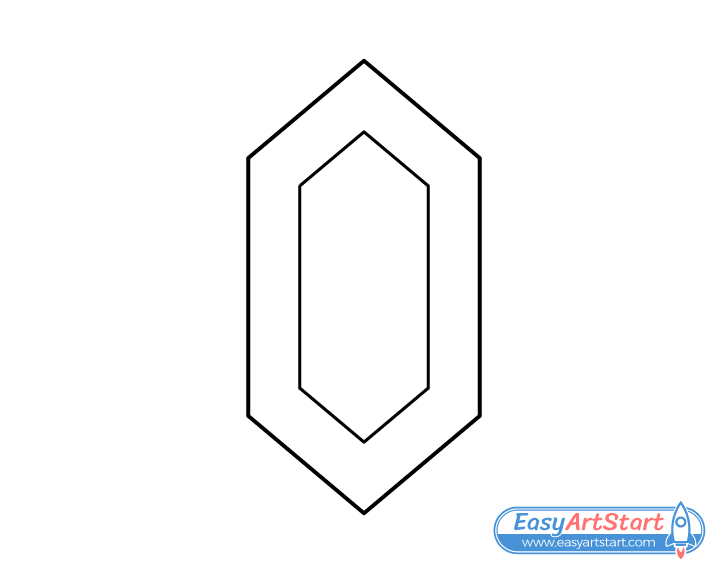
After outlining the gemstone’s main shape draw it’s largest facet. This is called the “table”. Make it’s shape similar to that of the main outline (as shown in the example). Try and define the table in such a way as to leave the same amount of space between it’s outline and the main outline of the gem on all sides.
Step 3 – Define the Smaller Facets
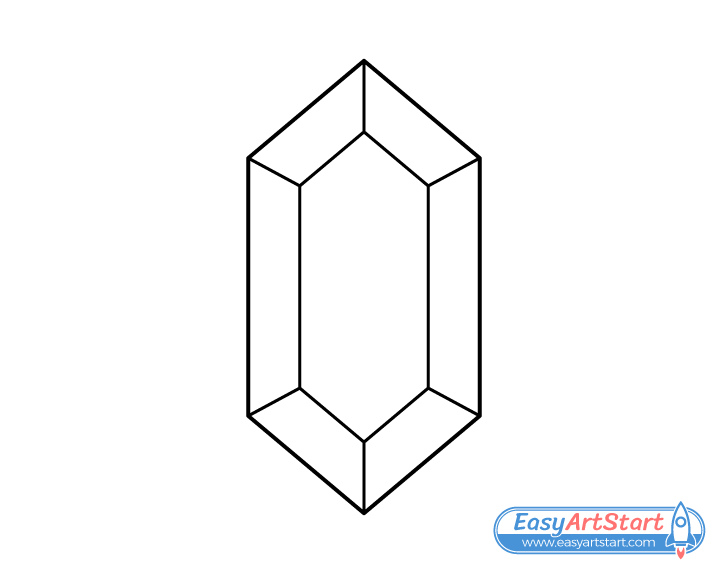
Finally, to complete the gemstone’s shape draw lines running from the corners of it’s main outline to the corresponding corners of the table’s outline. This will define the shapes of the other visible facets.
Once you have all areas of the gem outlined you can (optionally) trace over your lines with a black marker or make them darker/thicker using a pencil. This will help the lines stay visible when you color the drawing.
Step 4 – Color the Gemstone
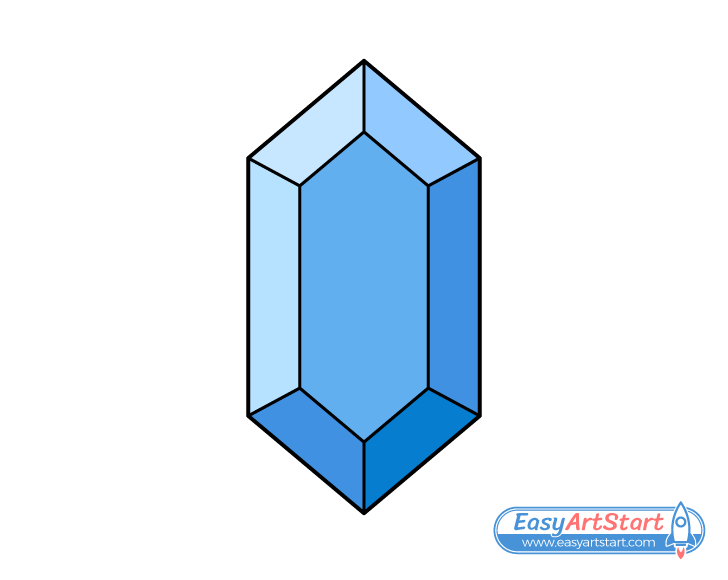
Gemstones come in a huge variety of colors so you can use whatever one you like when coloring your drawing. In the example the gem is blue.
In order to give the gem a three dimensional appearance you will want show some light and shadows.
In this example the drawing is shaded as though the light is coming from the upper left area. This means that the facets facing more towards it have lighter colors while the facets facing more away from it have darker colors.
To color as in the example make the different facets of the gem as follows:
- Table – medium between light/dark (the main color of the gemstone)
- Upper left facet – lightest
- Left facet – light
- Upper right facet – slightly lighter (than the table)
- Right facet – slightly darker (than the table)
- Bottom left facet – dark
- Bottom right facet – darkest
Conclusion – Even a Simple Gemstone Drawing Can Look Nice
This guide shows how you can create a simple drawing of a gemstone in a style similar to that found in video games or comic books.
By giving the gemstone a particular shape and by using some fairly basic shading you can create a cool drawing that is easily recognizable for what it is supposed to be.
If you like these kinds of easy to follow step by step guides also be sure to try the following:

