How to Draw a Dress in a Simple Way
This tutorial shows how to draw a sleeveless dress with a simple design. It provides step by step examples and instructions.
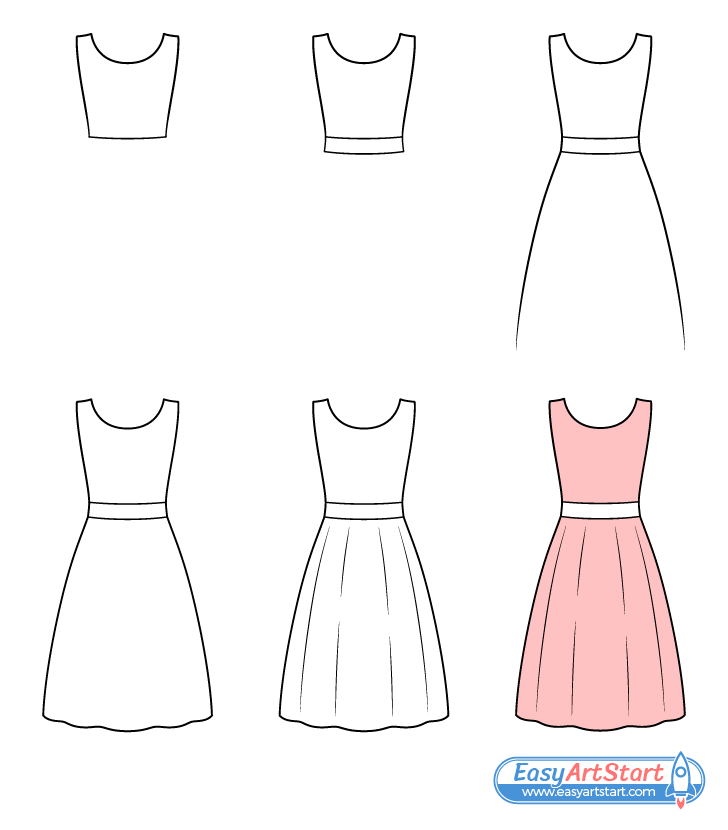
The dress is drawn a part at a time to make it easy to follow along with the steps (even if you are a beginner). You can see a preview of the different drawing stages in the image above.
Though the guide is created in a way where you don’t need to do any erasing (unless you make a mistake) you should still start the drawing in pencil and make light lines. This way they won’t leave marks in case you do have to make corrections. You can darken your lines after you have all parts of the dress drawn out.
Step 1 – Draw the Top of the Dress
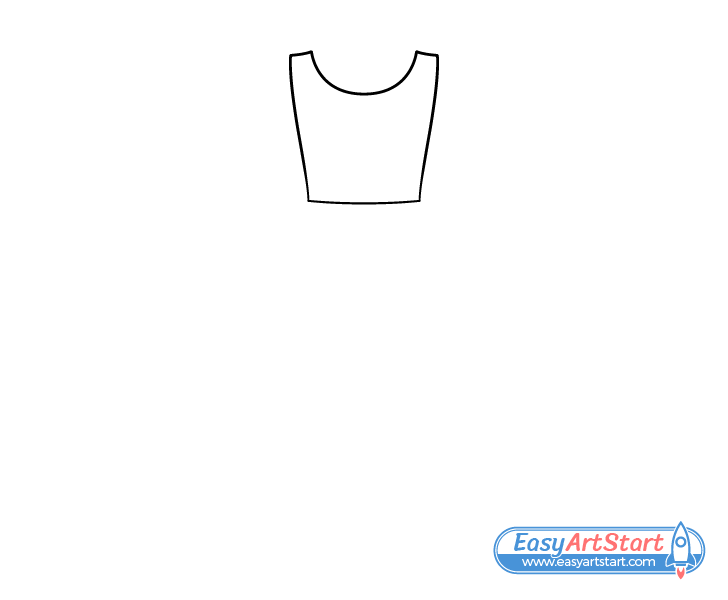
Start with the top part of the dress that covers the upper part of the body. First, draw the opening of the neck, followed by the shoulders, the sides, and finally the bottom.
Draw the neck opening with as a large curve (in relation to the rest of the dress). Draw the parts that go over the shoulders to be fairly narrow. Make this part of the dress narrower as it goes down towards the waist and draw the sides to be slightly curved. Draw the bottom as a curve as well.
Step 2 – Draw the Waist Area
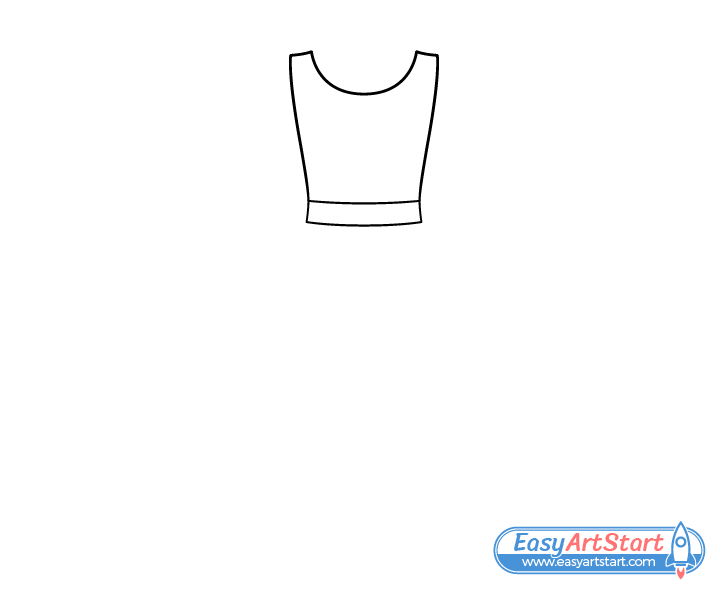
Draw the waistband of the dress as a fairly thin strip below it’s upper portion. It should look like a belt with no buckle.
Make this part a tiny bit wider as it goes down.
Step 3 – Draw the Sides
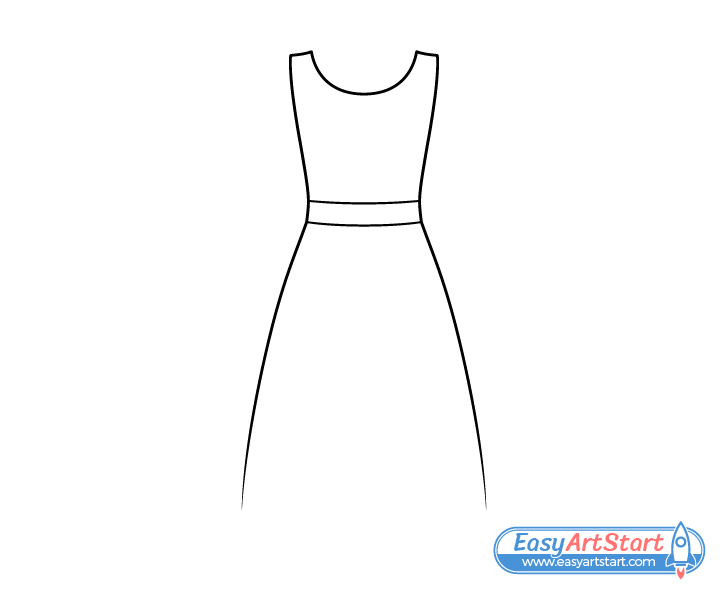
Draw the lower part of the dress getting much wider as it goes down from the waistband (like a long skirt). Define each side with a smooth curve as in the example.
Step 4 – Draw the Bottom
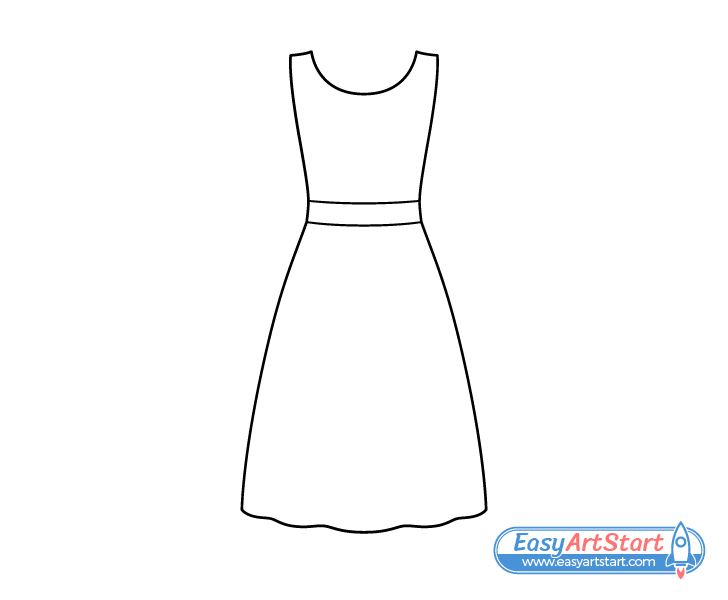
Add the very bottom of the dress as a series of “waves” that create the curve. Draw the largest one directly in the middle and make them smaller as they go off to the sides.
Step 5 – Draw the Folds
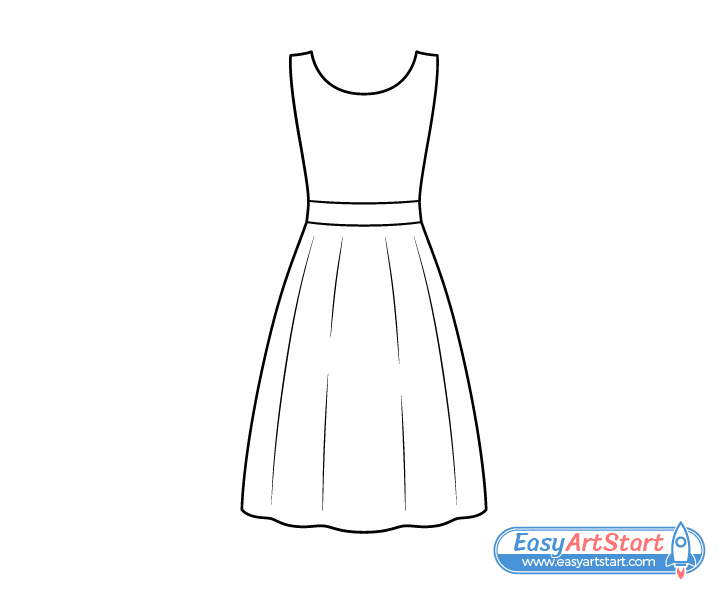
Draw several curved lines running down from the waistband to the upper ends of the “waves” that define the bottom of the dress. Add these in a way where they don’t actually touch the waistband or the bottom but come close to them.
The lines will show folds in the fabric. To make the folds look more natural add gaps into a couple of them.
Draw the folds closer to the center to be slightly less curved (closer to a straight line) and the folds near the sides a little more curved. Make sure that the gaps between the curves get smaller the closer they are to the sides of the dress (matching the waves on the bottom).
Drawing the folds in the described way will help show the curvature of the dress and give it a more three dimensional look.
Step 6 – Color the Dress
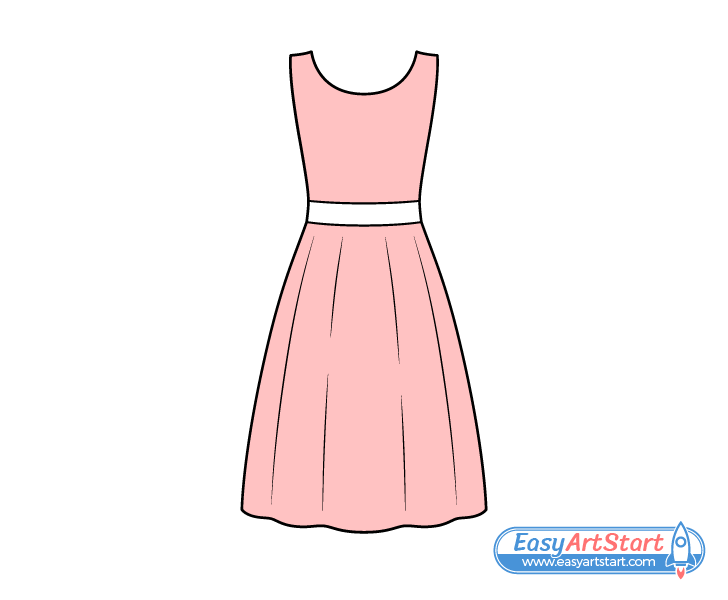
You can color the dress using any medium (paints, markers, colored pencils, etc…). In this example it’s pink with a white waistband (pink and white go well together). You can of course use different colors if you prefer. For example a blue dress with a yellow waistband can also look nice.
Conclusion
This tutorial show how to draw a simple sleeveless dress in a way that both looks good and is beginner friendly. By giving the dress just a little bit of details such as the waistband and folds you can keep the drawing from looking too plain while also not overly complicating it.
Hopefully you’ve found it easy to follow along with the steps. For more similar drawing guides also be sure to check:

