How to Draw a Champagne Glass (5 Simple Steps)
This tutorial shows how to draw a champagne glass filled with champagne using a very easy to follow step by step approach.
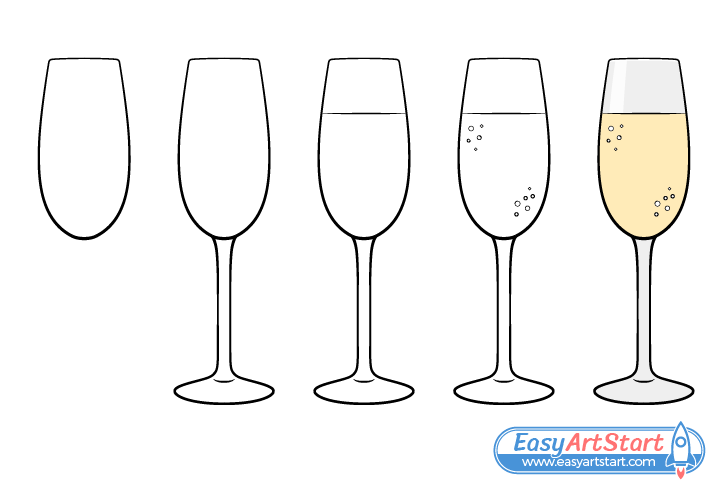
The champagne glass is drawn in a slightly simplified style to make the tutorial easy. However, it’s not overly stylized as to look like something out of a cartoon. As such, the guide can help you create serious looking artwork that does not require too much effort.
It’s recommended that you start in pencil and make light line drawing of glass first. You can then trace over it with darker lines of varying line weight. Changing up the thickness of your lines can help improve the look of your artwork, although, if you want a simpler drawing this part is optional.
Step 1 – Draw the Bowl (Top of the Champagne Glass)
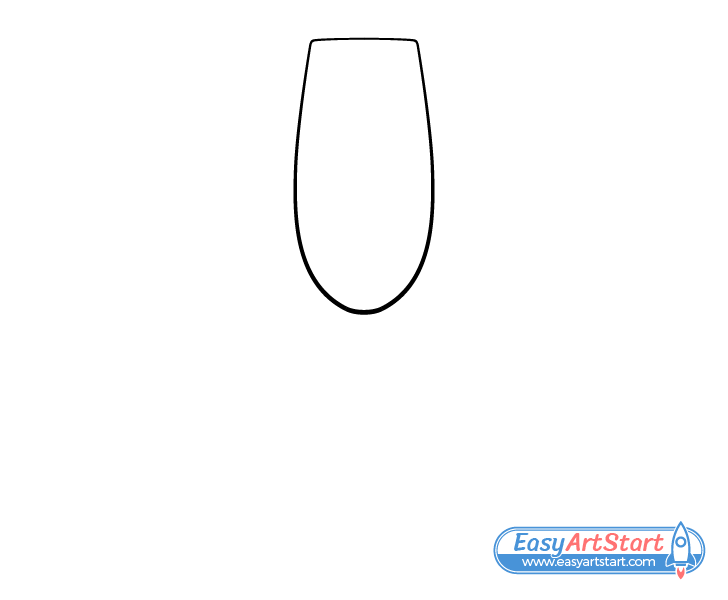
First, draw the upper part of the champagne glass that holds the drink (called the bowl). Make it’s outline wider as it goes down with a curved bottom. Draw the top and sides to be very slightly curved as well.
You can optionally make a straight vertical line through the middle of the glass to make sure it does not get skewed to one side and to make it easier to see if both of it’s halves are symmetrical.
If you choose to do so keep this line until you’ve drawn out the base and erase it afterwards.
Step 2 – Draw the Stem & Base
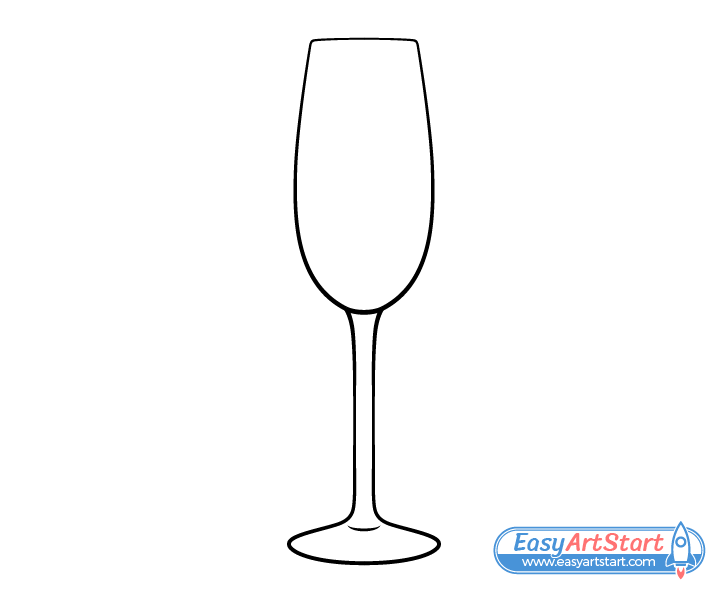
Going down from the bowl add the stem followed by the foot/base. A thin stem is very definitive of a champagne glass so be sure to draw accordingly. Make the stem even in thickness throughout most of it’s length but wider near it’s top and bottom (where it joins with the the bowl and base).
Below the stem add the base of the glass. Outline it’s shape starting with downwards slopes on it’s upper ends. Next, draw the sides as small curves and the bottom as a large one.
Finally, also draw a small curve around the area where the stem merges into the foot. This will help better define the shape of the champagne glass.
Step 3 – Draw the Champagne
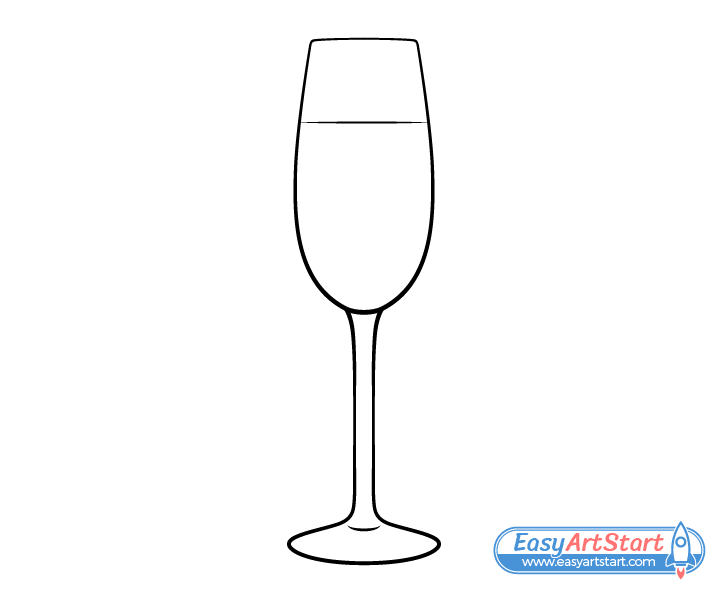
For this very simple stem just draw a straight line to indicate that the glass is filled with champagne. You can of course draw it lower down or higher up to make the glass appear more or less full.
Step 4 – Draw the Bubbles
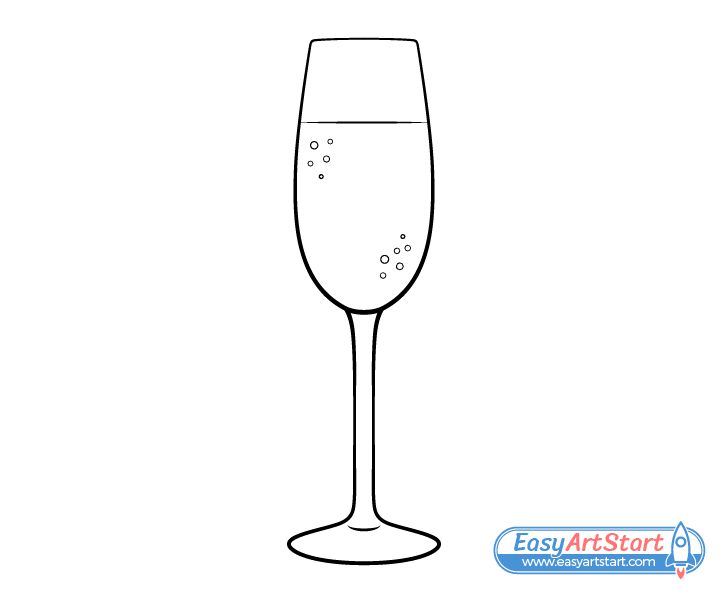
Show bubbles in the champagne by drawing two bunches of little circles (of slightly varying size) on each of it’s sides. Place one group lower down and the other higher up.
Once you’ve added the bubbles trace over your drawing with darker pencil lines or a thin black marker. You can optionally vary the line weight (as was done in the example) and make the outline thicker in some parts (such as the bottom of the bowl).
Step 5 – Color the Champagne Glass
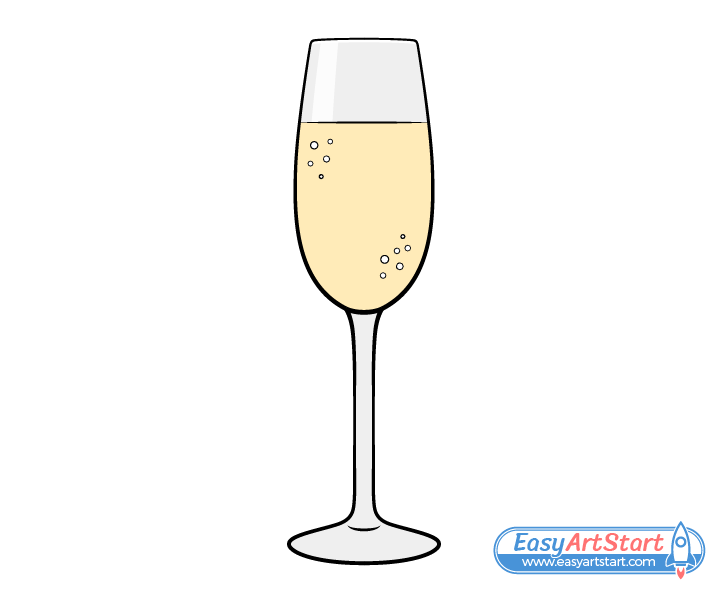
To color the champagne glass make the champagne a light yellow and the glass a very light grey. Also, leave a white reflection towards one side of the upper part of the glass (above the liquid). The reflection will help convey that it has a smooth surface.
An easy way to apply the grey is by simply using a regular pencil. You can use a yellow pencil, pastels, paints or anything that lets you get a lighter color for the yellow.
Conclusion
This tutorial shows how to draw a simple champagne glass that is not overly stylized.
In the example this is achieved by giving the major parts of the object shapes that are very characteristic of such an item and proportions that are close to those you might find in a real champagne glass.
At the same time a lot of the smaller details such as the bubbles and reflections are highly simplified to reduce the complexity of the drawing.
If you like these kinds of tutorials with easy to follow step by step breakdowns also be sure to try the following:

