How to Draw a Banana Step by Step
This tutorial shows how to draw a banana in six steps. It provides easy to follow examples and instructions.
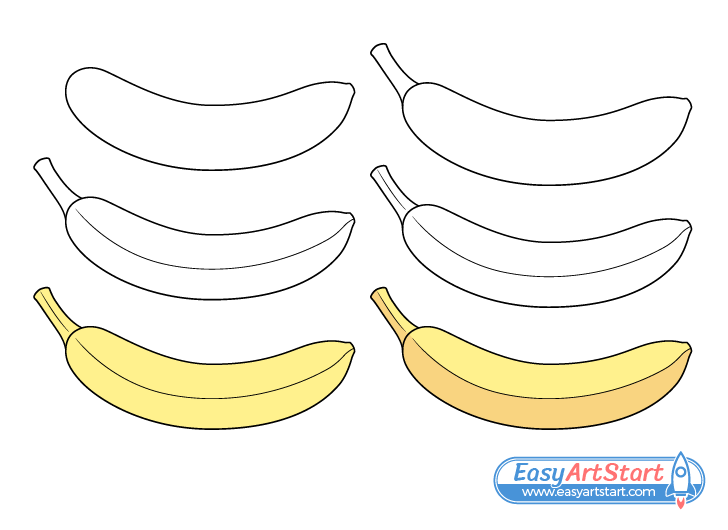
The main focus of the guide is on creating a line drawing that captures the important characteristics of a banana. However, it also shows how to apply some very basic color/shading to help make the drawing stand out.
Although the example is created in a way where you (ideally) do not need to do any erasing between the different steps, it’s still recommended that you begin the tutorial in pencil and use light lines just in case you need to correct a mistake. You can darken them before coloring.
Step 1 – Outline the Main Shape of the Banana

Start by getting the main outer shape of the banana. Draw this with a smooth curve and of fairly even width through most of it’s length (but not perfectly so). Also, be careful not to make it too long or too short as that can make the drawing look odd and less like what it’s supposed to.
Draw the banana rounded towards the end where it’s attached to the bunch and a little more pointy at it’s tip. Also, give the tip a small bump on it’s very end (as shown in the example). These are generally fairly common for bananas.
Step 2 – Add the “Tail”
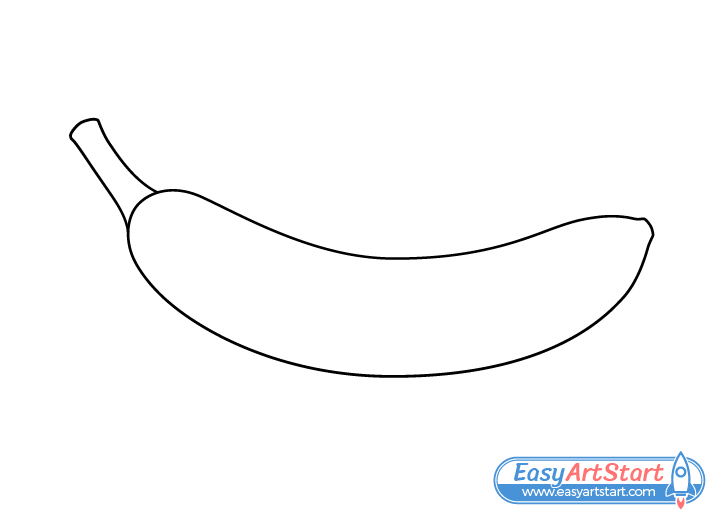
On the curved end of the banana add the little “tail” that attaches it to the bunch. You can draw this to be very lightly curved as well. Make the “tail” wider at it’s base (near the banana) and narrower as it goes out. You can then make it a tiny bit wider again near it’s very end.
Step 3 – Draw the Edge

Generally banana peels are divided into several sections. Show this by adding an edge that runs from the tip of the banana to it’s other end. Define this with a single curved line as shown in the example.
Step 4 – Draw the Edge of the “Tail”

The different sections of the banana also tend to be reflected in it’s “tail” so you can continue the edge onto that part of it as well. Once again show it as a single slightly curved line.
Once you’ve added this last little detail you can trace over your drawing with either darker pencil lines or a thin black marker. Just be sure that everything looks right before doing so as it may be difficult to make corrections afterwards.
Step 5 – Color the Banana
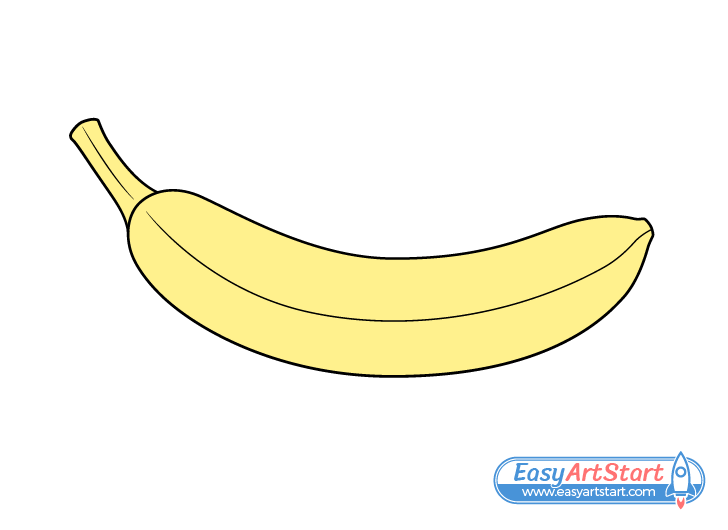
To color the banana simply fill it in with yellow. A yellow marker can be particular good for doing so as these tend to create bright colors. However, you can use other medium if you prefer.
Step 6 – Add Shading

To make the banana appear a little more three dimensional give it some simple shading. Do so be going over it’s lower half (below the edge line) with either orange/brown or regular pencil shading.
In this case the banana is shaded as though the light is coming from above it. This means that she darker area should be along it’s lower half (as shown).
If you want to go with the orange/brown colored pencils are a good option as an orange/brown marker will be too bright for showing a shadow.
Conclusion
This tutorial shows an easy way to draw a banana. By correctly showing the important characteristics of the fruit’s shape you can create a drawing that is simple but definitely looks like one. It can then make it look even better by applying some color and some very basic shading.
If you like these kinds of uncomplicated and easy to follow tutorials also be sure to try the following:

