How to Draw a Peanut in 6 Steps
This tutorial shows an easy way to draw a peanut (in it’s shell). It provides step by step drawing examples and quick instructions.
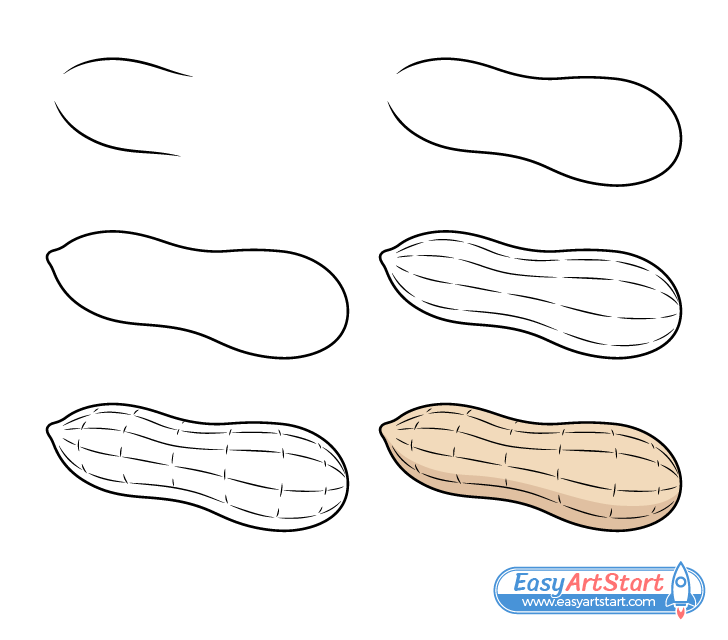
A great thing about this particular tutorial is that it demonstrates some very simple tricks that can make an otherwise flat looking drawing appear more three dimensional. It also shows how to give the peanut it’s characteristic shape and texture.
You should start the tutorial in pencil and make lines. You can darken them after you have all parts of the peanut outlined and are happy with the way it looks.
Step 1 – Draw the First Half of the Peanut
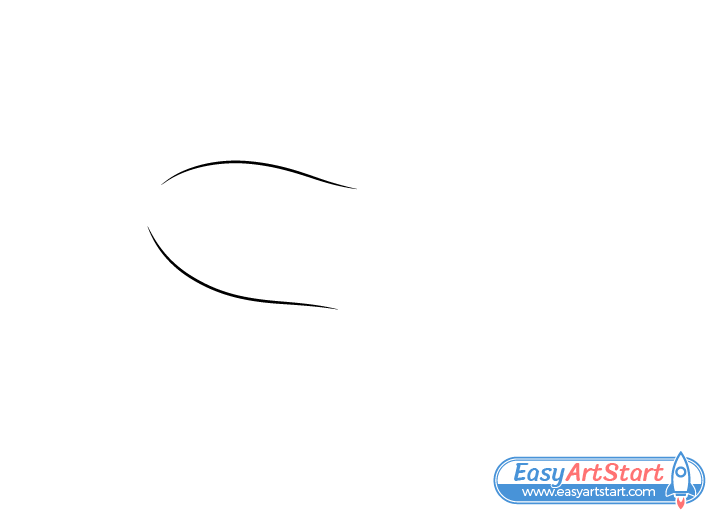
Begin by outlining the first half of the peanut (or the shell). Leave the area where it will have a little tip open and define it’s shape with a pair of smooth curves that start to go in the opposite directions as they reach the peanut’s narrower middle.
Step 2 – Draw the Second Half
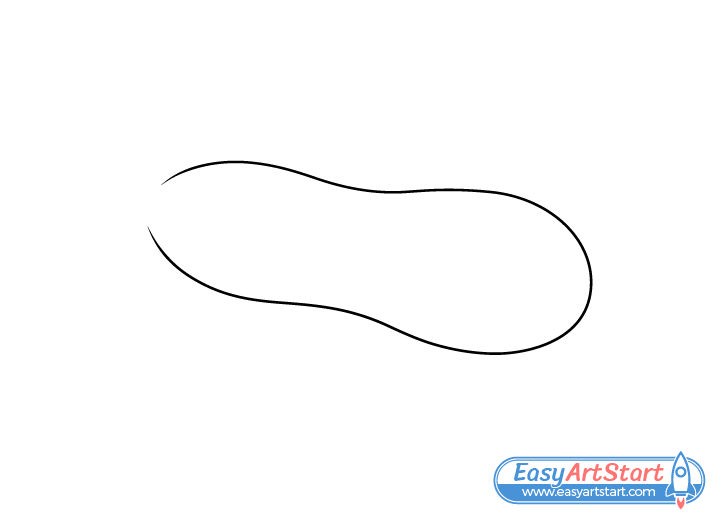
Draw the second half of the peanut/shell slightly larger than the first one. Overall the peanut should be narrower near the middle (as already mentioned) and wider on each of it’s sides.
Step 3 – Draw the Tip
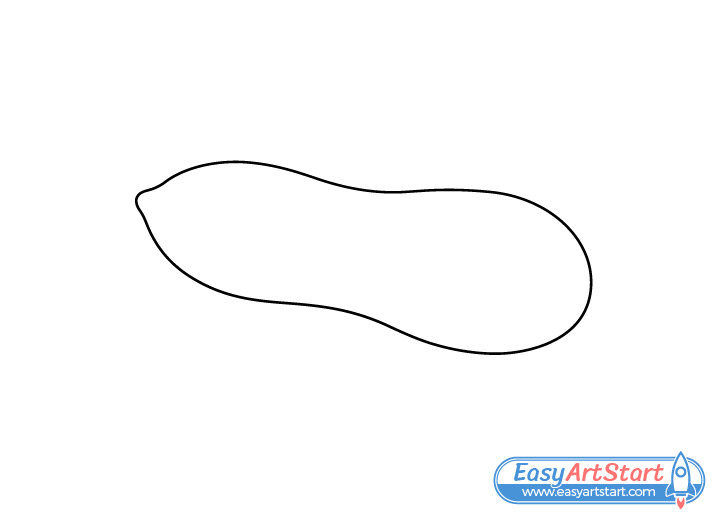
To complete the outline of the peanut’s main shape add the little tip to the smaller side of it’s shell.
Step 4 – Add Some Texture to the Shell
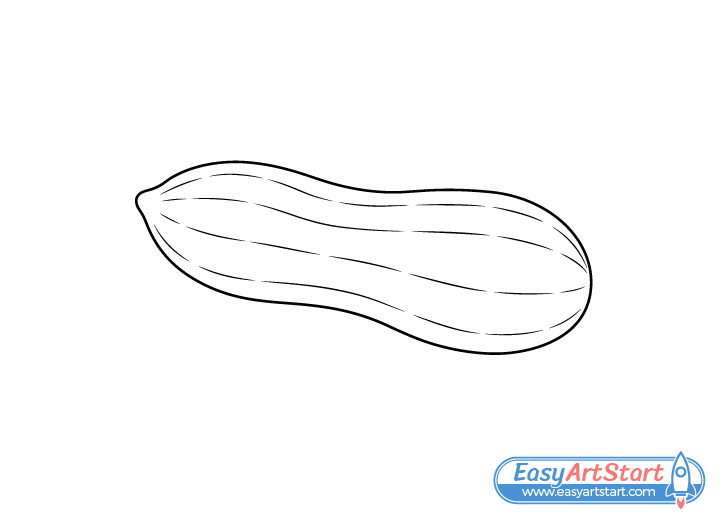
To give the peanut’s shell it’s characteristic texture you will first want to create a series of broken up lines that run along it’s surface. These lines can also help give the drawing a more three dimensional appearance.
To create the 3d effect draw the lines on the sides with less space between them and the edges. Draw the lines closer to the middle farther apart from one another. This will help show the curvature of the shell.
You can create the little breaks in the lines either as you draw them or by using an eraser. Try create the breaks in a way where most of them run in curved rows.
Step 5 – Finish the Shell Texture
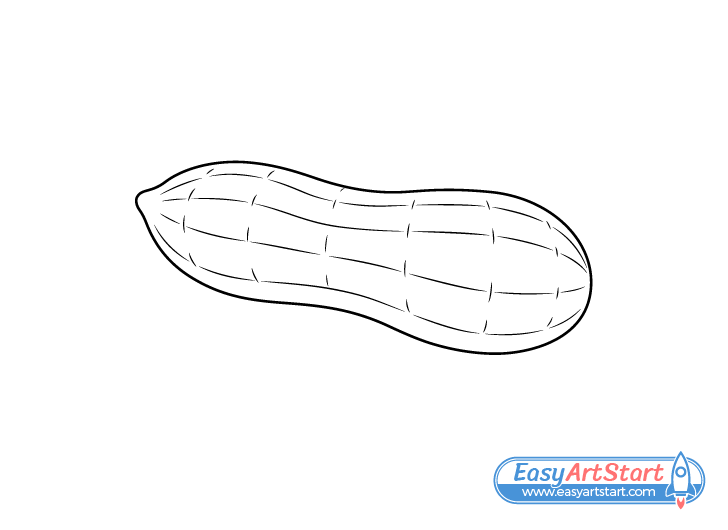
Draw several series of little dashes in between the breaks where they form curves that will again help define the shape of the peanut (as well as it’s texture).
Draw the dashed lines more curved towards each of the sides and a little more flat near the center. This will again help show the curvature of the peanut and give it a more 3d appearance.
Once done with the above check your drawing to make sure you are happy with how things look thus far. If everything seems good you can trace over it with darker lines. Otherwise make any corrections that you feel are needed before doing so.
Step 6 – Color the Peanut
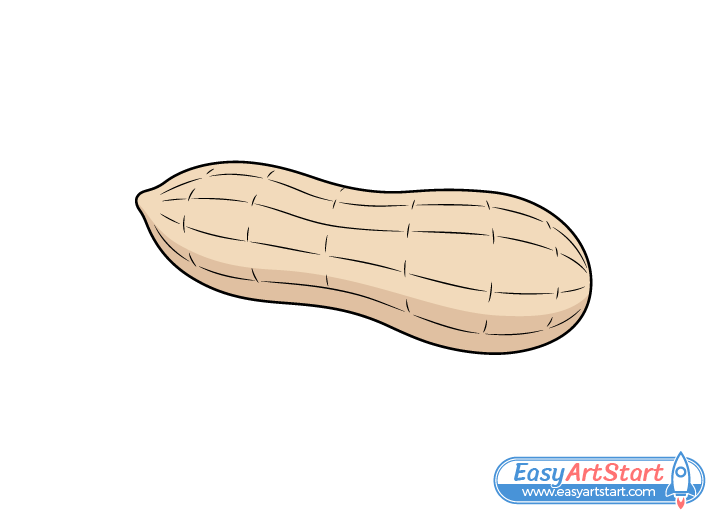
For the last and very simple step of the tutorial you can color the peanut. Make it a light yellow/brown. An easy way to do this is with paints or colored pencils. You can either mix the two colors or apply them in layers over one another.
Next, add a shadow along the bottom of the peanut. You can create the shadow by either using a darker brown or the grey or a regular pencil.
Be sure to add the shadow in a way where it runs along the shape of the peanut.
Although a very simple addition the shadow will help quite a bit in yet again giving the peanut a more three dimensional appearance.
Conclusion
This tutorial shows an easy way to draw a peanut. It explains how you can use some fairly simple tricks to make the drawing look good and give it a more three dimensional appearance.
For more similar tutorials also see the following:

