How to Draw a Candle in 6 Steps
This tutorial shows how to draw a burning candle. It provides step by step illustrated examples and helpful instructions.
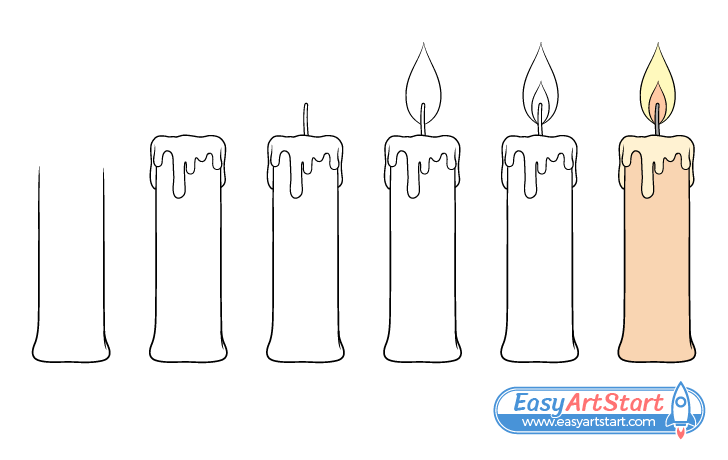
The example is of fairly common wax candle. To make the drawing more interesting the candle is shown as being lit with melting wax dripping from it’s top.
Although it’s fairly simple, it’s recommended that you start the tutorial in pencil and make light and easy to erase line in case you need to make a correction. You can darken them once you have all parts of the candle outlined.
Step 1 – Draw the Candle
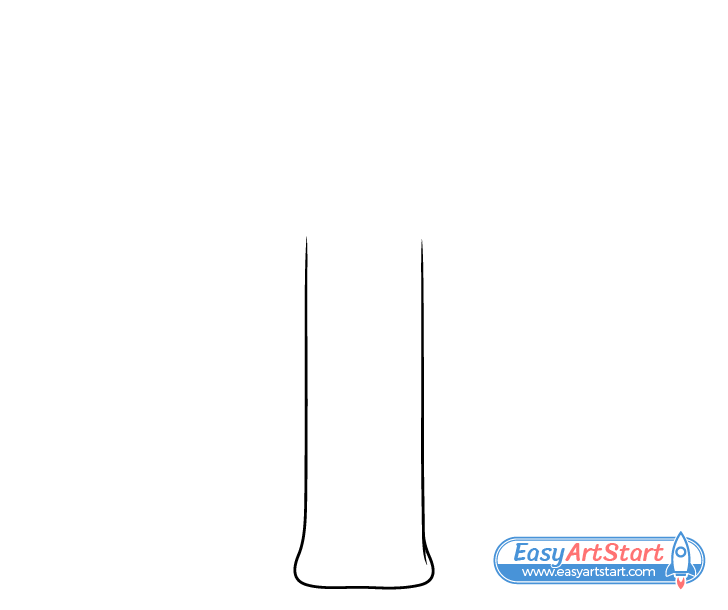
Start by drawing the wax part of the candle. Make it of fairly even width throughout it’s length except at the very bottom. Make the bottom slightly wider like it’s been melted as candles are often heated in that area to make them stick to a surface.
Step 2 – Draw the Melting Wax
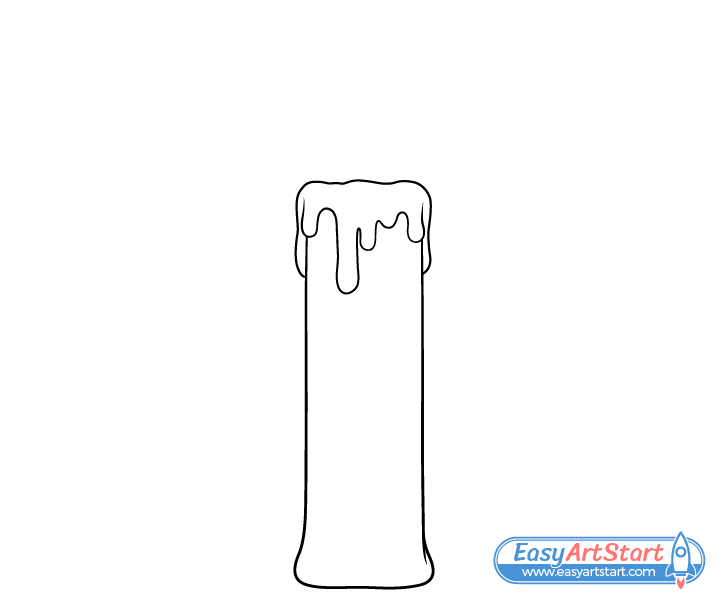
To make the candle look more interesting and to show that it’s already been used for some time add melted wax dripping down from it’s top.
Draw the drips of varying length and slightly varying size to make them natural (as shown in the example).
Step 3 – Draw the Wick
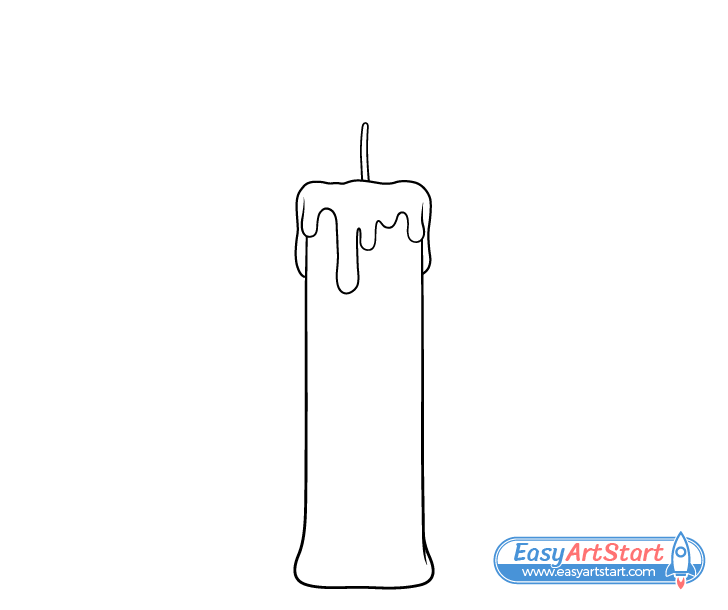
Sticking out of the top of the candle draw the wick (the part holds the candle flame).
Make this fairly narrow with a light curve in it’s overall shape.
Step 4 – Draw the Outer Flame
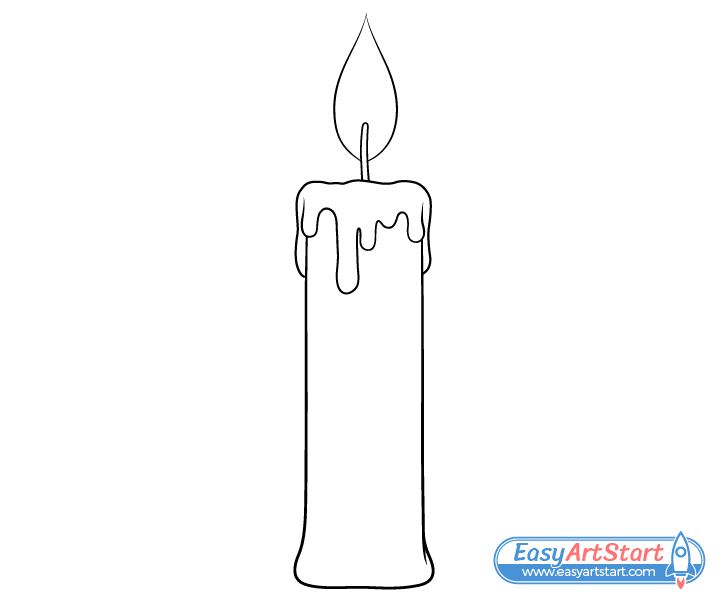
Surrounding the upper part of the wick add the flame of the candle. Draw it to be wider as it goes up and then narrower again as it goes past it’s middle (ending with a pointy tip).
For drawing a fire see:
Step 5 – Draw the Inner Flame
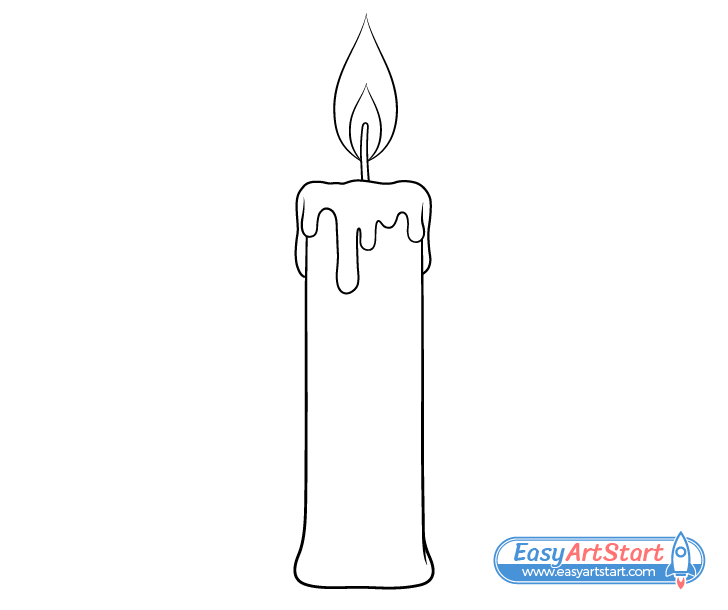
Inside the outer part of the flame add it’s inner area. Make this roughly the same shape as the outline but significantly smaller (about 1/4 the size).
Once this last part o the candle is added you can darker your lines by either tracing over them with the pencil or a thin black marker. Just make sure that you are happy with how things look before doing so (otherwise make corrections first).
Step 6 – Color the Candle
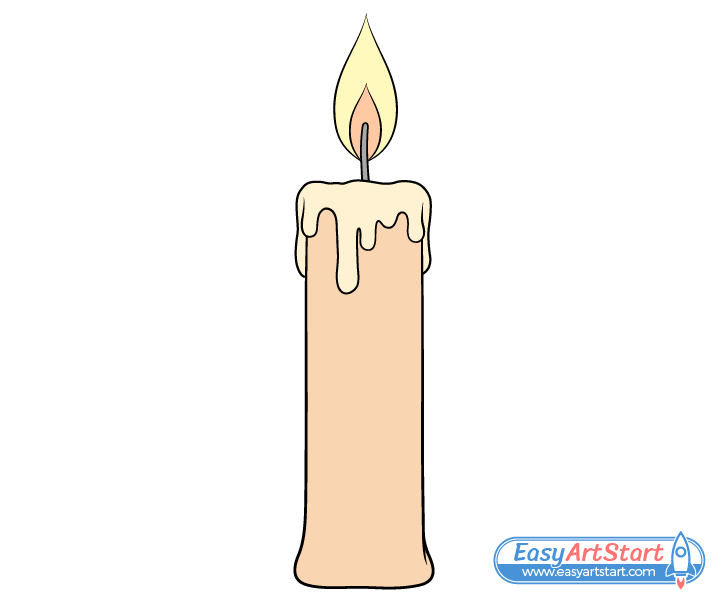
To color the candle paints or colored pencils can both be good options.
Make the candle itself a yellow/orange/brown. You can either mix the appropriate paints colors or apply them one layer at a time with the pencils.
Make the melting wax a lighter variant of the above color (with more yellow in it).
Shade the wick a dark grey (use a regular pencil), make the inner part of the flame orange and the outer part yellow.
Once done with the above you should have a finished drawing of a candle.
Conclusion
Sometime adding a little bit of detail to a drawing can have a major impact on how good it looks.
The candle shown in this tutorial is fairly simple. However, showing it as being lit and adding the melted wax makes the drawing a lot more interesting than it would otherwise.
If you like these kinds of simple tutorials with useful and easy to understand tips also see the following:


