How to Draw a Peach in Six Steps
This tutorial shows how to draw a ripe looking peach. It consists of step by step illustrated examples and simple instructions.
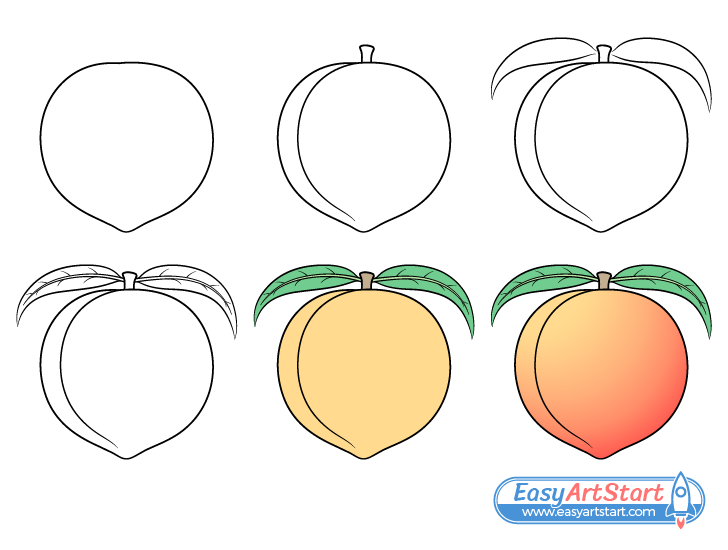
The tutorial goes from a fairly simple line drawing to applying basic color and finally creating a gradient which helps give the peach a nice and ripe look.
Although the guide is put together in a way where you don’t need necessarily need to do any erasing in between the different steps it’s still recommended that you start the drawing in pencil and make light and easy to erase lines in case you need to make a correction. You can darken them once you have all parts of the peach outlined (before coloring).
Step 1 – Draw an Outline of the Peach

Begin by outlining the main shape of the peach. Make it fairly round with a tiny indent at the top (for the split) and a little bump on it’s bottom.
Step 2 – Draw the Stem
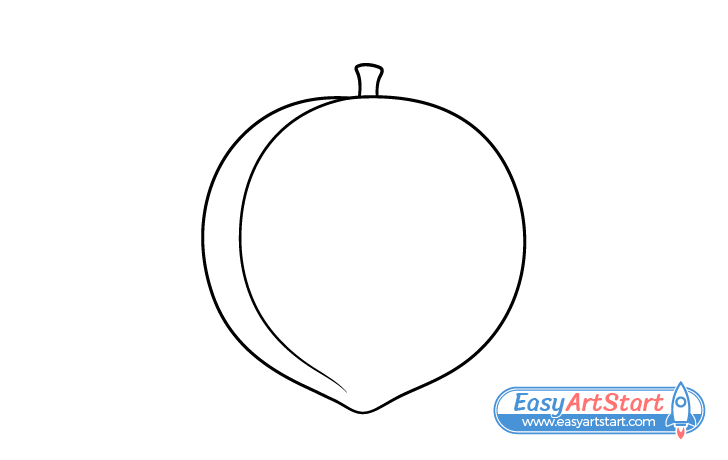
Draw the split that is so characteristic of a peach running down one of it’s side (starting from the little indent at the top created in the previous step).
Coming out near the top of the split add the stem. Draw this part narrower at the bottom with a wider bit at the top (a bit like a cap on a nail or a screw).
Step 3 – Draw the Outlines of the Leaves
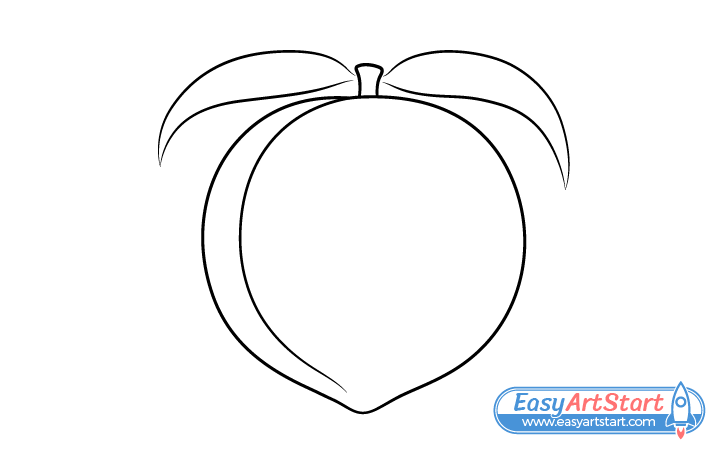
Draw a pair of leaves going out from the stem to each side of the peach. Peach leaves tend to be fairly long and thin with curved tips as shown in the example (keep this in mind when drawing).
For a more detailed tutorial specifically on drawing a leaf see:
How to Draw a Leaf Step by Step
Step 4 – Draw the Veins of the Leaves
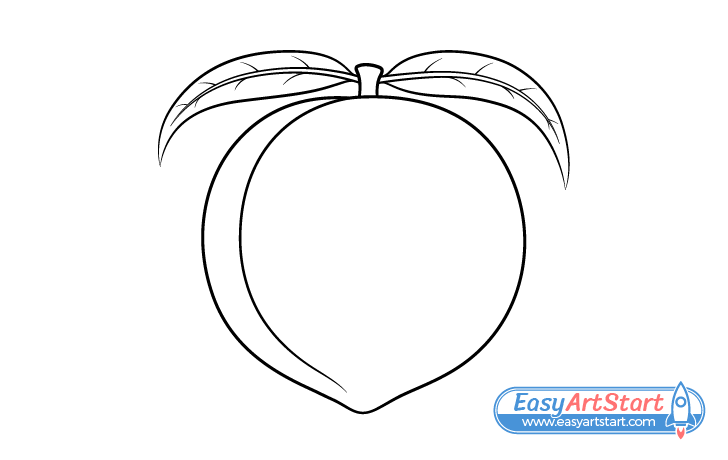
Draw the petiole/midrib for each leaf (the part that runs through the middle) followed by the smaller veins. Once done, look over your drawing to make sure you are happy with how it is thus far. If everything looks good you can darken your lines with the pencil or a thin black marker. Otherwise make any corrections you feel are required prior to doing so.
Step 5 – Add Basic Color
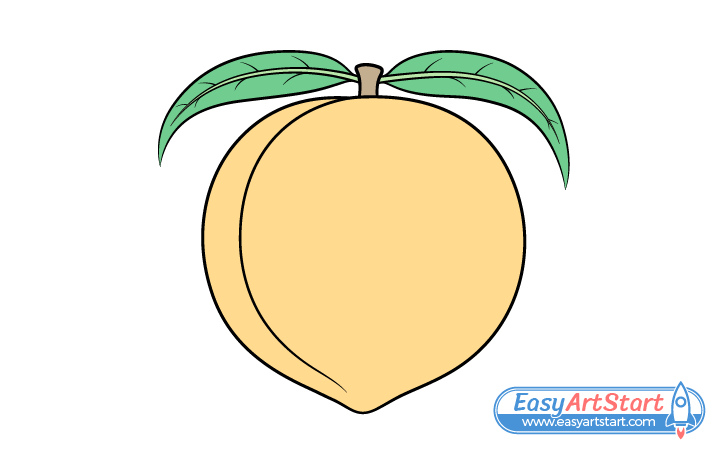
An easy way to color this particular drawing is with colored pencils or pastels but you can use paints as well.
To color the peach first fill it in with a solid orange color. Make the blade of each leaf green and the petiole/midrib a lighter green. Make the stem brown.
Step 6 – Add a Gradient
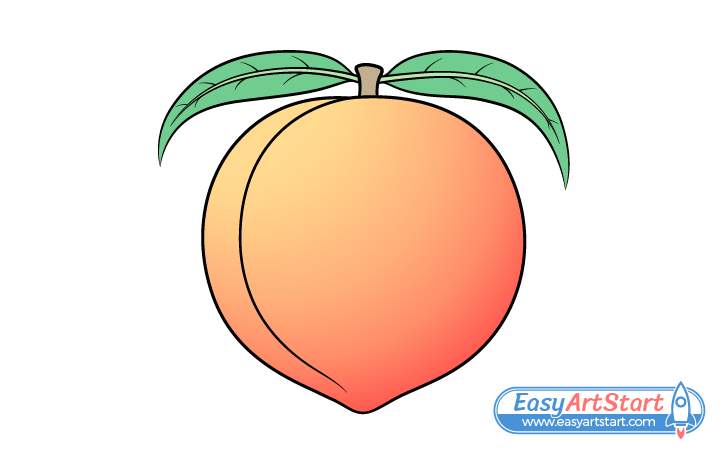
For the final part of the drawing add a red gradient to the peach to give it a nice and ripe look.
You can create this by either by slowly blending the color with a red pencil or by smudging red pastels.
In this example the red runs along the lower right of the peach an then gradually transitions into orange as it goes towards the upper left. Applying the gradient in such a way also helps emphasize the peach’s shape.
For drawing another type of fruit with a slightly different gradient see:
How to Draw a Pear (6 Easy Steps)
Conclusion
This tutorial shows an easy way to create a drawing of a nice and ripe looking peach fruit. This is done by applying a fairly simple red gradient. In addition to making the peach look ripe the red also acts like a shading and helps give it a more three dimensional look.
If you like these kinds of simple tutorial with useful drawing tips and step by step examples be sure to also try the following:


