How to Draw a Tree (Simple 6 Step Guide)
This tutorial shows how to draw a tree in a simple style with easy to follow step by step illustrated examples.
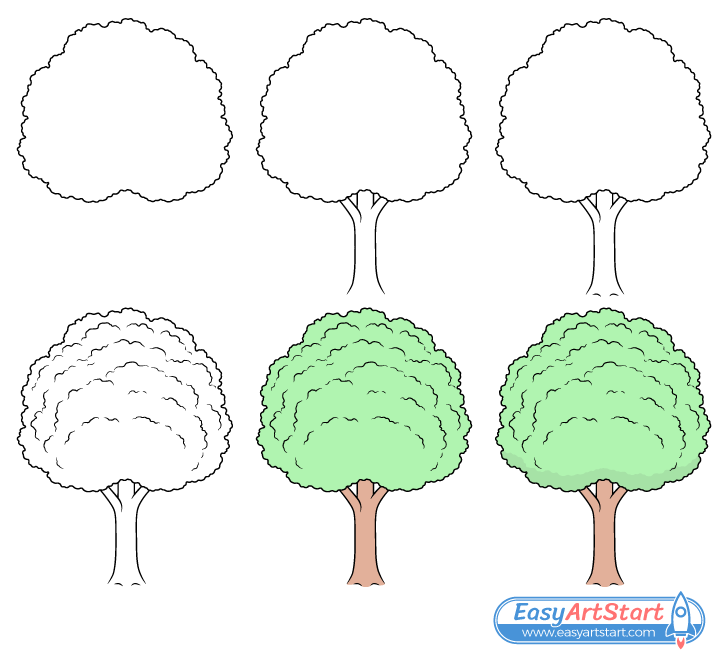
The tree in this guide is drawn similar to something you can find in a cartoon or a 2d video game. The examples show how you can stylize it’s shape yet still keep it easily recognizable. The tutorial also explains how to make the drawing appear less flat (more three dimensional). As the example is of deciduous tree (one that loses it’s leaves in the fall) the tutorial also suggests several different color variations to show it in different seasons.
It’s recommended that you start the drawing in pencil and make light and easy to erase lines. You can darken them after you have all parts of the tree outlined.
Step 1 – Draw the Tree’s Crown
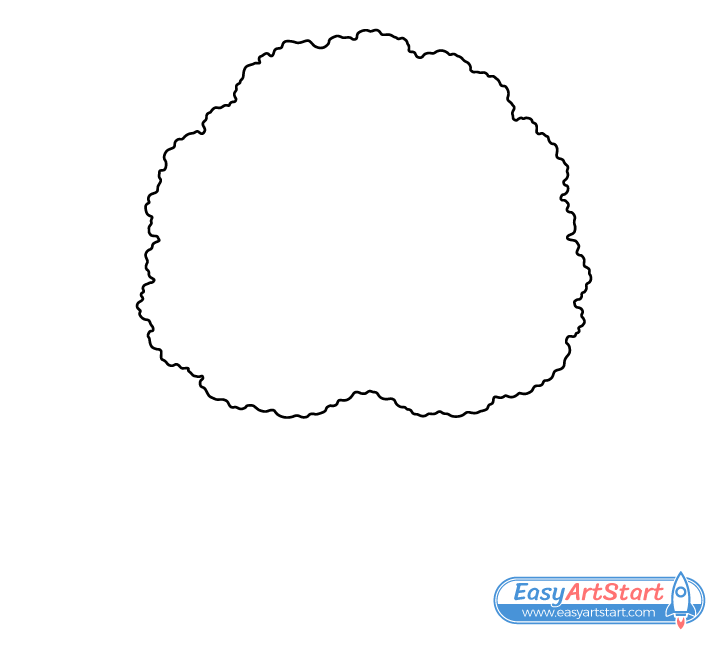
Start the drawing with an outline of the tree’s crown (the combined shape of the leaves). When positioning it on the page or drawing area be sure to leave enough room below for the trunk.
As this is a slightly stylized/simplified tree you can can make the crown quite bushy. Outline the it to look somewhat like a big clumps of fluff. Define it with a wobbly/wavy outline as shown above. Make the shape slightly narrower near the top and wider near the bottom.
Step 2 – Draw the Trunk & Branches
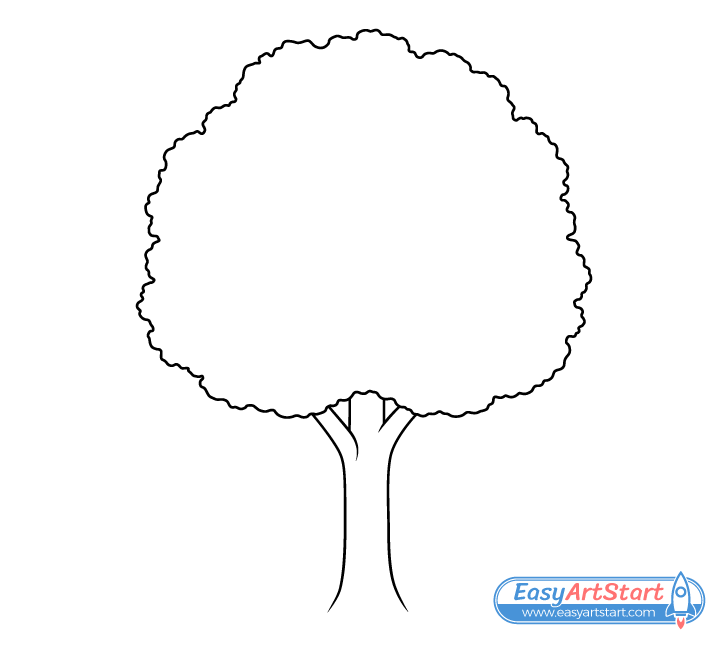
Below the crown draw the trunk and branches. In this case it’s about half it’s height. Make the trunk wider at the base and narrow as it goes up. Next, draw a pair of branches. Place these near the trunk’s top with one per side (as shown in the example).
Step 3 – Draw a Hint of the Roots
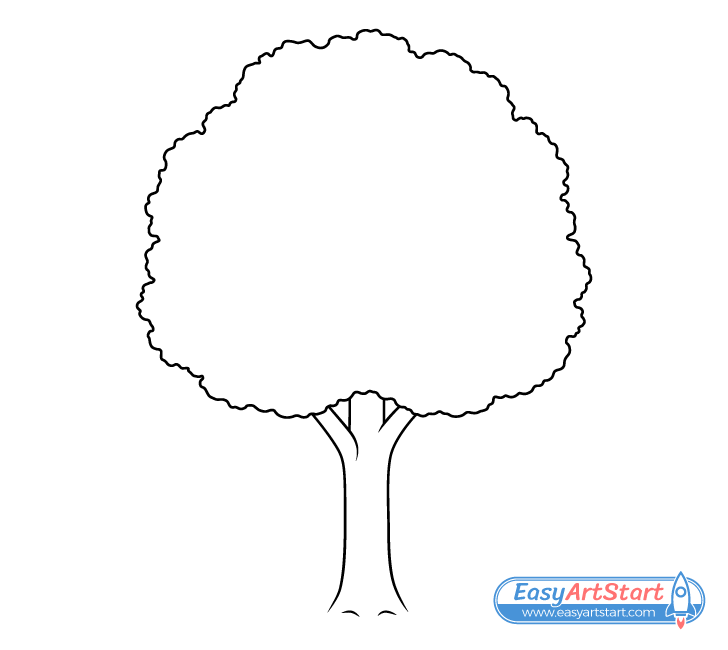
At the very bottom of the tree draw the roots. You only need to create a hint of these and you can do so by simply adding a pair of little curves in between the two sides of the trunk. Keep the bottom ends of the roots open (leave breaks in their outline). This will make it look like they are going into the ground.
Step 4 – Draw the Foliage (Clusters of Leaves)
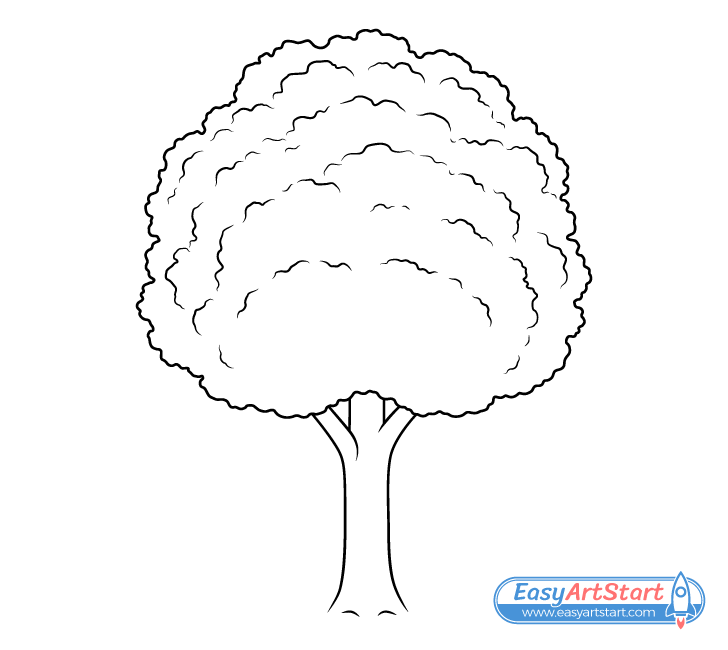
Only having an outline of the tree’s crown can result in a somewhat plain and flat looking drawing. To fix this add hints of various groups of leaves (the foliage) that it’s comprised of.
Again, this is a stylized drawing and the goal is to give the leaves a somewhat “bushy look”. To accomplish this draw a series of wobbly curves that look like they radiate outwards from the lower middle of the crown. Add fewer near the center and more near the the edges of the outline. Adding hint’s of various leaf clusters will make the drawing look less plain and spacing them as describe will help show the curvature of the crown’s shape and give it a more three dimensional look.
After adding the hints of the leaf clusters you can trace over your drawing with either darker pencil lines or a black marker.
For drawing an individual leaf see:
How to Draw a Leaf Step by Step
Step 5 – Color the Tree Drawing
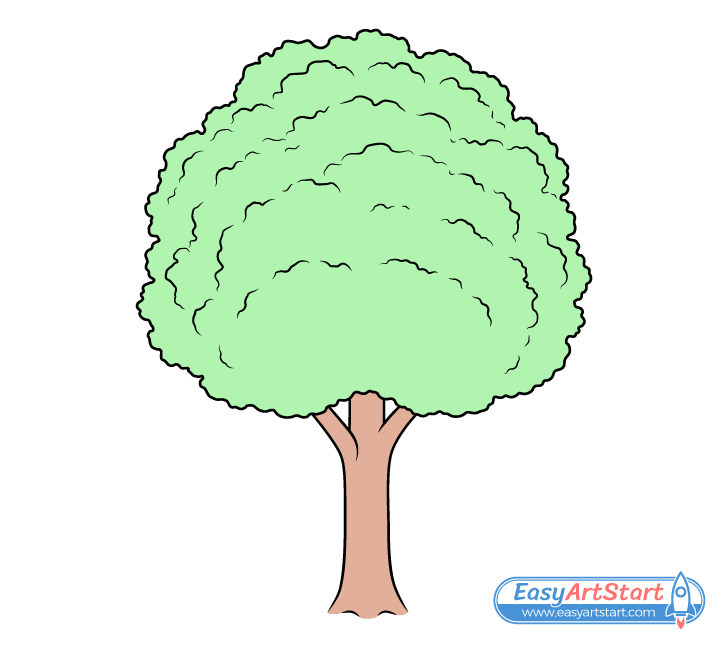
To color the tree as shown in this example simply make the leaves green and the trunk/branches brown. As the colors are so simple almost any media you have available can work well (paints, markers, colored pencils, etc…). However, before you start coloring you may also wish to consider what kind of a tree you wish to have. If you want to show a tree in the fall you can make the leaves a different color such as yellow, orange or red. If you want to show a blooming tree in the spring color the crown pink to make it look like flower blossoms instead of leaves.
For drawing a fall maple leaf see:
How to Draw a Maple Leaf Step by Step
Step 6 – Draw a Shadow the Bottom of the Leaves
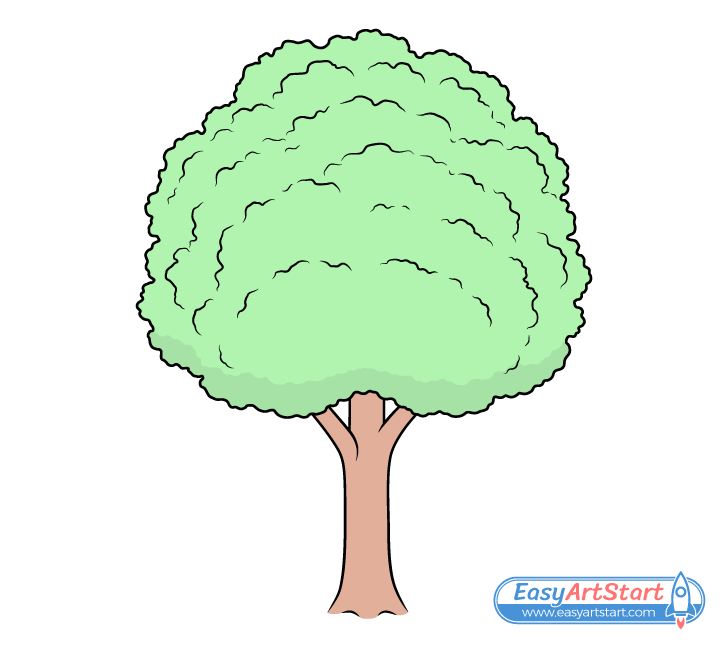
Finally, to again make the drawing look a little more three dimensional add a shadow along the lower part of the crown. You can create the shadows by lightly going over top of the colors with a regular pencil (or a darker green). Define it’s shape with a wobbly outline just like the one used for the crown’s main outline.
The reason for drawing the shadow in this way is because light generally comes from above and the shadows are cast in the opposite direction. In such a setting the crown will casts a shadow downwards on itself.
Conclusion
This guide shows how to draw a simple tree with a style somewhat similar to cartoons or 2d video games. It provides a few simple tricks to help make the drawing stand out as well as a few suggestion on how you can show the tree in different season by simply making the leaves a different color.
Stylized drawings like this one can make it easy to show a particular object yet generally don’t require as much time and effort to create in comparison to something more realistic. However, they can still make for great drawing practice if you are a beginner. Starting out with simple things like this tree can help you build confidence (and a more steady hand) before trying to draw something more advanced.
For more similar beginner friendly tutorials also try the following:
- How to Draw an Apple Step by Step
- How to Draw a House Step by Step
- How to Draw a Peach in Six Steps
- How to Draw a Flower Step by Step
If you are interested in more advanced guides (done in a similar style) see:

