How to Draw Beautiful Eyes in 10 Steps
This tutorial shows how to draw a beautiful pair of eyes starting with a simple outline and going to a fully colored and shaded drawing.
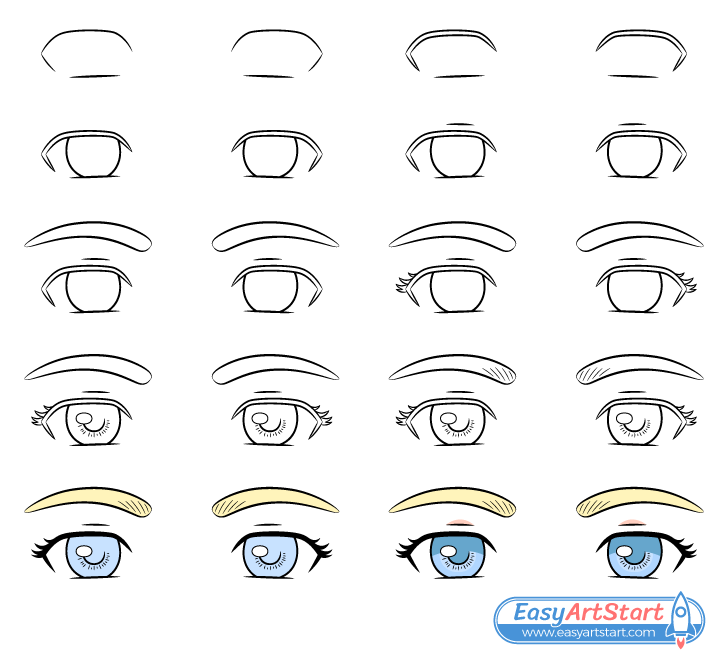
The eyes are drawn in a somewhat a stylized manner similar to what you might find in a cartoon, anime, comic book or manga. Although the eyes are quite details the guide is put together in a very beginner friendly manner where most of their major parts are drawn in individual steps.
If you are going to be drawing on paper it’s recommended that you start in pencil and use light lines. The lines in the examples are dark just so that they are easier to see. You can darken yours by tracing over them once you’ve added all parts of the eyes.
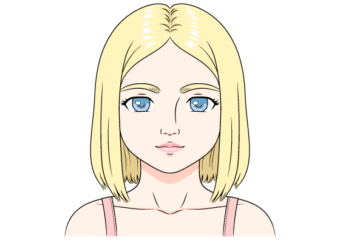
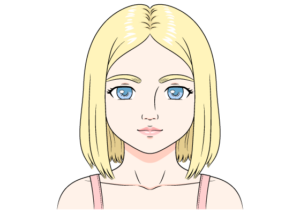
For drawing an entire face with these eyes see:
How to Draw a Pretty Girl’s Face in 12 Steps
Step 1 – Outline the Shape of the Eyes
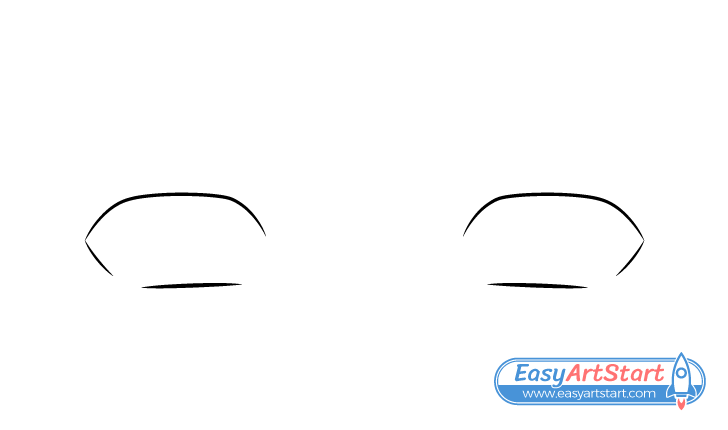
Begin by outlining the main shape of each eye shown in the example. These are essentially the outlines of the eyelashes. Because the eyes are stylized and simplified the tear ducts don’t need to be drawn. Leave the inner end of the outlines open.
As the goal of the tutorial is to create eyes that look beautiful be sure to make the outlines fairly tall. Big eyes tend to look more attractive.
Step 2 – Draw an Outline of the Eyelashes
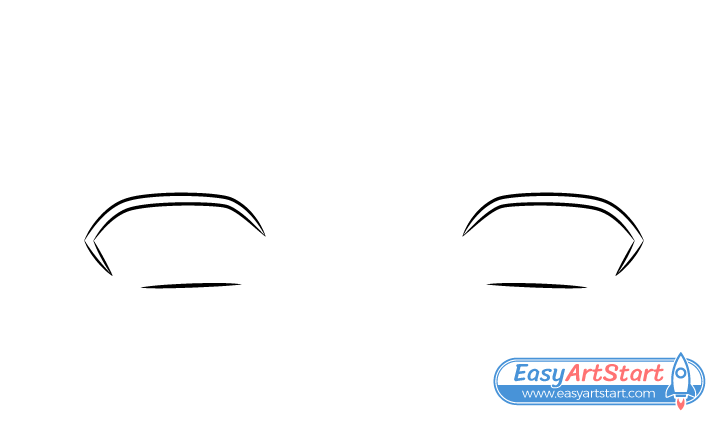
Create thicker eyelashes along the upper ends and sides of the eyes by adding extra lines that define their inner sides.
Leave the bottom eyelashes as a single line. If you make these too thick it will look like the person the eyes belong to hasn’t slept in a while.
Step 3 – Draw the Irises
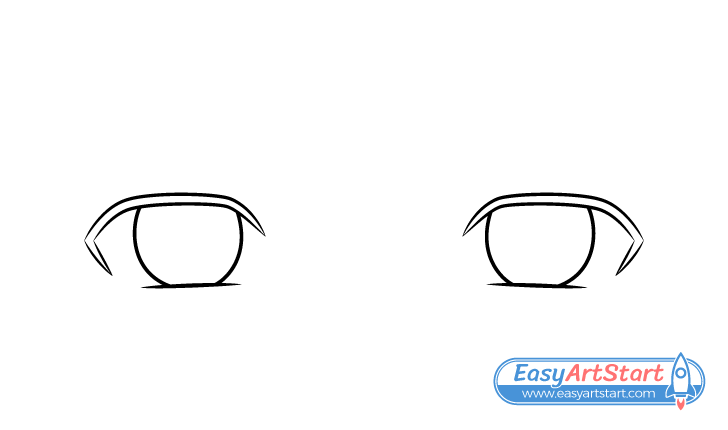
For beautiful looking eyes and also to avoid making them look like they are staring make the irises really big. Draw them with large portions of their upper ends covered by the top eyelids. Draw the lower ends just slightly covered by the bottom eyelids.
Normally irises are circular in shape. In this case they are also fairly round (if they were fully visible) but no perfectly so. The inner ends are draw slightly less curved than the outer sides.
Step 4 – Draw the Eyelids
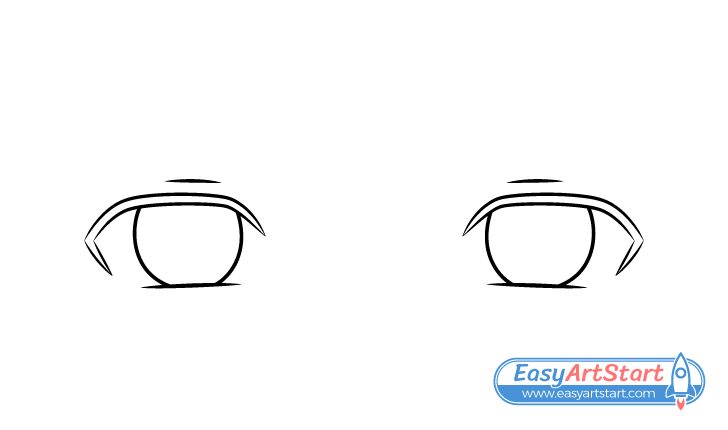
Add just a hint of each eyelid as a small lightly curved line above each eye’s outline. Position these slightly closer to their inner ends.
Step 5 – Draw the Eyebrows
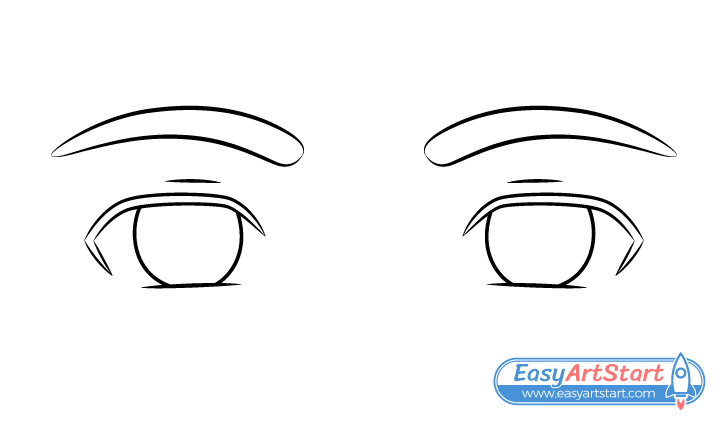
Position the eyebrows high enough so that the gap between them and the eyelids is greater than that between the eyelids and the eyes.
Draw the overall shapes of the eyebrows to be curved with their inner end (sides facing towards the center of the face) lower down than their outer ends. Also, make the inner ends significantly thicker.
Drawing the eyebrows in such a way will help create a neutral/relaxed expression.
Step 6 – Draw the Individual Lashes
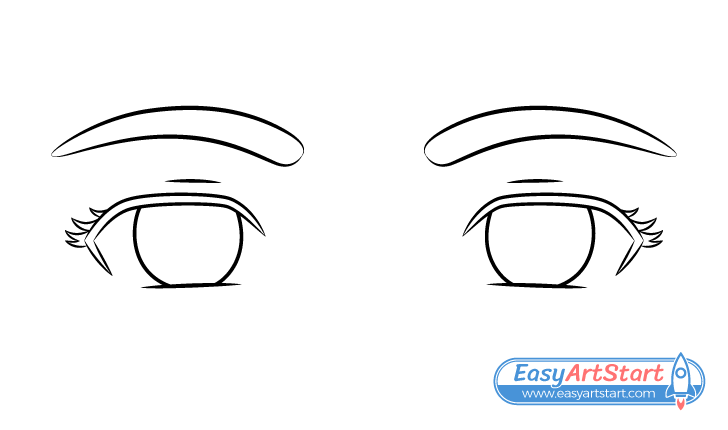
To make the eyes look more pretty show some individual lashes. Again, as this is a stylized drawing you can make these much thicker than normal. Place the lashes around the outer corner of each eye. Draw them thicker at the base and narrower as they go out with pointy ends. Also, draw each eyelash curving upwards.
Step 7 – Draw the Pupils & Other Small Details
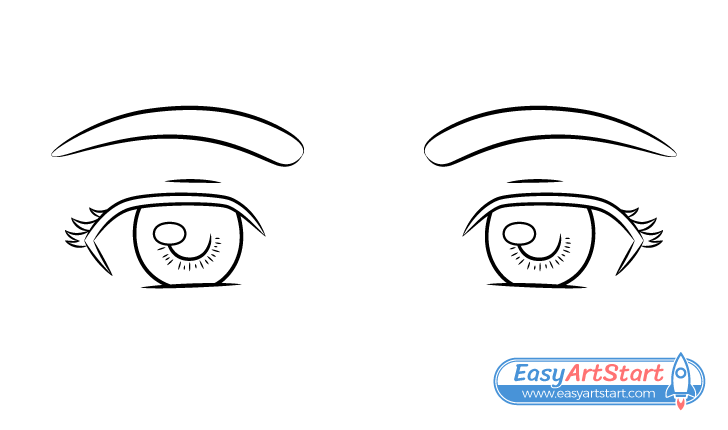
Inside the irises draw the pupils and reflections. Draw the reflections (light reflecting from the eyes) as a pair of small ovals. Position these to the same side of each eye.
The reflections are a small but very important part of the drawing as they help give the eyes a smooth, moist and shiny look.
After adding the reflections draw the bottom half of each pupil (as a half-circle). Don’t draw the entire outline to once again prevent the eyes from looking like they are staring.
Finally, draw some short lines of slightly varying length going around the curves of the pupils. Place these so that they look like rays going out form the sun. The “rays” will show some of the details of the irises and will help make the drawing less plain and more interesting.
Step 8 – Add Hints of Individual Eyebrow Hairs
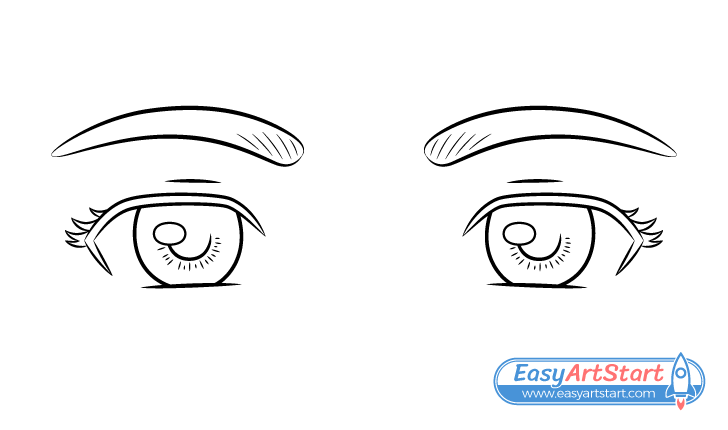
Add hints of individual hairs to each of the eyebrows by drawing a series of curved lines near their inner sides. Draw these pointing slightly more upwards near their inner ends and leaning more towards the outer ends as they progress towards them. This is generally how eyebrow hairs grow.
Once you’ve added this last set of details trace over the drawing with darker lines (as was mentioned at the start of the tutorial). Either create these by pressing harder on the pencil or use a thin black marker but be sure to also read below before doing so.
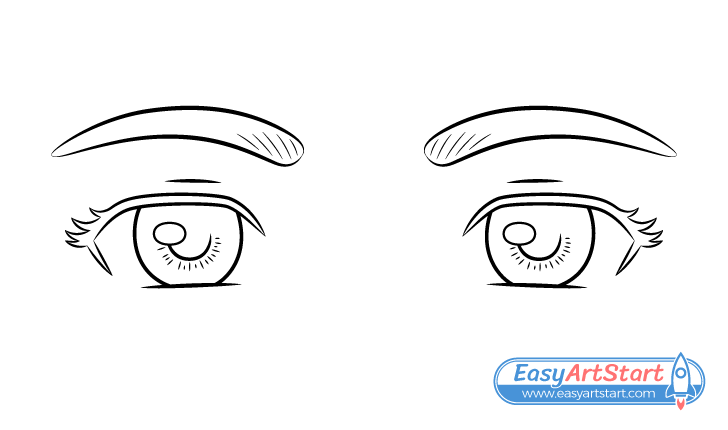
If you are going to make the eyelashes black as shown in the next step you don’t really need to worry too much about tracing around them. However, if you want to make the eyelashes a particular color (see last example of the tutorial) you should first erase parts of the outlines from step one around the base of each of the individual lashes. In this case your drawing should look similar to the above example once done.
Step 9 – Color the Eyes
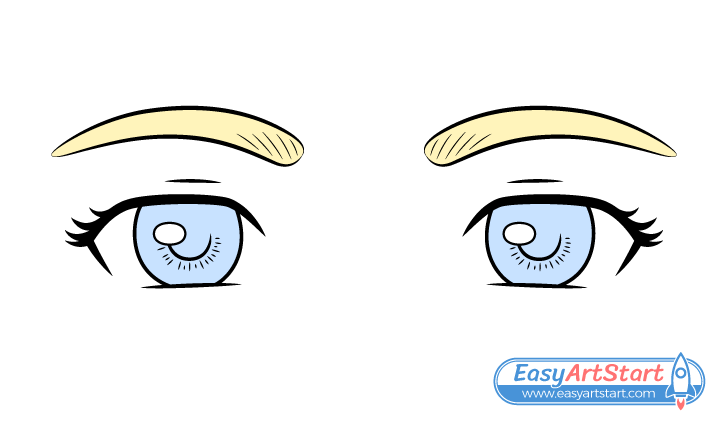
You can make the eyes and eyebrows any color you like or just make the drawing different shades of grey using a regular pencil. Fill in the eyelashes with black or very dark pencil shading (unless you chose to color them).
In this example the eyes are blue and the eyebrows yellow (to show blonde hair). Not only are blue and yellow complimentary colors (colors that go well together) but blue eyed people often have blonde hair.
Blue eyes are also often considered pretty making the color a good choice for drawing a pair to looks beautiful.
To apply the colors you can use any media you have available but colored pencils can be a particularly good and easy option. Fill in the irises and eyebrows with solid colors but be sure to leave the reflections white (as shown in the example).
Step 10 – Add the Shadows
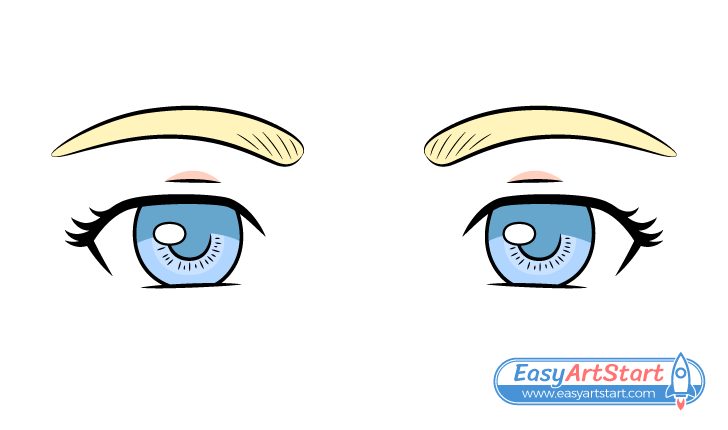
As you may have noticed, the previous example still looks a little plain. To get the final nice looking drawing of the eyes significantly darken the upper ends of the irises and the pupils. Also, lightly darken their lower halves but leave the areas around the “rays” a light variant of the color (or grey) used in the previous step.
Also, add a pair of shadows around the upper ends of the eyelids. You can use an orange brown (or regular pencil shading) to create these.
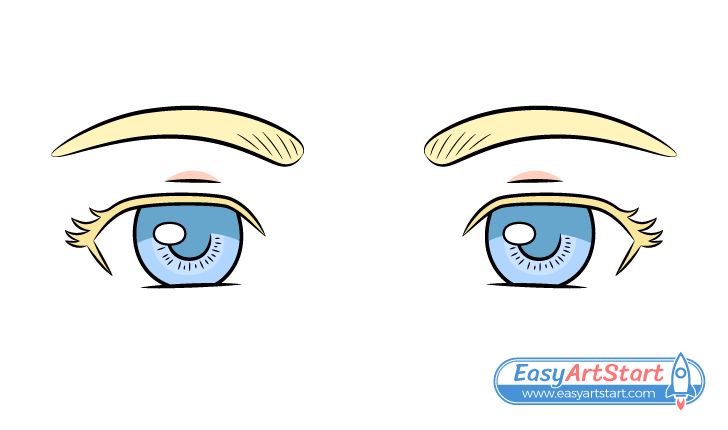
You can see what the drawing looks like with colored eyelashes in the example above.
Conclusion
Drawing a pair of eyes such as those shown in this tutorial can be quite interesting and fun. Because the eyes are stylized you can experiment with more options than you would for a more realistic pair. You can for example exaggerate certain proportions to help achieve a particular look or use unusual colors for all or some of their parts.
This particular example showed how you can draw big eyes with large irises to help create a beautiful look. The guide also shows an example with blonde/yellow eyelashes which are generally not something you would normally see.
You can have more fun by experimenting with even more unusual colors (such as pink for example) or by trying to draw the eyes with different expressions.
If you’ve found this tutorial interesting and helpful also be sure to try the following guides:

