How to Draw Beautiful Lips in 6 Easy Steps
This tutorial shows an easy way to draw beautiful looking lips with with an easy to follow step by step breakdown of the drawing process.
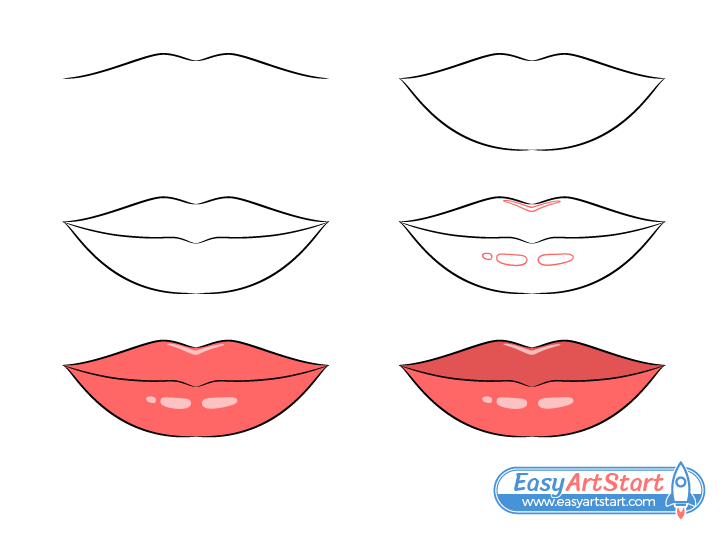
The guide provides examples of how you can use some very basic tricks to make the lips appear three dimensional, shiny and moist. As a whole the tutorial is very straightforward and beginner friendly. At the same time it can help you create a nice looking drawing.
Because color is particularly important to this tutorial it’s recommended that you have a red pencil handy when you start. You can also use other arts media like paints or markers but a colored pencil is probably the simplest. It’s also recommended that you start in regular pencil and make light and easy to erase lines in case you make a mistake. Darken them them once you have all parts of the lips outlined.
Step 1 – Draw the Upper Lip
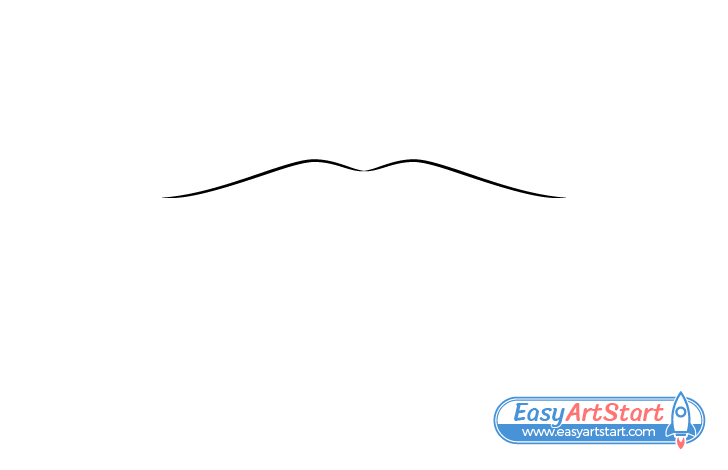
Begin the drawing by outlining the top area of the upper lip. This is called the “cupid’s bow” as it resembles the shape of an actual bow. You can also think of it as a flattened letter “M”. Draw each side going up and then curving down near the middle.
Draw the corners of the lip starting to curve slightly upwards/outwards to create a slight hint of a smile.
Step 2 – Draw the Lower Lip
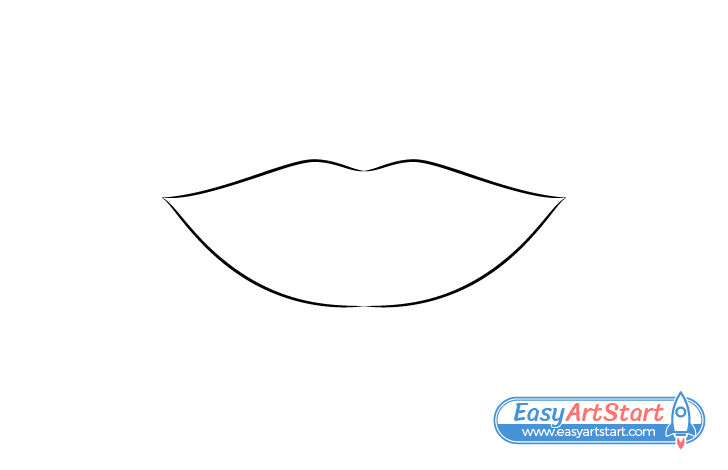
Define the lower area of the bottom lip as two curves that join together in the middle. This should give you a silhouette like outline of the lips.
Step 3 – Draw the Opening of the Mouth
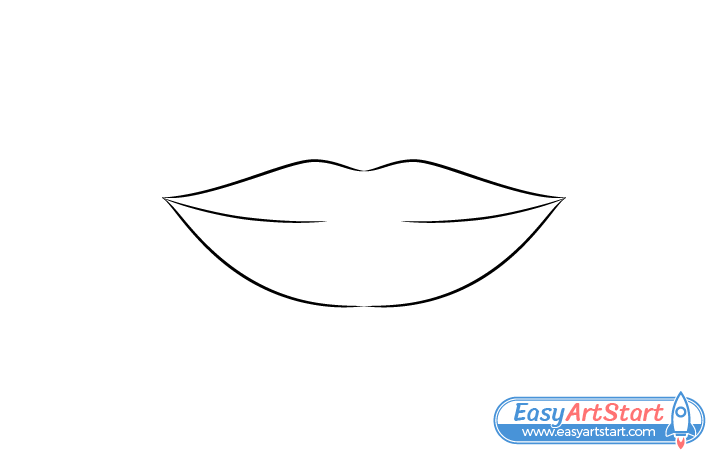
Draw the opening of the mouth (or the lower end of the upper lip) starting with a pair of downwards curves (one on each end side).
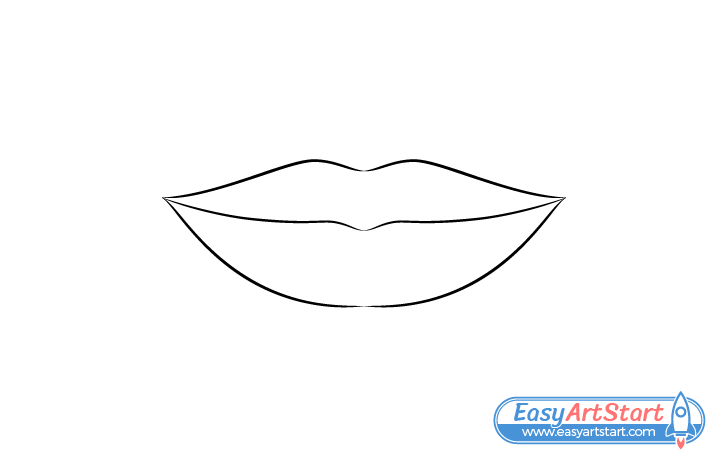
Join the two curves together with a little bump in the middle.
Once done with the above you should have the main parts of the lips outlined. As was mentioned at the start of the tutorial, at this point you can trace over your drawing with darker pencil lines (or a thin black marker).
Step 4 – Outline the Reflections on Each Lip
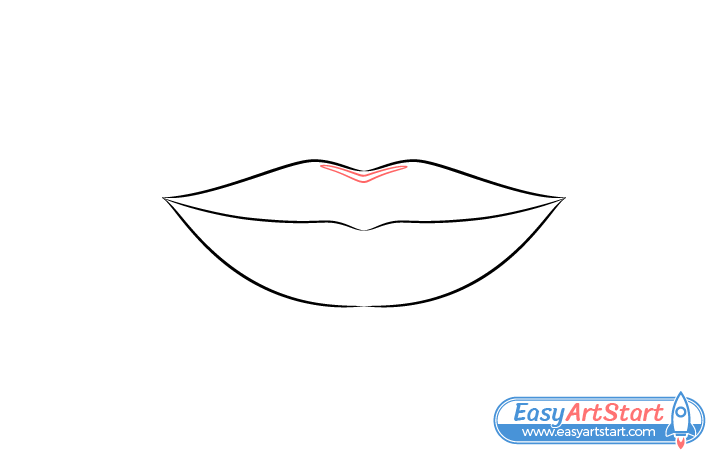
Before coloring lightly outlined several reflections using either a red or a regular pencil. These will show light reflecting from the lips and will help make them look shiny and moist. Add one reflection along the upper/middle of the bow somewhat following it’s shape (as shown above).
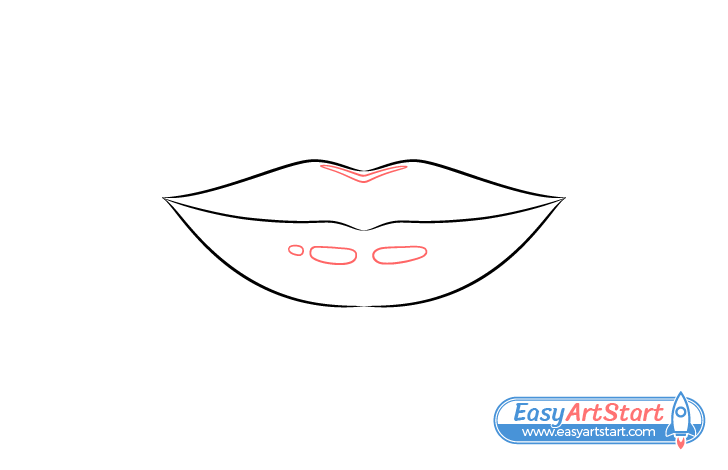
Next, add a series of reflections along the middle of the lower lip. Technically these are just one reflection broken up by the lip’s wrinkles and curves.
Step 5 – Color Both Lips
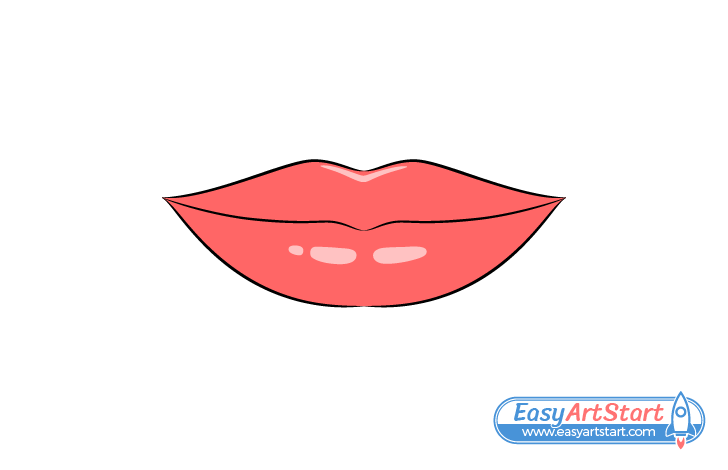
Color both lips a bright red leaving the reflections white. Afterwards, lightly go over the reflections in red as well (so that they don’t look too bright).
Step 6 – Shade the Upper Lip
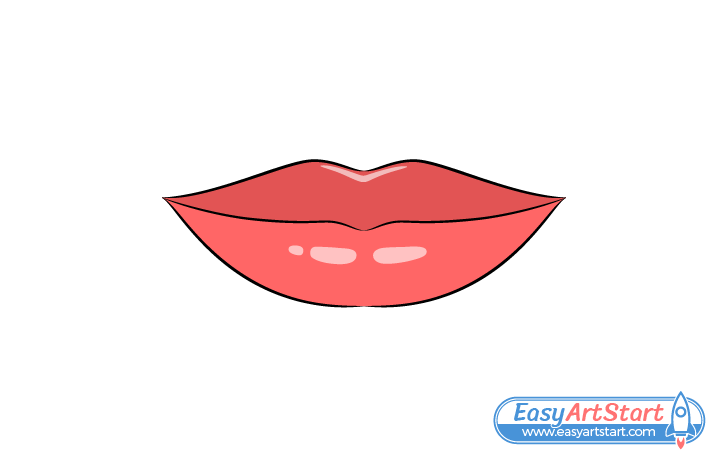
Finally, darken the entire upper lip by lightly going over the red with a regular pencil.
The reason for this is that generally light comes from the top and the bottom lip will tend to cast a shadow on itself. Adding this into your drawing will help give the lips a slightly more three dimensional appearance.
For a different way to draw lips see:
How to Draw a Pretty Girl’s Face in 12 Steps
Conclusion
Creating nice looking artwork does not always have to be complicated or time consuming. This guide shows a quick and easy way to draw a pair of lips that also look good. By creating a shape that is very characteristic of this part of the face and by applying some basic color and shading (in the right way) you can create a simple but beautiful looking drawing.
If you like these kinds of guides with helpful tips and straightforward instructions also be sure to try the following:

